11
10
Installing the Software on Your Computer
The printer connection settings and software installation are performed using a computer. You can download the setup file from our website. If you are using a
Windows PC, you can also run the file from the CD-ROM.
Downloading from the website
(Windows/macOS)
1
Go to the Canon website on your
computer.
https://ij.start.canon/TX-4100
This is the example input for the TX-4100.
Input the model number of the printer you are using.
2
Click Download to download the
setup file and then run the file.
●If a warning screen about downloading
appears, select Do not block, Allow,
etc. and then proceed to the next step.
Booting up from the included CD-ROM (Windows)
■ If you are using Windows 10 or
Windows 8.1
1
Insert the setup CD-ROM into the
computer.
2
Click the popup message for the
disk drive and click Run Msetup4.
exe on the screen that is displayed.
Note
If the message does not appear (or has
disappeared)
Click or File Explorer on the
taskbar.
Click This PC on the left side of the
window that opens.
Double-click the CD-ROM icon on
the right side of the window.
If the contents of the CD-ROM appear,
double-click Msetup4.exe.
3
If the User Account Control dialog
box appears, click Yes and proceed
to the next step.
■ If you are using Windows 7
1
Insert the setup CD-ROM into the
computer.
2
When the AutoPlay screen appears,
click Run Msetup4.exe.
Note
If the AutoPlay screen does not appear
Click Computer from the start menu.
Double-click the CD-ROM icon in the
right side of the window that opens.
If the contents of the CD-ROM appear,
double-click
Msetup4.exe.
3
If the User Account Control dialog
box appears, click Yes and proceed
to the next step.
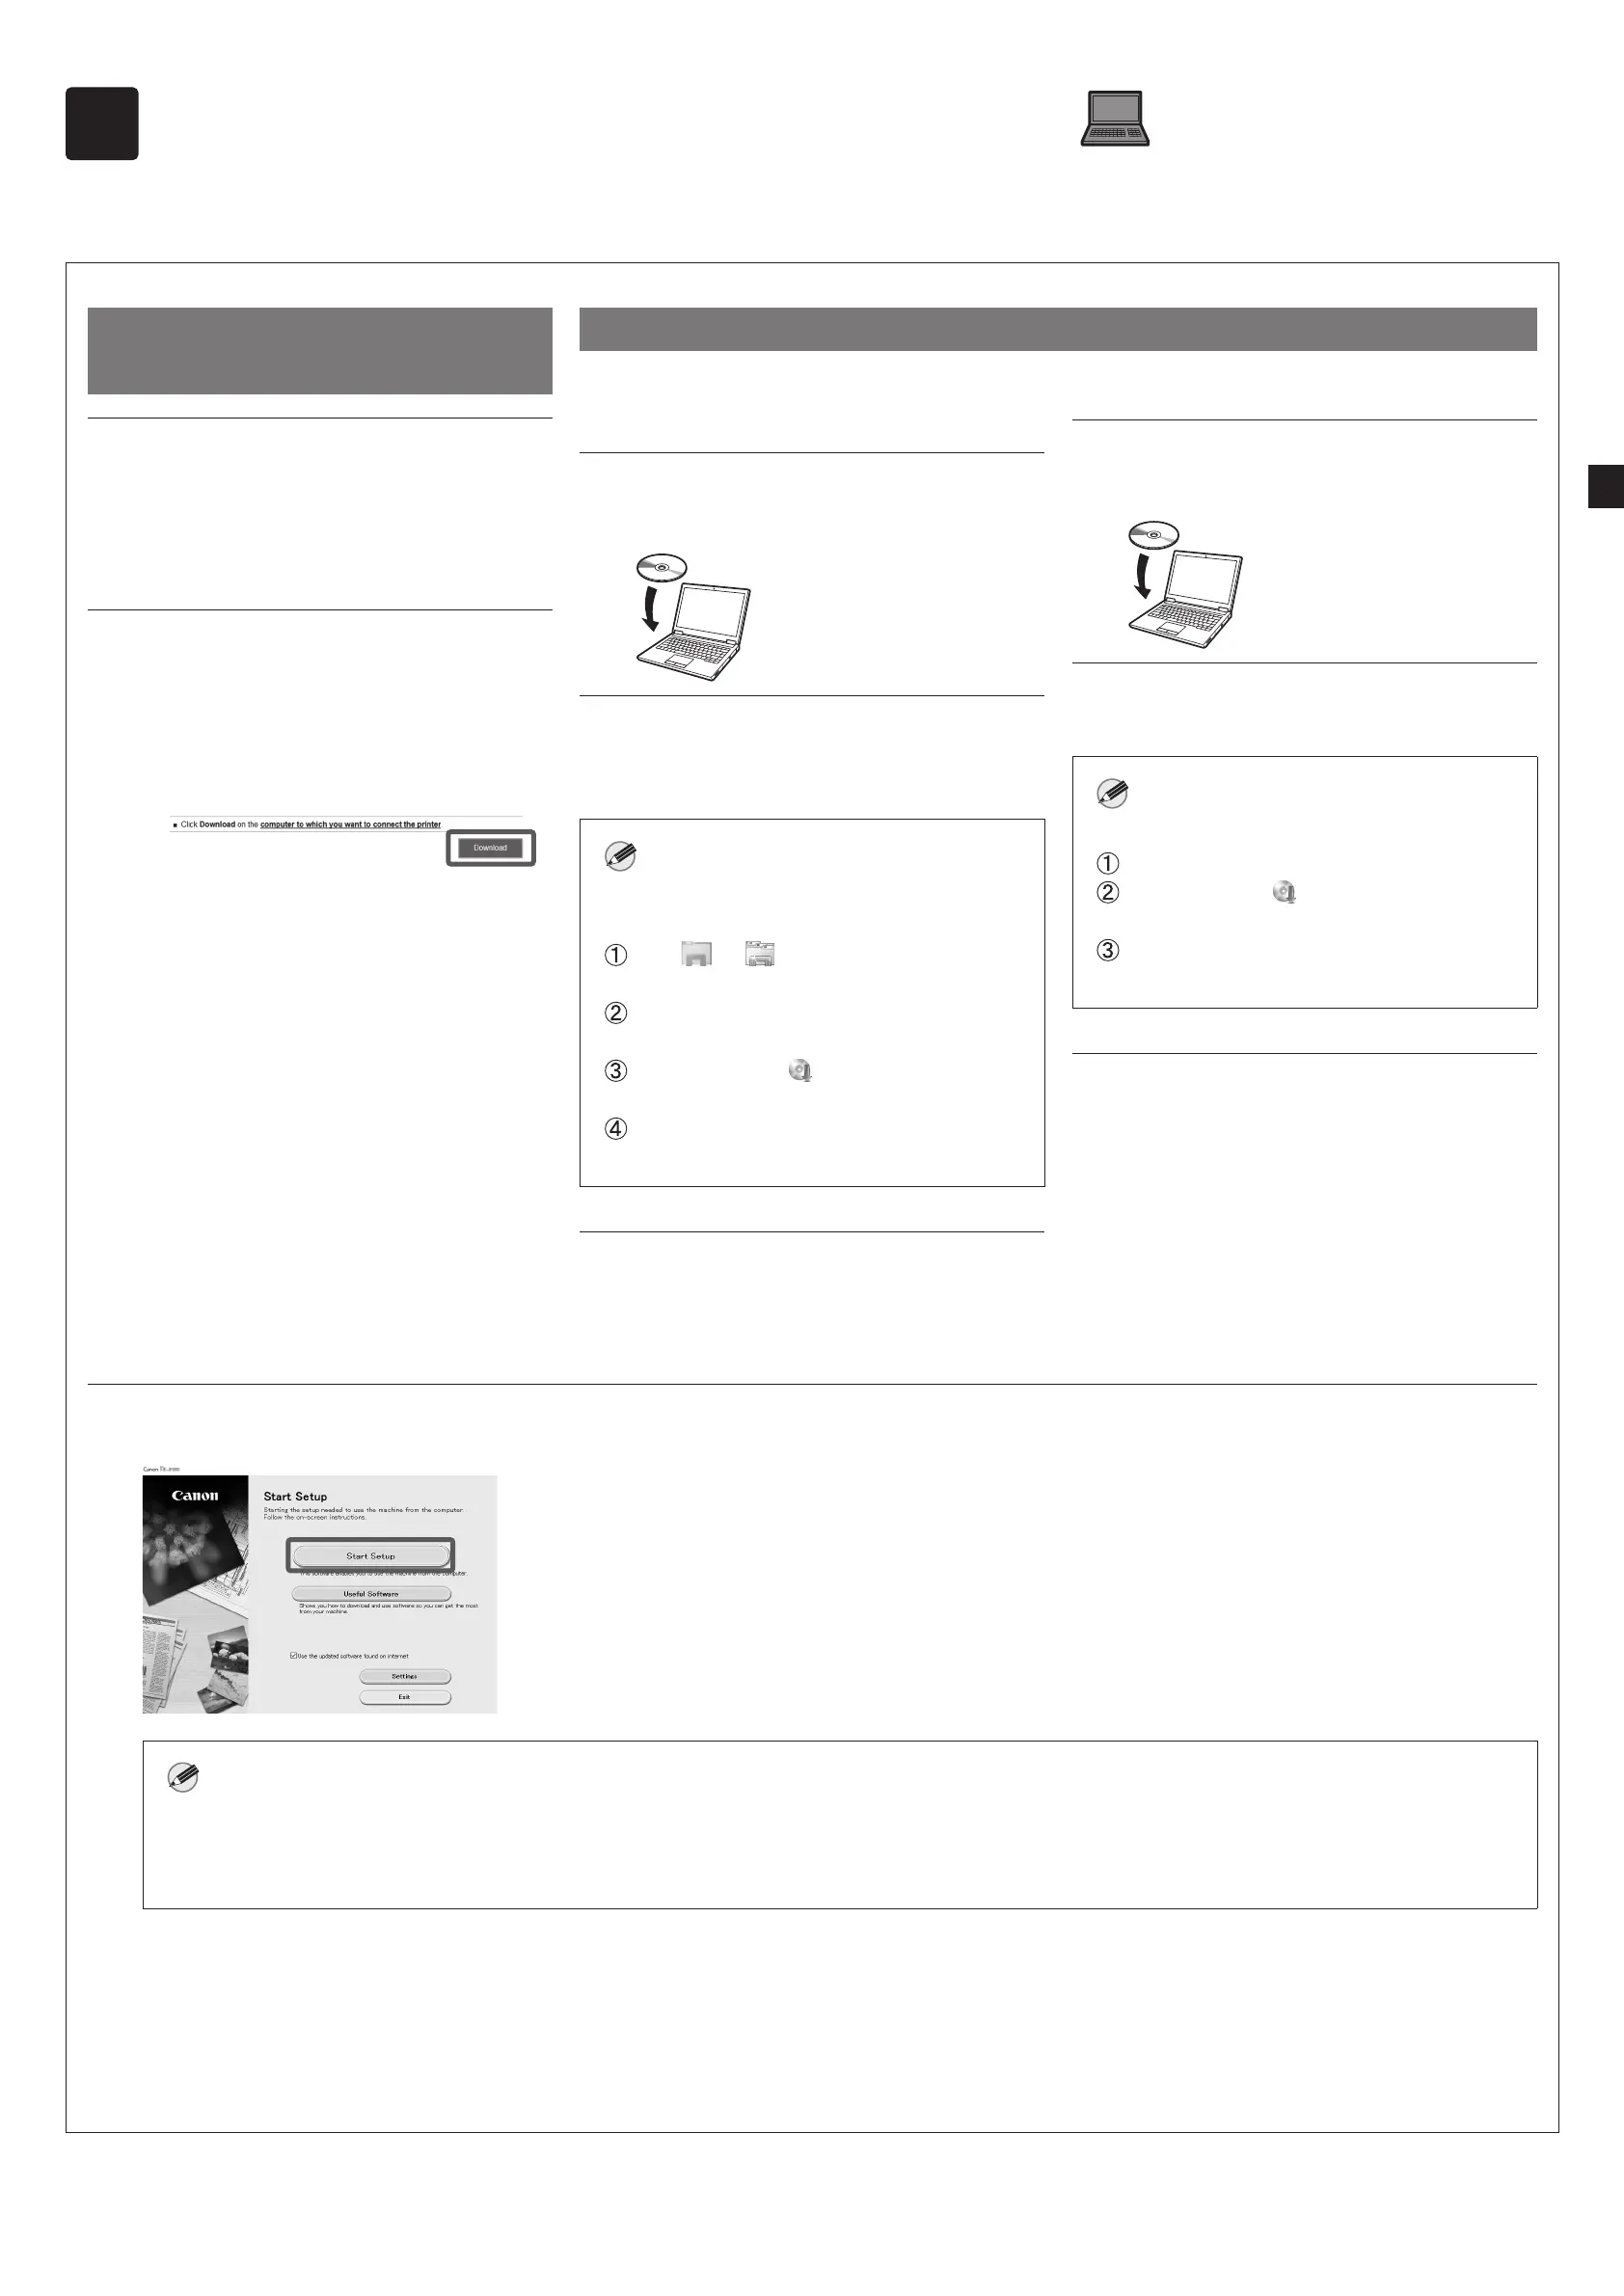
4
Click Start Setup. Configure the settings by following the instructions on the screen.
Note
●A screen for selecting the printer connection method may be displayed in the middle of configuring the settings. If this happens, select the
method you selected on p. 10 and then click Next and continue with the rest of the settings.
●Connect the USB cable to the proper location by following the instructions on the screen.
 Loading...