40MBFAQ: Installation Instructions
Manufacturer reserves the right to change, at any time, specifications and designs without notice and without obligations.
14
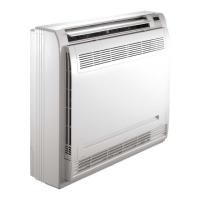
Step 3 - Take the Indoor Unit Apart to
Connect the Pipes
1. Press and hold the two bottom straps, and then rotate to open the piping
cover plate.
Fig. 23 — Press and hold two straps
2. Remove the pipe cover plate and install the internal and external
connecting pipes.
NOTE: Install the small piping first, and then the large piping.
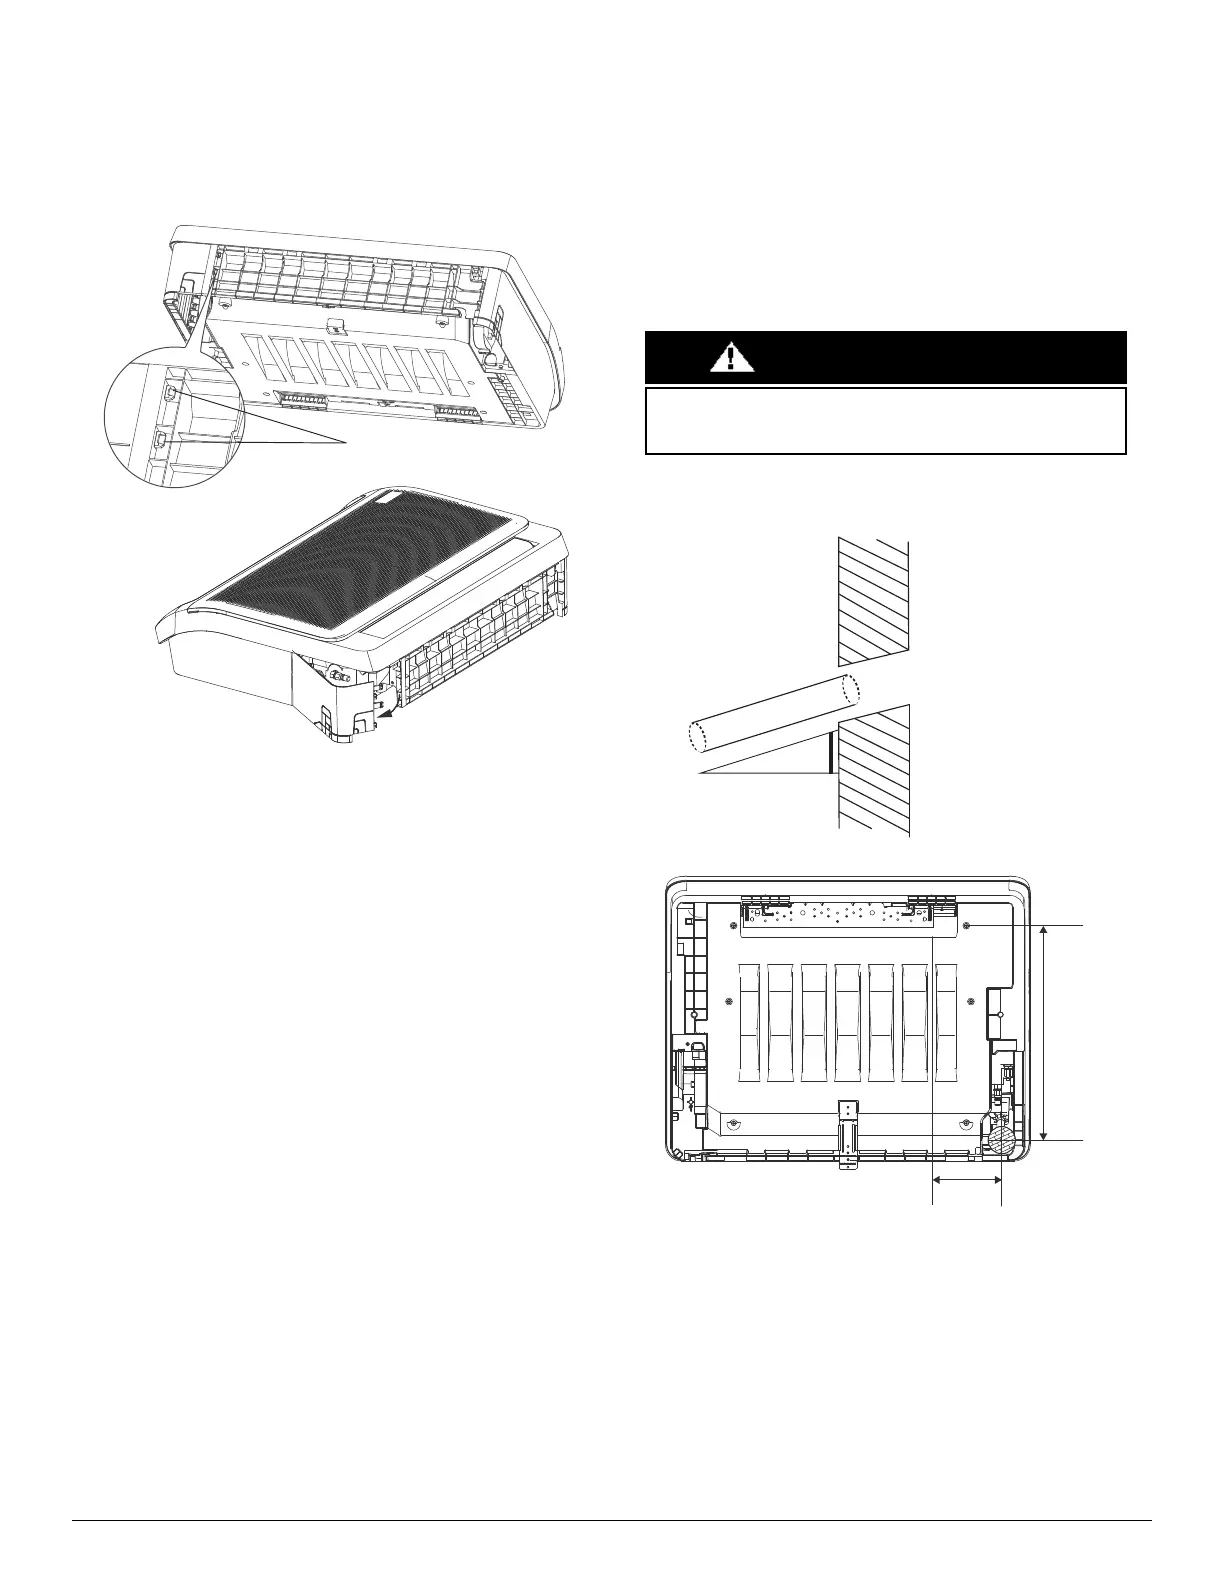
Step 4 - Drill a Wall Hole for Connective Pipe
1. Determine the location of the wall hole based on the location of the
outdoor unit.
2. Use a 2.5in (65mm) or 3.54in (90mm) hole saw, drill a hole in the wall.
Ensure the hole is drilled at a slight downward angle, so that the
outdoor end of the hole is lower than the indoor end by about 0.5in
(12mm). This ensures proper water drainage.
3. Place the protective wall cuff in the hole. This protects the edges of the
hole and helps seal it when you finish the installation.
Fig. 24 — Drill the Wall Hole
EQUIPMENT DAMAGE HAZARD
When drilling the wall hole, make sure to avoid wires and plumbing.
CAUTION
Wall
IndoorOutdoor
≈ 0.5 inch/12mm
19in
(470mm)
6in(150mm)
 Loading...