GB - 8
42 HWX / HQX
Set combined program
The combined program (a selection of a sequence of start and stop
times) will start and stop the air conditioner daily at the programmed time
without any action from the user. To program this function proceed
as follows:
1. Press button G
until the symbol of the start time program
shows on the display; set now your desired start time in the way
indicated in the “set start time” section.
2. Press button G
again to show the symbol for the stop time
program and set your desired stop time.
3. Press button G
repeatedly, until the symbol for the combined
program appears; together with this symbol, the symbols for the
start and stop programs appear alternatively along with the
respective programmed times.
4. To confirm the program, press button C
. Indicator P on the
unit will light up.
If the programmed times for start and stop coincide, the combined
operation mode will not work.
It is possible to cancel the TIMER operation mode at any time by
pressing button C
: indicator P on the unit will turn off, and the
indication of the timer mode will disappear from display on the controller.
The unit will store the mode in which was operating at that time: on
if it was in operation, on if it was turned off.
When the timer mode is on (unit indicator P
lit) the controller will
always display the symbol relevant to the current timer program; the
time shown is the current time of day.
When only one of the two programs has been selected, i.e. the start
time or the stop time, unit will remain in the selected operating
mode (on or off) after having turned on or off at the selected time.
To change the operating mode, it is necessary to manually start or
stop the unit or select a new program by pressing button C
.
In case of a power failure during timer mode operation, the unit will
restart, when the power is restored and return to the last operating
position before the power cut: unit indicator P
will flash to show
that the Timer mode is off. To reactivate the timer mode, press
button C
twice.
Time
adjustment
(buttons H and I)
To set the time for the timer programs selected with button G ,
press the buttons H
and I . Buttons H and I also serve
to adjust the time of day on the display under the word CLOCK.
Selecting
the fan speed
(button J)
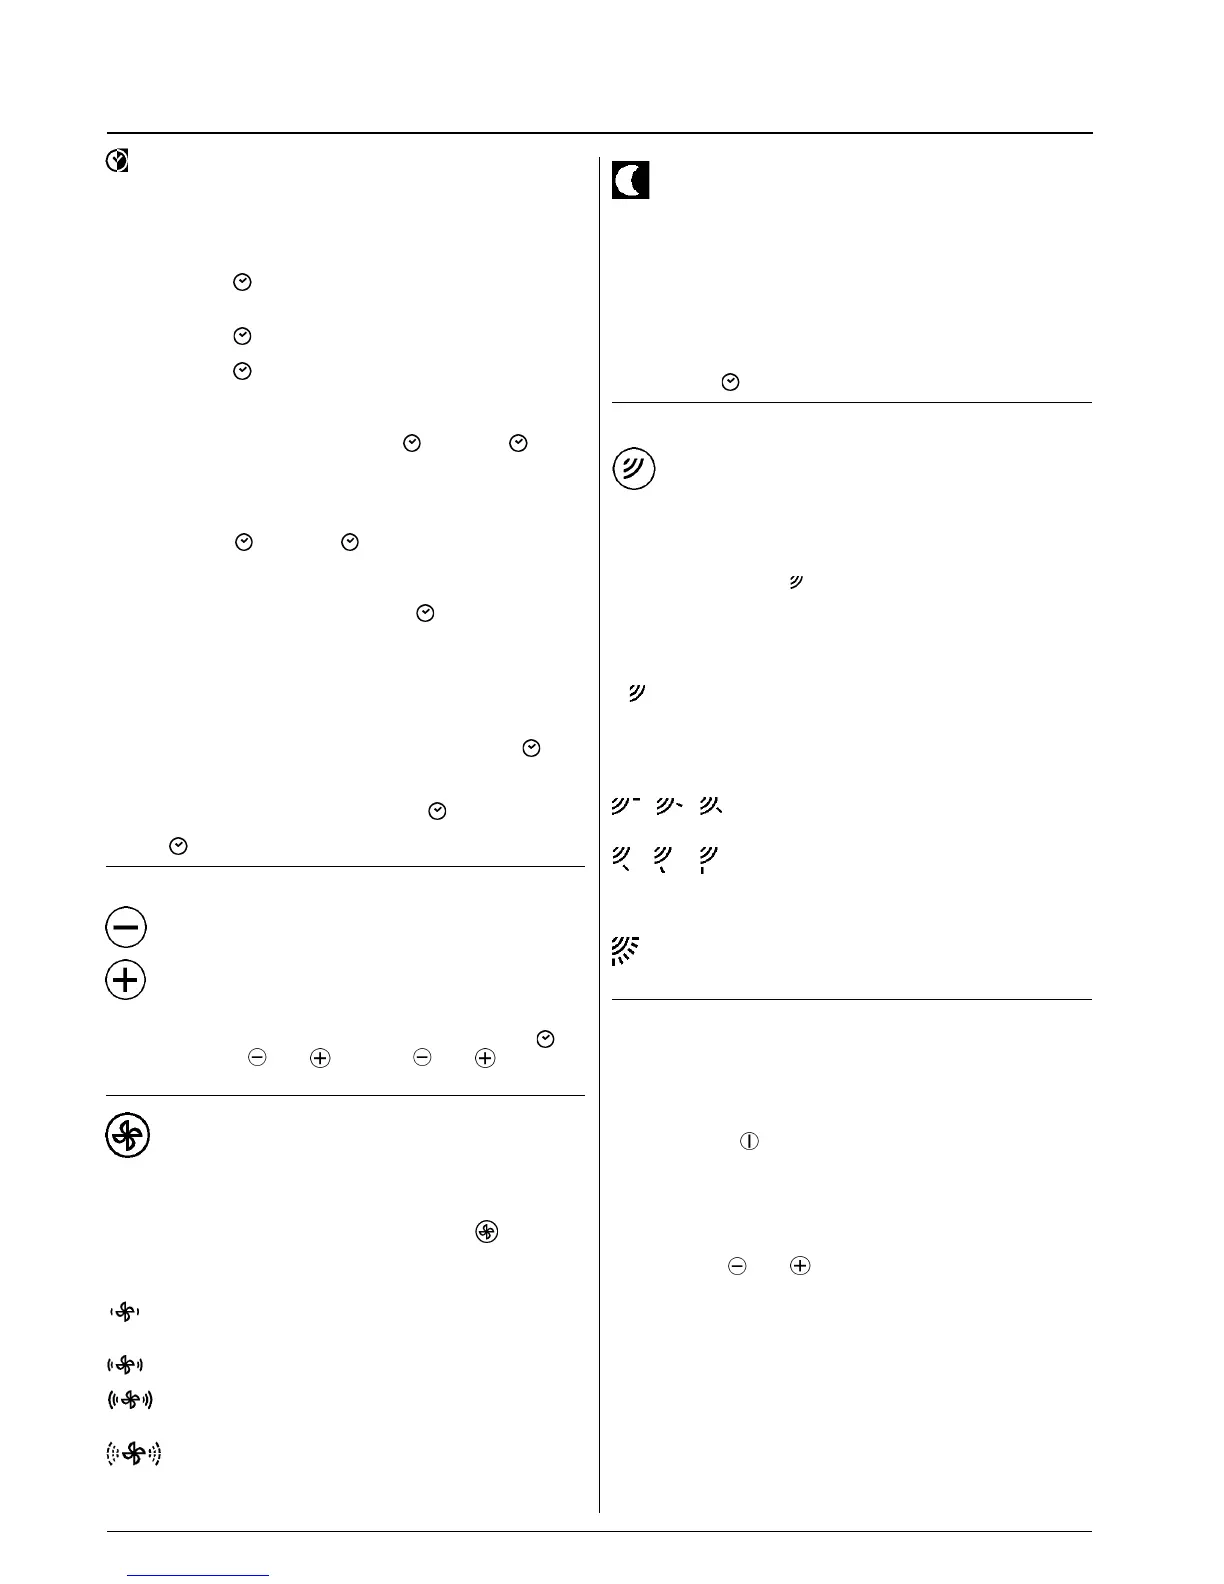
The fan speed can be selected by pressing button J .
Symbol on display
Low speed
(for night operation)
Medium speed
High speed
(at starting, to reach temperature)
Automatic
(Fan speed will automatically switch to the value required
for optimum comfort).
When this function is activated, the dotted symbols will flash.
Night stop
(button K)
This function optimizes comfort at night with regard to human
metabolism variations.
One hour after activation of this function, the temperature set in
cooling will increase by 1°C, or decrease by 1°C if in heating, up to
2°C in two hours. After 5 hours the unit will stop completely.
The system will operate at the low fan speed to minimize sound
level. When activating this function, the controller will show the time
when the air conditioner will completely stop for a few seconds.
Press button C
to deactivate the function.
Selecting direction
of air flow louver
(button L)
The air flow direction can be adjusted to optimize air distribution in
the room. Press button L
repeatedly to choose one of the
following positions:
Symbol on display
Automatic
Air direction will be set automatically.
Symbol on display
6 positions can be chosen.
The louver can be set to one of 6 different air
flow directions.
The choice “Automatic” is recommended for
cooling or dehumidification modes to avoid
condensation on the louver resulting in dripping
water.
Swing
Louver will continuously swing downward and upward to
obtain an optimal even air distribution in the room.
Adjusting clock time
(button M)
To adjust clock time, put the controller in the ON position by
pressing button B
after having positioned the batteries.
The following procedure will allow adjustment of the clock time:
• Gently press the recessed button at the right corner of the
controller battery compartment with a pointed tool (e.g. a pencil
point): the hour figures will flash.
Use buttons H
and I to adjust their value to the correct time
of day.
• Press the recessed button a second time and the minute figures
will flash. Adjust them to the correct value in the same way .
• Pressing the recessed button a third time will activate the clock
function.
Use of the remote controller
 Loading...