16
Getting Ready
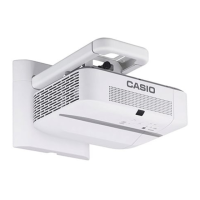
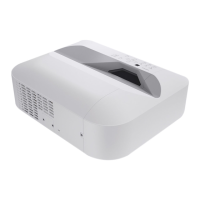
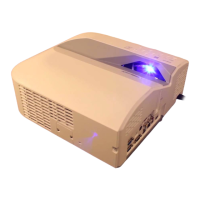
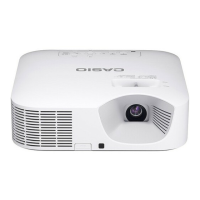
As you unpack the projector, check to make sure that all of the items listed below are present.
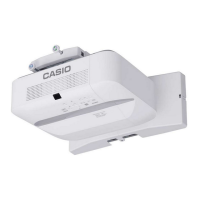
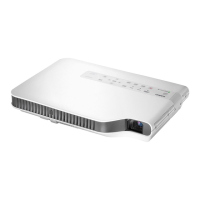
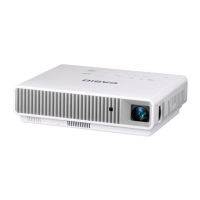
Projector
Wireless remote controller YT-131 (XJ-UT311WN, XJ-UT351WN)
Wireless remote controller YT-160 (XJ-UT331X, XJ-UT351W)
Test Batteries (AAA-size × 2)
AC Power Cord
Cable cover
“Safety Precautions” Sheet
“Read this first” Sheet
Warranty
Wireless adapter YW-40 (XJ-UT311WN only)
This section explains the operational flow up to the point that projection is started.
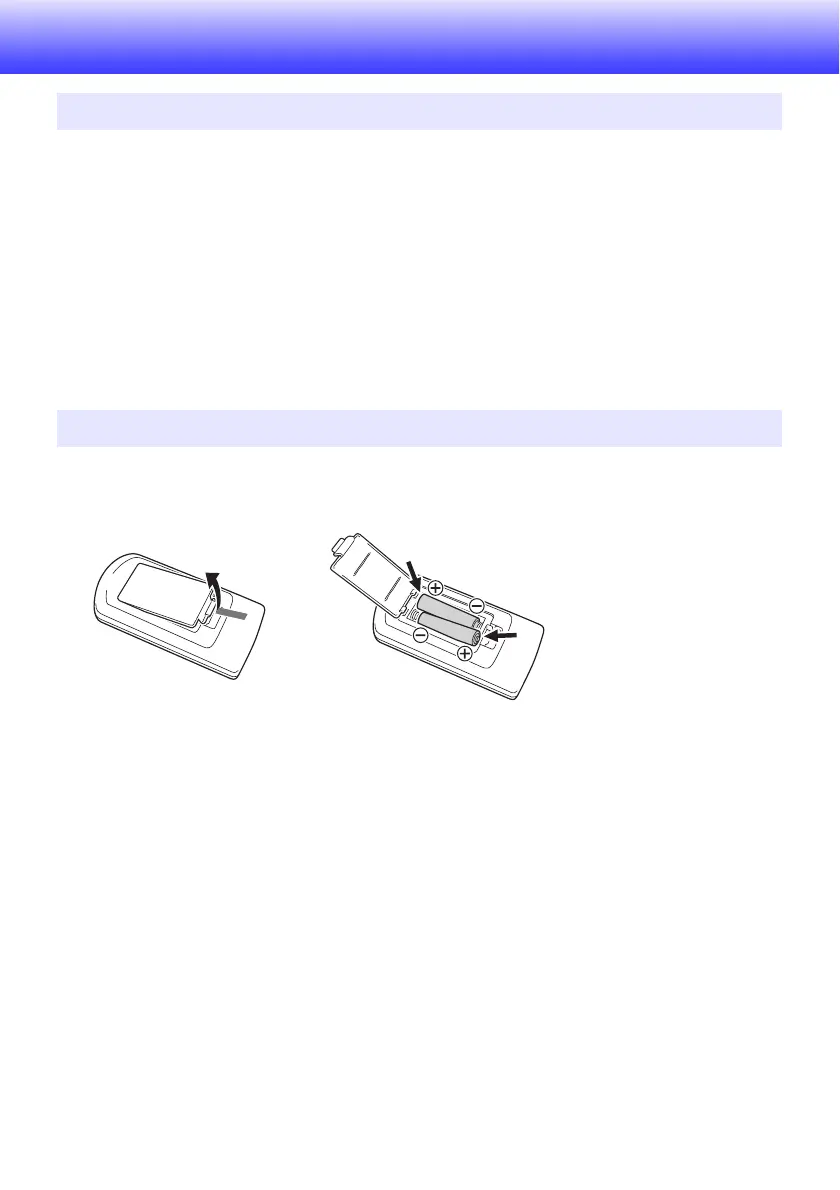
1.
Load the test batteries that come with the projector into the remote controller.
Use only alkaline batteries to power the remote controller.
2.
Place the projector onto a table, desk, or stand that is level and firm, making
sure that you allow enough room around it.
“Safety Precautions” (page 6), “Operating Precautions” (page 12)
“Setting Up the Projector” (page 19), “Setup Precautions” (page 19)
You will need to purchase special hardware to mount this projector on a wall. For details, contact
the retailer where you purchased the projector.
3.
Adjust the vertical angle of the projector.
“To adjust the vertical angle of the projector” (page 19)
4.
Use the supplied power cord to plug the projector into a power outlet.
5.
Connect the projector to an image output device and/or audio output device, and
then turn on each device.
“Connecting with an External Device” (page 20)
Unpacking
Operation Flow to Projection
 Loading...