EasyManua.ls Logo

Craftsman 113.23301 User Manual

Craftsman 113.23301
36 pages
To Next Page IconTo Next Page
To Previous Page IconTo Previous Page
Page #5 background imageLoading...
Page #5 background image
ADDITIONAL SAFETY INSTRUCTIONS FOR RADIAL SAWS
WEAR YOUR
The operation of any power tool can result in foreign
objects being thrown into the eyes, which can result in
severe eye damage. Always wear safety goggles complying
with ANSI Z87.1 (shown on Package) before commencing
power tool operation. Safety Goggles are available at Sears
retail or catalog stores.
Page
Operating Controls ............................ 15
Basic Saw Operations ........................... 18
Trouble Shooting .............................. 21
Motor Trouble Shooting Chart ................ 25-26
Repair Parts .................................. 28
3/8-inch wrench
7/16-inch wrench
1!2-inch wrench
9/16-inch wrench
CONTENTS
Page
Guarantee and General Safety Instructions ........... 2
Additional Safety Instructions to Operator ........... 3
Unpacking and Pre-Assembly Instructions ............ 5
Assembly and Adjustments ....................... 6
Electrical Connections .......................... 13
F-'
TOOLS NEEDED /:_ li
S rewOrlver(smo,,) I::
_._ _ Framing square i "
Pencil Figure f Pliers _: ,: !
unpacking and pre-assembly
1. Unpacking and Checking Contents
a. Before proceeding with the assembly of your new
Craftsman 12-Inch Radial saw, you should read
these instructions and follow them carefully.
b. This Saw is shipped complete in one carton.
However, in order to prevent damage during
shipment and facilitate packaging, certain items
are removed at the factory and must be
reassembled when received by the purchaser.
These "loose" parts are shown in figure 2 and
listed in the "Table of Loose Parts" below.
c, Separate all "loose" parts from packaging
materials and check each item with figure 2 and
"Table of Loose Parts", making sure all items are
accounted for before discarding any packing
material.
If any parts are missing, Do Not attempt to assemble
the Radial Saw, plug in the power cord, or turn the
switch on until the missing parts are obtained and
installed correctly.
Key No.
(Fig. 2) Table Of Loose Parts Qty.
I
2
3
4
5
6
7
8
9
10
2
4 5
8
Figure 2
Tablesupport (left-hand) ................. 1
Tablesupport No. 2 (center) ............... 1
Basicsawassembly...................... 1
Reartable ............................. 1
Tablespacer ........................... 1
Ripfence ............................. 1
Front table ............................ 1
Tablesupport(right-hand) ................ 1
"Owners Manual" . ...................... 1
LooseParts Carton (containingthefollowing items):
Hex-"L" wrench(1/8") ......... ........ 1
Hex-"L" wrench(3/16") ................ 1
Hex-"L" wrench(1/4") ................. 1
Elevationcrankassembly................ 1
Knobassembly,pull .................... 1
Screw,hex.-hd.,3/8-16 x 1" . ............ 4
Lockwasher, medium,3/8" . ............. 4
Washer,flat (steel), 13/32 x 7/8 x 1/16" .... 4
Nut, Square,3/8-16 x 5/8 x 1/4". ......... 4
Rip-scaleindicator..................... 2
Twin nut (for attaching rip scaleindicator) .. 2
Machinescrew,hex-hd.,5/16-18 x 3/4" .... 1
Washer,steel(flat), 11/32 x 7/8 x 1/16" .... 1
Lockwasher,medium5/16"'. ............. 1
Nut, bex., 5/16-18 x 1/2 x 17/64". ........ 1
Machinescrew,pan.-hd.,1/4-20 x 1". ...... 7
Washer.steel(flat), 17/64 x 5/8 x 1/32" .... 7
Lockwasher,medium,1/4" . ............. 6
Nut, hex., 1/4-20 x 7/16 x 3/16". ......... 6
Tableclamp .......................... 3
Shaft wrench ......................... 1
Arbor wrench......................... 1
Switch key ........................... 2
Nut, "'U'"clip ......................... 1
Hook,cord........................... !
Machinescrew,pan.-hd.,6-32 x 7/16". ..... 4
Question and Answer IconNeed help?

Do you have a question about the Craftsman 113.23301 and is the answer not in the manual?
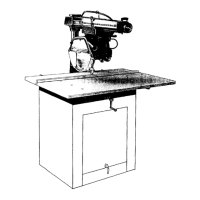
Craftsman 113.23301 Specifications

General IconGeneral
Model Number113.23301
TypeTable Saw
Blade Diameter10 inches
Voltage120V
Table Size20 x 26 inches
Arbor Size5/8 inches

Summary

General Safety Instructions for Power Tools

Know Your Power Tool

Read owner's manual for application, limitations, and potential hazards.

Ground All Tools

Ensure proper grounding using 3-conductor cord and plug for safety.

Keep Guards in Place

Maintain guards in working order, proper adjustment, and alignment.

Keep Work Area Clean

Maintain a clean, uncluttered workspace to prevent accidents.

Additional Safety Instructions for Radial Saws

Installation Safety

Follow steps for assembly, alignment, and familiarity with controls.

Minimize Accident Potential

Avoid awkward positions and improper tool usage to prevent slips.

Ripping Safety

Specific precautions for ripping operations, including kickback prevention.

Crosscutting Safety

Guidelines for safe crosscutting operations and workpiece handling.

Tools Needed and Unpacking Procedures

Tools Needed for Assembly

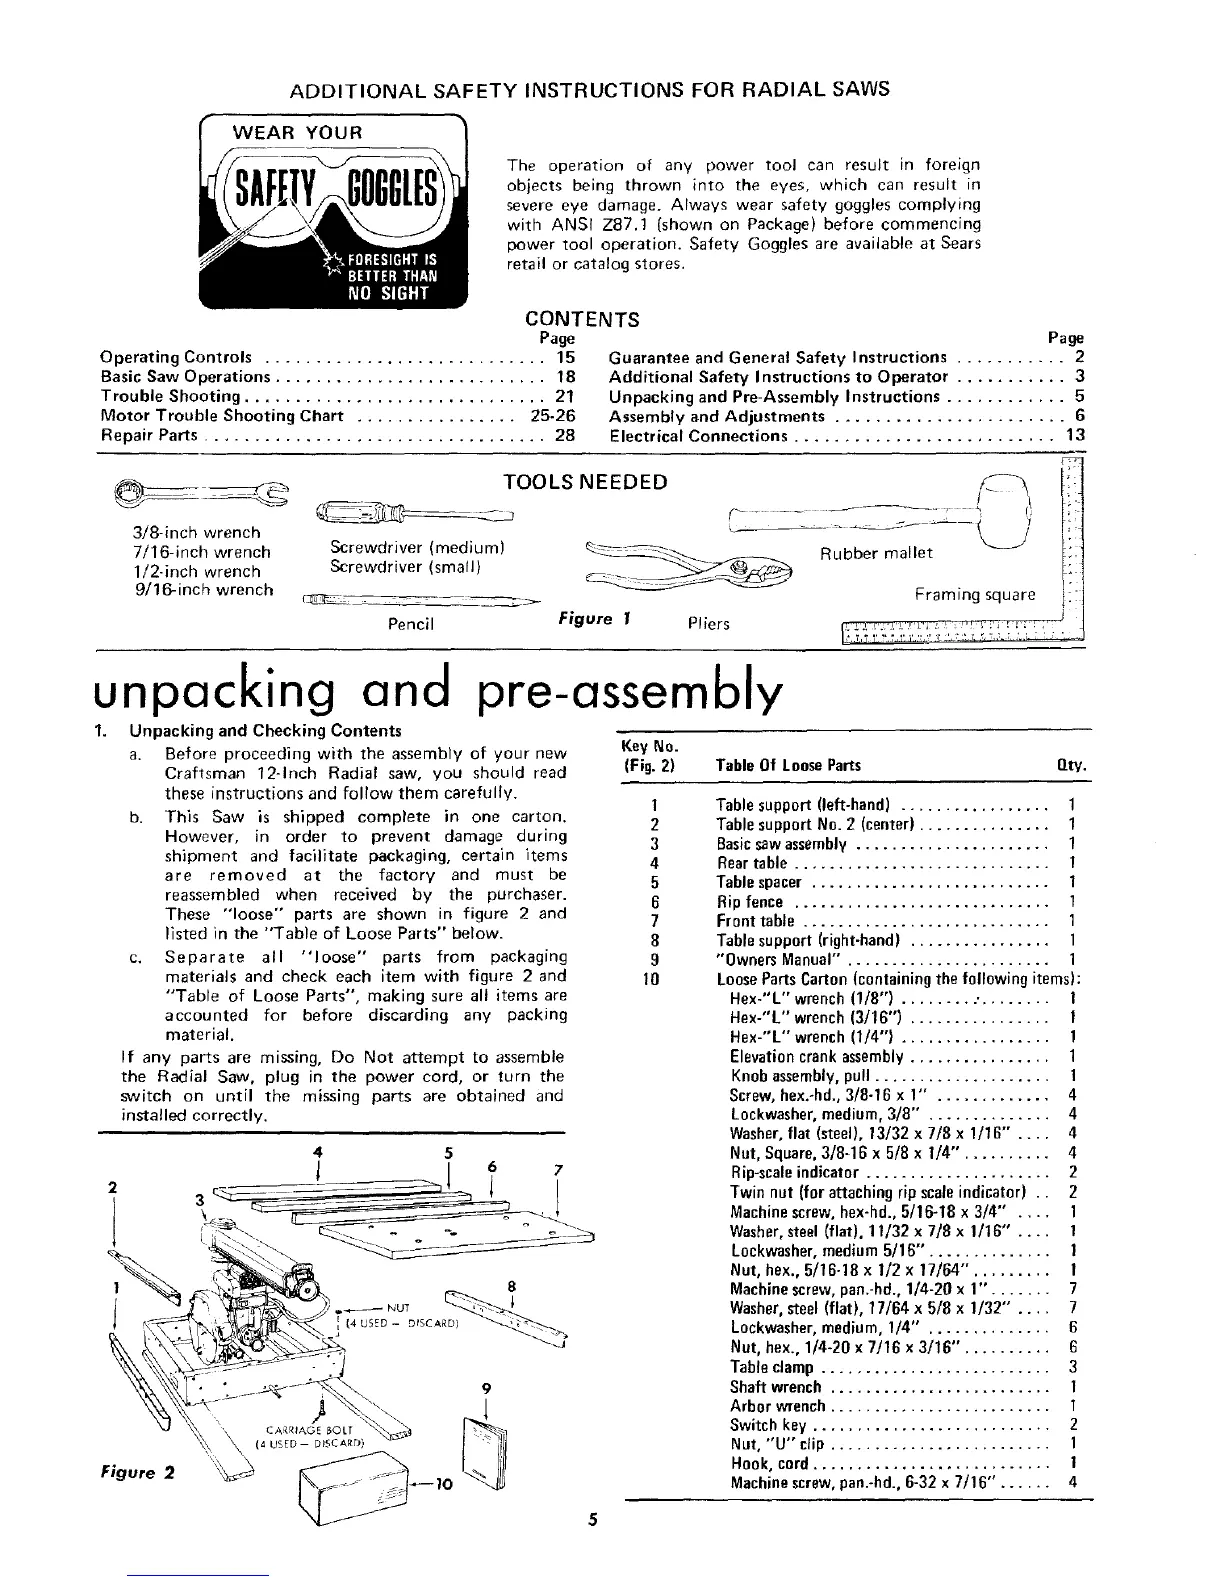
List of tools required for assembly and adjustments.

Unpacking and Checking Contents

Steps for safely unpacking the saw and verifying all parts.

Assembly and Adjustments Guide

Mounting Your Saw

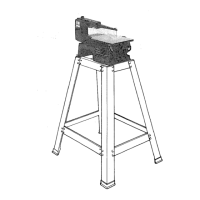
Instructions for securely mounting the radial saw base on a stable surface.

Motor and Carriage Assembly

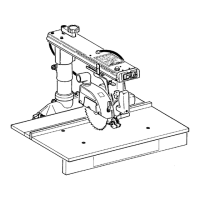
Steps to install the motor and carriage onto the radial arm.

Table Support Alignment

Procedures for aligning table supports parallel to the radial arm.

Squaring the Crosscut Travel

How to ensure accurate square crosscut movements of the carriage.

Electrical Connections and Safety

Power Supply and Motor Data

Specifications for voltage, amperage, frequency, and motor details.

Motor Safety Protection

Explanation of overload protector and safe operating procedures.

Wire Sizes for Extension Cords

Recommended wire gauge for extension cords based on length.

Operating Controls and Functions

Depth of Cut Adjustment

How to adjust the blade depth using the elevation crank.

Radial Arm Angle Control

Releasing, securing, and indexing the radial arm angle.

Carriage Lock Operation

How to lock and unlock the carriage for stable cutting.

Blade Angle and Bevel Settings

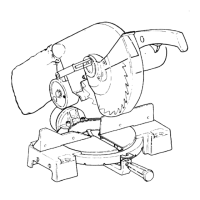
Adjusting the blade angle using bevel lock and latch pin.

Basic Saw Operations Guide

Crosscutting Procedures

How to perform safe crosscuts using the radial saw.

Miter and Bevel Crosscutting

Cutting at angles using miter and bevel adjustments.

Ripping Operations

Safe techniques for ripping wood to width, including kickback prevention.

Dadoing Operations

Guidelines for making dado cuts safely and efficiently.

Troubleshooting Common Issues

Column Tube Looseness

Adjusting column tube key for rough or chattering movement.

Square Cut Accuracy

Troubleshooting inaccurate or non-square cuts and adjustments.

Yoke Indexing Problems

Diagnosing and fixing issues with the yoke indexing mechanism.

Blade Heeling Diagnosis

Identifying and correcting blade 'heeling' conditions.

Lubrication and Maintenance

Points Requiring Lubrication

Identifying specific points for periodic lubrication.

Points Not Requiring Lubrication

Identifying components that should not be lubricated.

Recommended Accessories

Accessory Catalog Numbers

List of available accessories with their corresponding catalog numbers.

Parts List and Diagrams

Figure 1 Parts List

Detailed list of parts corresponding to Figure 1 exploded view.

Figure 2 Parts List

Detailed list of parts corresponding to Figure 2 exploded view.

Figure 3 Parts List

Detailed list of parts corresponding to Figure 3 exploded view.

Service and How to Order Repair Parts

Contacting Sears for Service

Information on obtaining repair parts and authorized service.

Information for Ordering Parts

Required details for ordering replacement parts from Sears.

Related product manuals