EasyManua.ls Logo

Craftsman 917.773423 User Manual

Craftsman 917.773423
25 pages
To Next Page IconTo Next Page
To Previous Page IconTo Previous Page
Page #15 background imageLoading...
Page #15 background image
Immediatelyprepareyear bimmerfor storage
atthe endof theseaeaner ifthe unitwtllnot
be usedfor 30 daysor more.
TRIMMER
When5_mmeristo be storedfora periodof
time,dean itthoroughly,removeall dirt,
grease,leaves,etc. Storeina dean, dryarea.
1. Cleanentre ldmrnar(See "CLEANING" in
the Maintenancesectionof thismanual).
2. Lutxicateas shownin _ Maintenance
secifon of _s rnanuai.
3. Be surethatallnots, bolts,serews,and
p_nsare securelyfastened. Inspect
movingpartsfor damage, breakageand
wear. Replaceifnecessary.
4. Teach up all rustedor chippedpaint
surfaces;sand lightlybeforepaining.
HANDLE
Youcanfold yourb'immerhandlefor storage.
L_:<_senhandleknobenoughto alow
upperhandleto be folded forward.
IMPORTANT: V_nenfolding the handlefor
stcmgeor b'easpertatJon,hesureto foldthe
handleasshown eryoun_y damage the
controlcables.
handle
Handle knob
ENGINE
FUELSYSTEM
IMPORTANT: It isimp<xtanttepreventgum
depositsfromforminginessentialfuel system
tank dudngstorage.Also, experience
indicatesthatalcoholblendedfuels (called
gasuhelor usingethanolor methanol)can
attractmoisturewhichleads toseparalton
and formation of addsduringstorage.Acidic
gas _ damagethefuel systemof an
engine while in storage.
1. Drain the fuel tank.
2. Start the engine and let it run until the
fuel lines and carburetor are empty.
Never use engine or carburetor cleaner
productsin the fuel tank or permanent
damage may occur.
Use fresh fuel next season.
NOTE: Fuel stabilizerisan accaptaUe
aitemativein minin_ng the formationof fuel
gumdepositsduringstorage. Add stabiizer
to gasolineinfueltankor storagecontainer.
Alwaysfollowthemix ra{_ofoundon stabgizer
ceatainer. Run engine at least10 minutes
after addi'K3 stabilizerto allowthe stabilizerto
reachthe carburetor. Do not drainthe gas
tank and carburetor if usingfuel stabilizer.
ENGINEOL
Drab oil (withenginewarm)and replacewith
cleanengineoil. (See"ENGINE" le the
Maintenancesectionof thismanual).
CYUNDER
1. Remove spark plug.
2. Pour one ounce (29 ml) of oil through
spark plug hole into cylinder.
3. Pullstarter handle slowly a few times
to distribute oil.
4. Replace with new spark plug.
OTHER
Do notsteregasolinefromone seasonto
another.
Replaceyear gasoline can ifyear can
startsto rusL Rust and/or didinyour
gasolinewillcause problems.
Ifpossble, storeyourunitindoorsand
covoritto givepretecltonfrom dustand did.
Cover year unitwitha suitableprotective
coverthatdoesnot retainmoisture.Do
notuseplaslJc.Plasticcannotbreathe,
whichalows condensationto form andwill
causeyourunitto mst.
IMPORTANT: Nevercovertrimmerwhile
engineand exhaustareas are stillwarm.
I=CAUTION: Never store the trimmer
with gasoline in the tank inside a building
where fumes may reach an open flame or
spark. Allow the engine to cool before
partssuchascarburetor,fuel filter,fuel hoseor15 storing in any enclosure.
Question and Answer IconNeed help?

Do you have a question about the Craftsman 917.773423 and is the answer not in the manual?
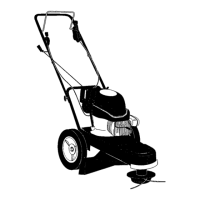
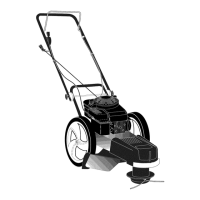
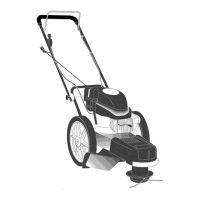
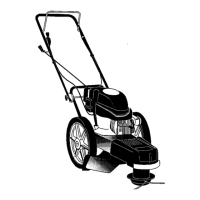
Craftsman 917.773423 Specifications

General IconGeneral
TypeGas Trimmer
Power SourceGasoline
Engine Type2-Cycle
Engine Displacement25 cc
Cutting Swath17 inches
Shaft TypeStraight

Summary

Safety

General Operation Safety

Essential safety guidelines and familiarization procedures for operating the trimmer.

Slope Operation Precautions

Safety measures and techniques for safe trimming on inclined surfaces.

Children Safety Measures

Critical steps to prevent accidents involving children near the operating area.

Service and Fuel Safety

Safety protocols for handling fuel, performing maintenance, and general warnings.

Assembly

Unpacking the Trimmer

Instructions for safely removing the trimmer and its components from the carton.

Handle Setup and Adjustment

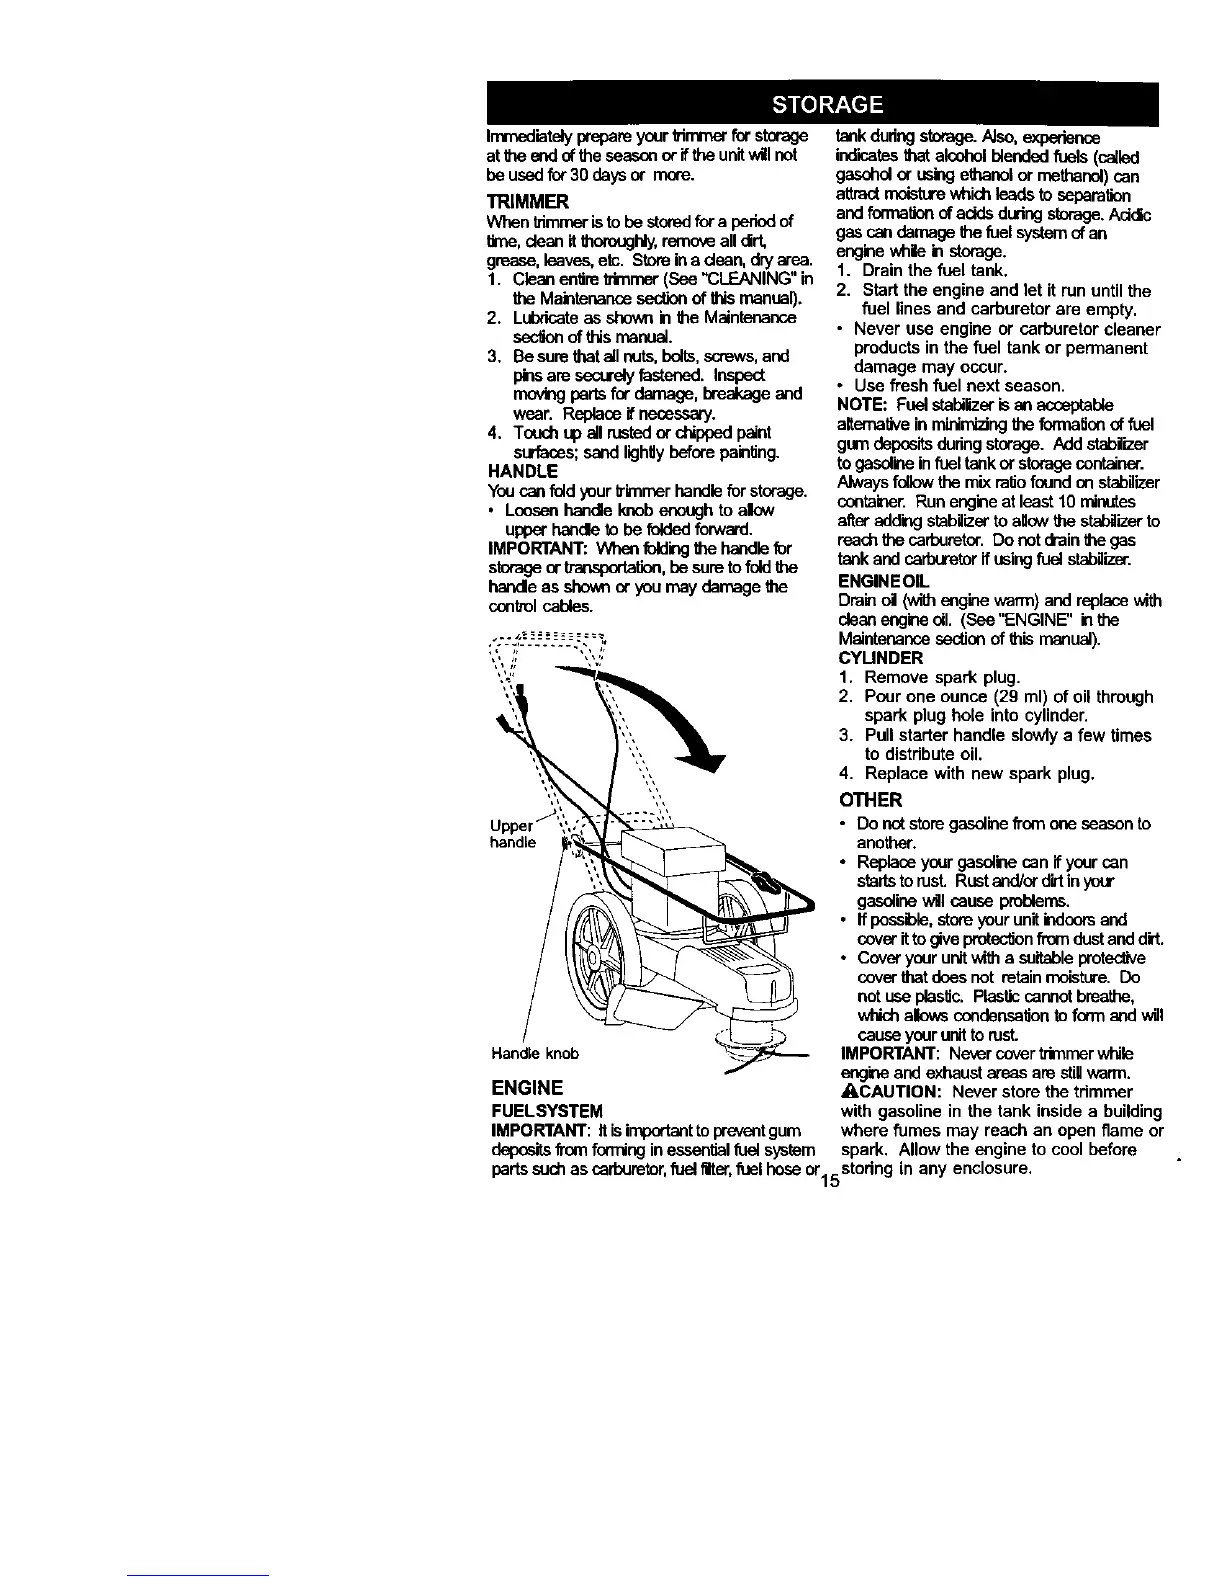
Steps to unfold, position, and secure the trimmer handle for use.

Operation

Trimmer Controls Overview

Identification and function of key trimmer controls, symbols, and components.

Engine Speed and Throttle Use

How to manage engine speed using the throttle for efficient trimming.

Trimmer Head Engagement

Understanding the control bar for operating and stopping the trimmer head rotation.

Starting and Stopping Procedures

Step-by-step instructions for safely starting and stopping the trimmer engine.

Effective Trimming Techniques

Tips for optimal trimming, line management, and maintaining cutting performance.

Maintenance

Scheduled Maintenance Tasks

A guide to regular checks, cleaning, and lubrication for the trimmer.

Engine Oil and Lubrication

Procedures for checking oil levels, changing oil, and other lubrication points.

Trimmer Line Replacement Guide

Detailed instructions for replacing the trimmer line for continuous operation.

Air Filter Maintenance

How to clean and replace the air filter for proper engine function.

Spark Plug and Muffler Care

Guidance on inspecting and maintaining the spark plug and muffler.

Service and Adjustments

Adjusting Cutting Height

Steps to change the trimmer's cutting height for different grass conditions.

Handle Height Adjustment

How to adjust the upper handle position for user comfort.

Drive Belt Replacement Procedure

Instructions for removing and installing the trimmer's drive belt.

Engine Speed and Carburetor Notes

Information on engine speed settings and carburetor maintenance.

Storage

Trimmer Preparation for Storage

Steps for cleaning and preparing the trimmer before storing it.

Fuel System Management for Storage

How to prepare the fuel system to prevent issues during storage.

Cylinder Protection for Storage

Methods to protect the engine cylinder during extended storage periods.

Repair Parts

Parts Identification and Diagrams

Visual guide to identify and order replacement parts for the trimmer.

Related product manuals