9
ENGLISH
Blade Maintenance (Fig.K)
The cutting blades are made from high quality, hardened
steel and with normal usage, they will not require
resharpening. However, if you accidentally hit a wire fence
(Fig.K), stones, glass, or other hard objects, you may put a
nick in the blade. There is no need to remove this nick as long
as it does not interfere with the movement of the blade. If
it does interfere, remove the battery and use a fine toothed
file or sharpening stone to remove the nick. If you drop the
trimmer, carefully inspect it for damage. If the blade is bent,
housing cracked, handles broken or if you see any other
condition that may affect the tool's operation contact your
local authorized service center for repairs before putting it
back intouse.
MAINTENANCE
WARNING: To reduce the risk of serious personal
injury, turn unit off and remove the battery pack
before making any adjustments or removing/
installing attachments or accessories. An
accidental start‑up can causeinjury.
Hints for Optimum Use (Figs. G–J)
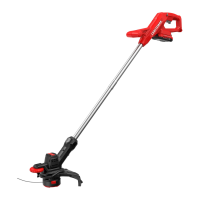
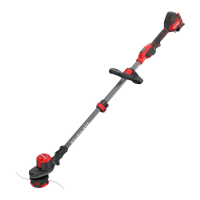
Trimming Grass (Fig. G, H )
CAUTION: Blades coast after turnoff.
• In order to achieve optimum cutting results, only cut
drygrass.
• Hold the tool as shown in Fig. G. Keep your other hand
well away from the blade. Maintain a stable working
position so that you do not slip. Do not overreach.
• When cutting long grass, work in stages from the top. Take
smallcuts.
• Keep the tool away from hard objects and delicate plants.
• If the tool starts running slowly, reduce theload.
• To make a closer cut, slightly tilt thetool.
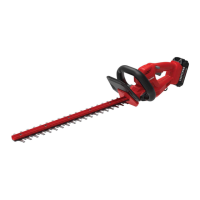
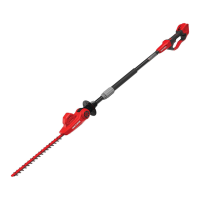
Trimming Hedges (Fig. I, J)
CAUTION: Blades coast after turnoff.
• Slightly tilt the tool (up to 15° relative to the line of cut) so
that the blade tips point slightly towards the hedge. This
will cause the blades to cut moreeffectively.
• Start by trimming the top of thehedge.
• Hold the tool at the desired angle and move it steadily
along the line of cut. The double-sided blade allows you
to cut in eitherdirection.
• In order to obtain a very straight cut, stretch a piece of
string along the length of the hedge at the desired height.
Use the string as a guide line, cutting just aboveit.
• In order to obtain flat sides, cut upwards with the growth.
Younger stems move outwards when the blade cuts
downwards, causing shallow patches in thehedge.
• Take care to avoid any foreign objects. Especially avoid
hard objects such as metal wire and railings, as these
could damage theblades.
• Regularly oil theblades.
Trigger Switch (Fig. A)
WARNING: Never attempt to lock a switch in the
ONposition.
CAUTION: Do not use blade to cut stems greater than
5/16" (8 mm). Use the trimmer only for cutting normal
shrubbery around houses andbuildings.
To turn the tool “ON”, shift the lock off switch
2
and squeeze
the trigger switch
1
. Once the unit is running, you may
release the lock off switch.
To turn the tool “OFF”, release thetrigger.
Proper Hand Position (Fig.F)
WARNING: To reduce the risk of serious personal injury,
ALWAYS use proper hand position as shown.
WARNING: To reduce the risk of serious personal
injury, ALWAYS hold securely in anticipation of a
suddenreaction.
Proper hand position requires one hand on the main
handle
7
.
CAUTION: Blades coast after turnoff.
WARNING: KEEP other hand away fromblade.
Installing and Removing the Battery Pack
(Fig.E)
NOTE: For best results, make sure your battery pack is
fullycharged.
To install the battery pack
3
into the tool handle, align the
battery pack with the rails inside the tool’s handle and slide it
into the handle until the battery pack is firmly seated in the
tool and ensure that it does notdisengage.
To remove the battery pack from the tool, press the release
button
4
and firmly pull the battery pack out of the tool
handle. Insert it into the charger as described in the charger
section of thismanual.
OPERATION
WARNING: To reduce the risk of serious personal
injury, turn unit off and remove the battery pack
before making any adjustments or removing/
installing attachments or accessories. An
accidental start‑up can causeinjury.
Fitting and Removing Blades (Fig. D)
The grass shear blade
5
has been designed for trimming
grass and weeds. The shrub trim blade
6
has been designed
for trimming hedges andshrubs.
• To fit the blade, remove the blade cover
8
by pushing
and holding the blade release button
9
in the direction
of the arrow (Fig. D)
• Remove the blade cover
8
(Fig. D).
• Align the positioning pin holes
10
on the blade with the
positioning pins
11
.
• Replace the blade cover
8
. as shown in Fig.D.
• The blade release button snaps into closedposition.
installing attachments or accessories. An
accidental start‑up can causeinjury.
 Loading...
