7
ENGLISH
d. The rabbet fence should be below the planer when
installed correctly as shown in FigureK.
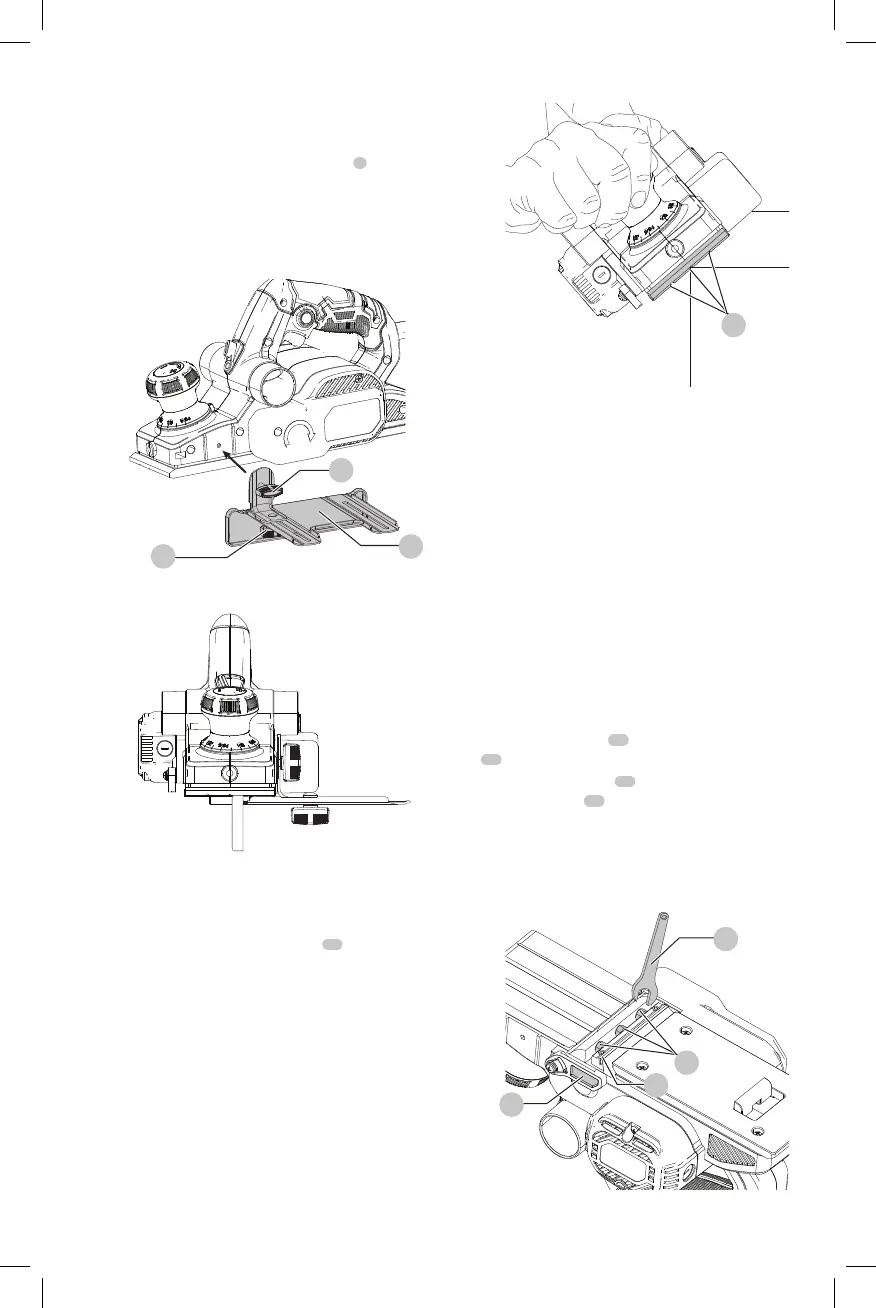
To Make a Rabbet Cut
a. Turn the rabbet fence adjustment knob
8
to adjust
the desired width of cut.
b. Make several cuts until the desired depth is reached.
NOTE: It will be necessary to make quite a few cuts for most
rabbet applications.
Fig.J
8
14
9
Fig.K
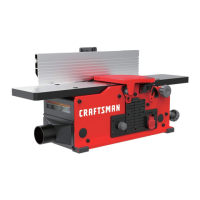
Edge Chamfering (Fig. L)
1. Your planer has three precision machined chamfering
grooves 1.5 mm, 2.0 mm and 2.5 mm
15
. They are
located in the front shoe and are used for planing along
a corner of the material.
a. Adjust to desired depth of cut.
b. Place groove over edge of material.
c. Apply weight to front of shoe so groove is flat on
material edge.
d. Hold tool with both hands keeping pressure on
fronthandle.
NOTE: It’s a good idea to try a piece of scrap wood before
doing finish work.
Fig.L
15
MAINTENANCE
WARNING: To reduce the risk of serious personal
injury, turn unit off and disconnect it from
power source before making any adjustments or
removing/installing attachments or accessories.
An accidental start-up can causeinjury.
To Change Blades (Fig. M)
WARNING: Cut Hazard. Do not remove guard. Planer
blades are sharp and must be handled with care.
NOTE: The CMEW300 has two blades, one on each side of
the blade drum. Any operation or adjustment should be
made to both blades. The cutting blades provided with this
tool are reversible.
To Remove Blade from Planer
1. Place planer upside down as shown in FigureM.
2. Loosen the three nuts
16
using the wrench
11
supplied.
3. Rotate the blade guard
18
downward. Carefully
remove the blade
17
by sliding it out of the holder. A
piece of wood may be used for this purpose.
4. Reverse the blade so that the unused side comes
in position. If both sides are worn, the blade must
bereplaced.
Fig.M
16
11
18
17
 Loading...