Australia New Zealand
www.jaycar.com.au www.jaycar.co.nz
techstore@jaycar.com.au techstore@jaycar.co.nz
1800 022 888 0800 452 922
Page
2
of
3
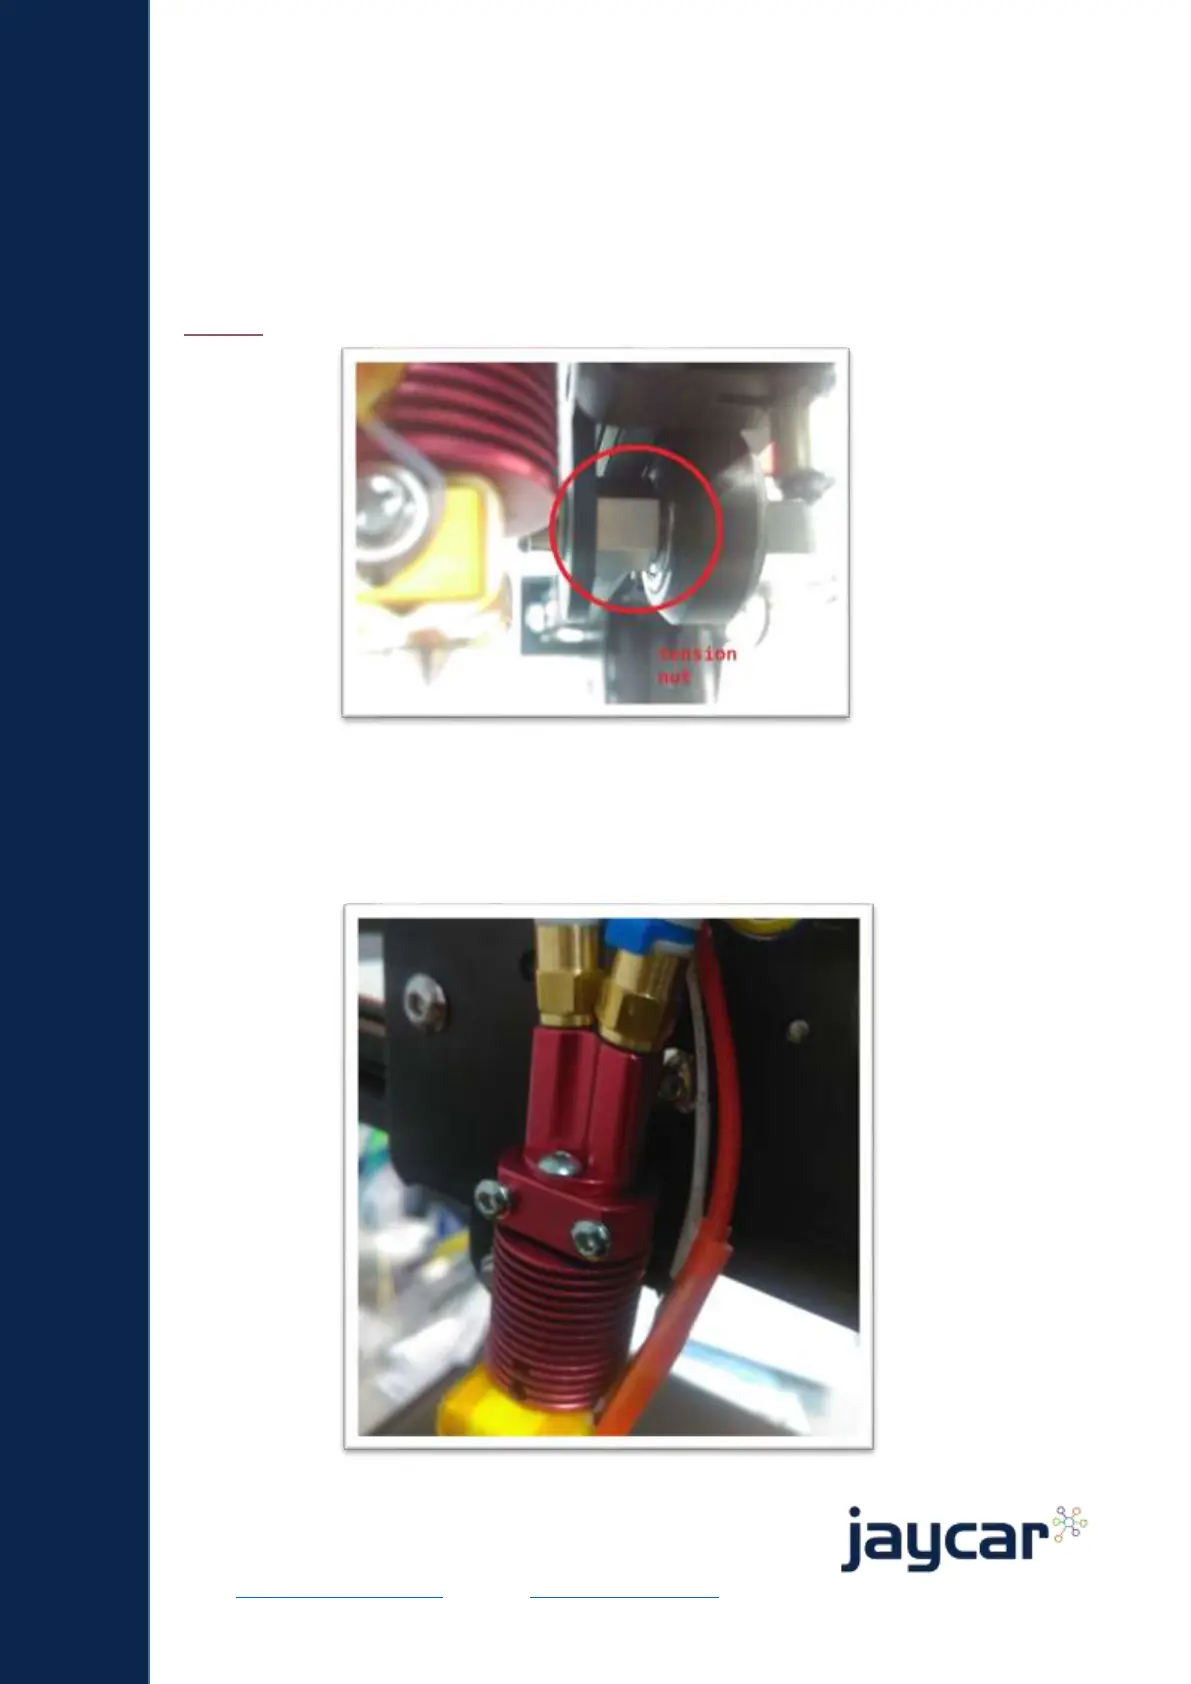
Loose/wobbly head
If the extruder head wobbles or can be shaken by hand on the X-axis railing, you must
tighten the tension nut to a point where it stops wobbling, then a slight turn after that.
The tension nut is located behind the bottom wheel, as part of the axle; this brings the
bottom wheel up closer towards the rail. Use the included spanner or a spanner from our
TH1910 set.
Nozzle assembly / thermocouple replacement
The front shield / fan-housing of the extruder can be easily removed by 2-3 screws on
the front of the extruder. Within, the nozzle is attached by a further 2 screws, which
mount it on to the base plate. From this point it should be easy to remove and replace
the nozzle, heater, or thermocouple when needed.
 Loading...