Do you have a question about the Cub Cadet SS470 and is the answer not in the manual?
| Engine Type | 2-cycle |
|---|---|
| Cutting Width | 17 inches |
| Line Diameter | 0.095 inches |
| Starting System | Recoil |
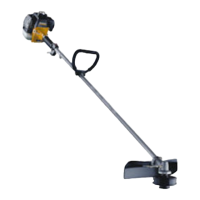
| Shaft Type | Straight |
| Line Feed | Bump head |
| Handle Type | D-handle |
Details on obtaining warranty service and limitations.
Key safety guidelines for operating the unit, emphasizing user and bystander safety.
Instruction to read the manual and follow all warnings for safe operation.
Crucial safety precautions specific to gasoline-powered units, especially regarding fuel.
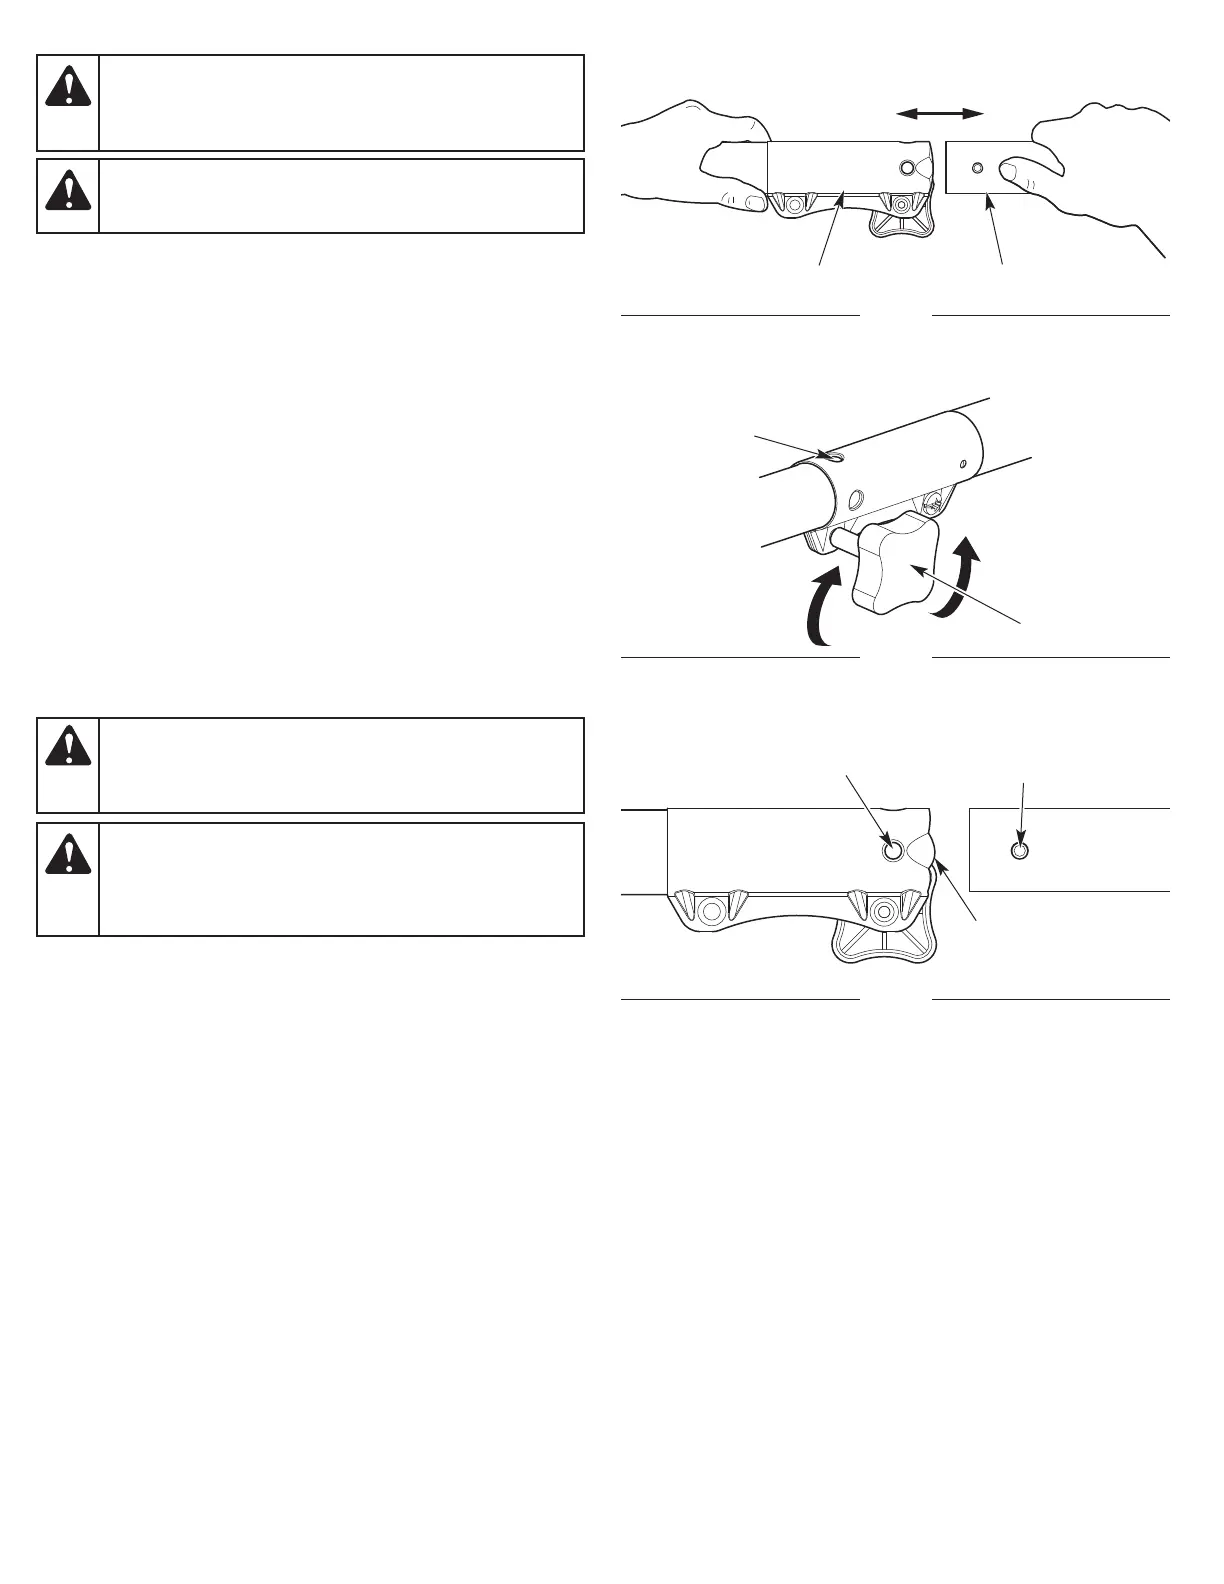
Guidelines for safe operation, including protective gear and proper handling.
Guidance on selecting and using the correct type of oil for the engine.
Detailed instructions for adding oil to the crankcase before the first use.
Safety precautions and steps for safely adding fuel to the unit's tank.
Step-by-step guide on how to start the engine, including choke and throttle operation.
A schedule outlining required maintenance tasks and their frequencies.
Instructions for draining and replacing the engine oil.
Solutions for common engine starting, idling, and acceleration problems.
Solutions for issues related to line advancement and cutting head operation.