5
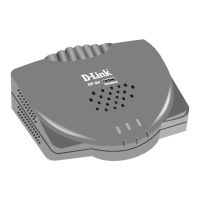
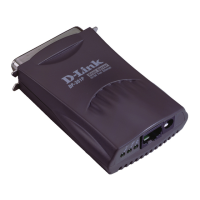
HARDWARE INSTALLATION
WARNING: There may be conguration problems if the Print Server is turned on
without rst establishing a network connection.
Follow the steps below to avoid any complications during the hardware
installation:
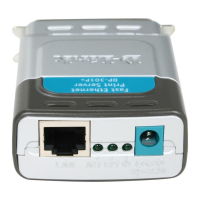
1. Conrm that the printer you will use to connect to the DPR-2000 is operating
correctly.
2. When you have conrmed that the printer is operating correctly, switch its power
OFF.
3. Conrm that your network is operating normally.
4. Using a CAT 5 Ethernet cable, connect the DPR-2000 Ethernet Port (labelled
LAN) to the network.
5. While the printer is turned OFF, connect the USB printer cable to the printer and
then to the USB port on the Print Server.
6. Switch on the printer.
7. Insert the power adapter’s output plug into the DC 5V power socket on the rear
panel of the Print Server.
8. Connect the other end of the power adapter into an AC power outlet. This will
supply power to the DPR-2000. The blue LED on the DPR-2000’s front panel
should turn ON and this Print Server’s self-test will proceed.
 Loading...