nEnglish 4
Installation
• Install the unit horizontally.
• The unit may be installed directly on a concrete verandah or a solid place if drainage is good.
• If the vibration may possibly be transmitted to the building, use a vibration-proof rubber (field supply).
1. Connections (connection port)
Install the indoor unit according to the table below, which shows the relationship between the class of indoor unit and the
corresponding port.
The total indoor unit class that can be connected to this unit:
Heat pump type: 3MXS40∗ – Up to 7.0kW
3MXS52∗ – Up to 9.0kW
3AMX52∗ – Up to 9.0kW
Precautions on Installation
• Check the strength and level of the installation ground so that the unit will not cause any operating vibration or noise after installed.
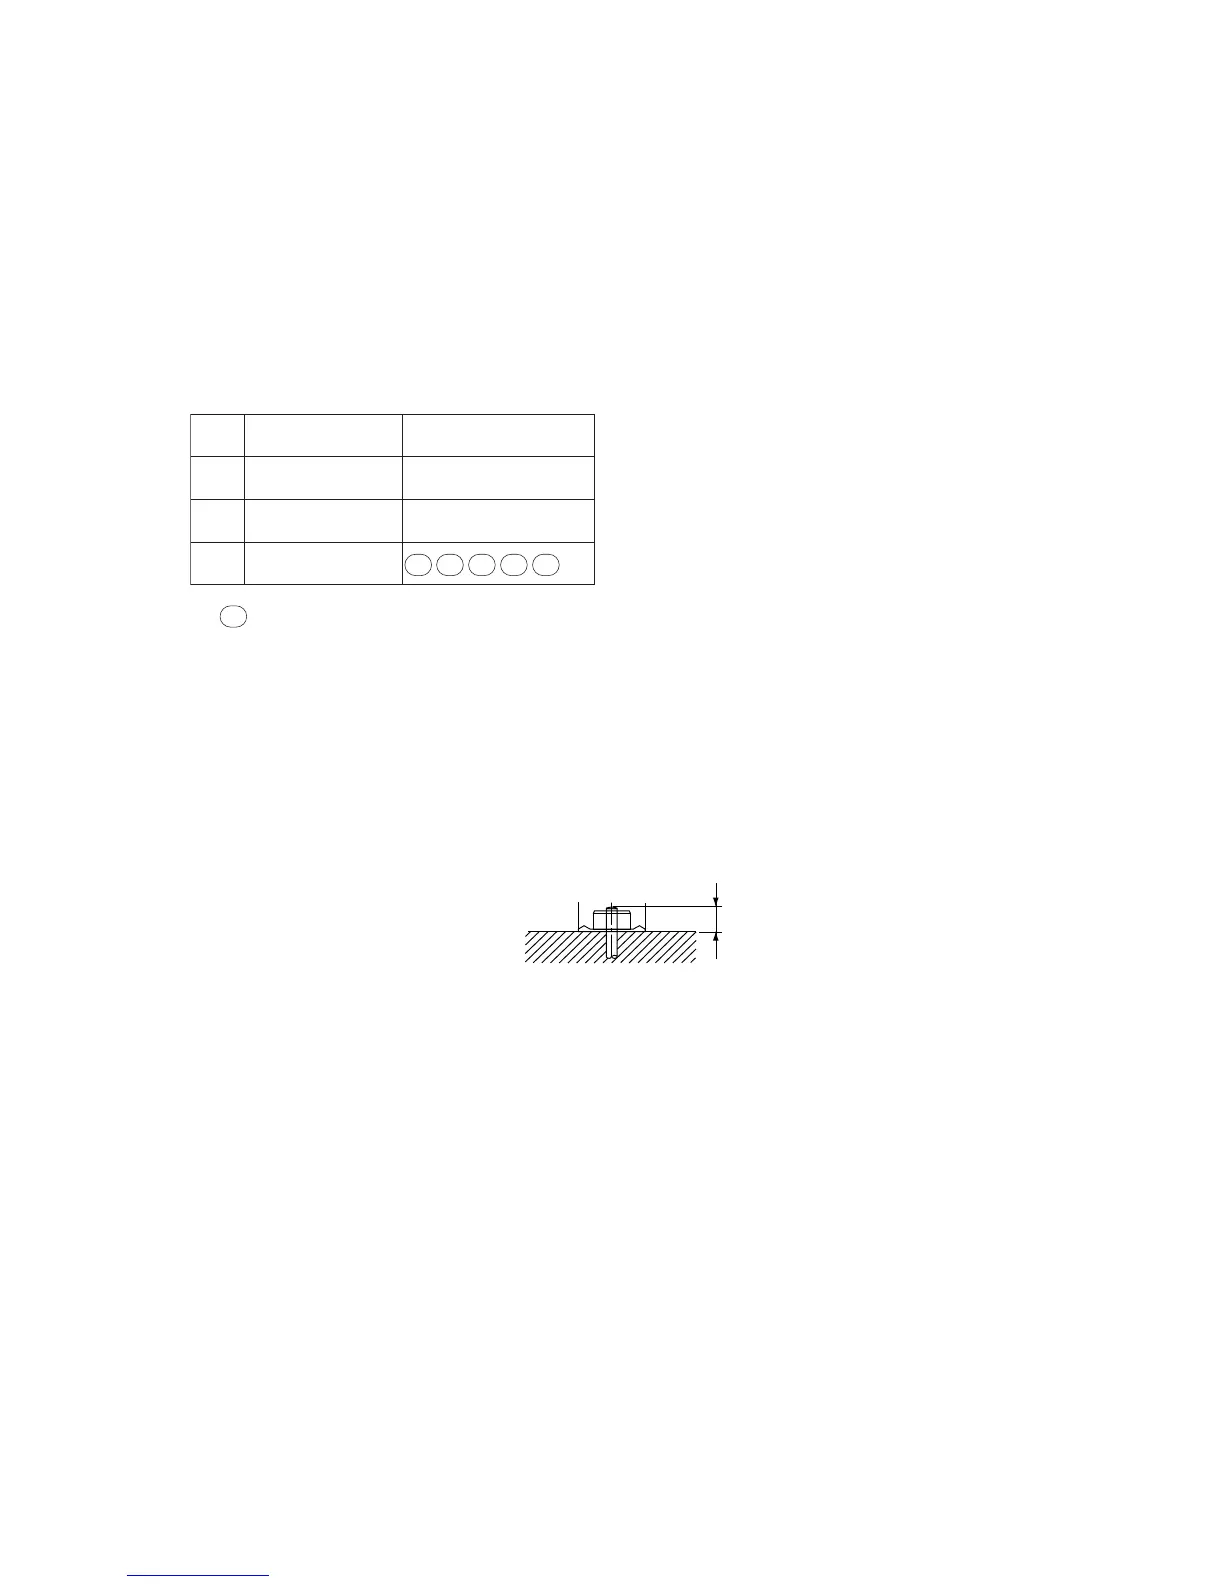
• In accordance with the foundation drawing in fix the unit securely by means of the foundation bolts. (Prepare 4 sets of M8 or M10
foundation bolts, nuts and washers each which are available on the market.)
• It is best to screw in the foundation bolts until their ends are 20mm from the foundation surface.
: Use a reducer to connect pipes.
: Use No. 2 and 4 reducers
#
Refer to “How to Use Reducers” on page 10 for information on reducer numbers and their shapes.
# # # #
A
B
C
3MXS52∗
3AMX52∗
20 , 25
20 , 25 , 35 42
20 ,
#
15 , 25 , 35 ,
,
50,
42,
42
,35
3MXS40∗
15 , 20
15 ,
15 ,
15 ,20 , 25
15 , 20 , 25
,25,35
,35
,35
Port
 Loading...