1-18
SERVICE AND MAINTENANCE
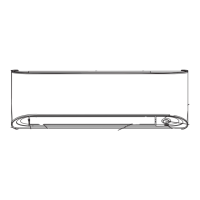
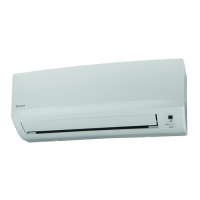
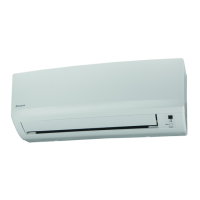
Open the front panel.
Hold the panel at the recesses on the main unit
(2 recesses on right and left sides) and lift it until it
stops.
1.
•
Remove the front panel.
While lifting the front panel further, slide it to the right
and pull it to the front side. The left rotating shaft is
detached. Slide the right rotating shaft to the left and
pull it to the front side to remove it.
2.
•
Attach the front panel.
Align the right and left rotating shafts of the front panel
with the grooves and push them all the way in.
Gently close the front panel. (Push both ends and the
center on the front panel.)
3.
•
•
Service Parts Maintenance Procedures Period
Indoor air filter Remove any dust adhering to the filter by using a vacuum cleaner or wash in lukewarm
water (below 40°C/104°F) with a neutral cleaning detergent.
Rinse the filter well and dry before placing it back onto the unit.
Do not use gasoline, volatile substances or chemicals to clean the filter.
1.
2.
3.
At least once
every 2 weeks.
More frequently
if necessary.
Indoor unit Clean any dirt or dust on the grille or panel by wiping it with a soft cloth soaked in
lukewarm water (below 40°C/104°F) and a neutral detergent solution.
Do not use gasoline, volatile substances or chemicals to clean the indoor unit.
1.
2.
At least once
every 2 weeks.
More frequently
if necessary.
! CAUTION
• Avoid direct contact of any coil treatment cleaners on plastic part. This may cause plastic part to deform as a result
of chemical reaction.
Step 1
Front Panel Opening & Closing Sequence
To open the front panel
1) Lift up the two tips of front panel 1 until it stops at the pre-fix position.
2) Lift up the two tips of front panel 2 to open it and access to inner parts.
To close the front panel, reverse the steps of opening sequence. Slot in the ribs (4 ribs at each side, total 8 ribs), carefully at
both left and right. Then, press the panel forward till it closes tight. Refer to 3
Rotating shaft
Recess on
main unit
Step 2
Step 3 Step 3
1 IM-5WMYJ(R)-0617(0)-DAIKIN USA18 181 IM-5WMYJ(R)-0617(0)-DAIKIN USA18 18 10/12/17 10:31:03 AM10/12/17 10:31:03 AM
