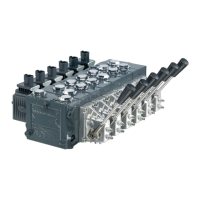
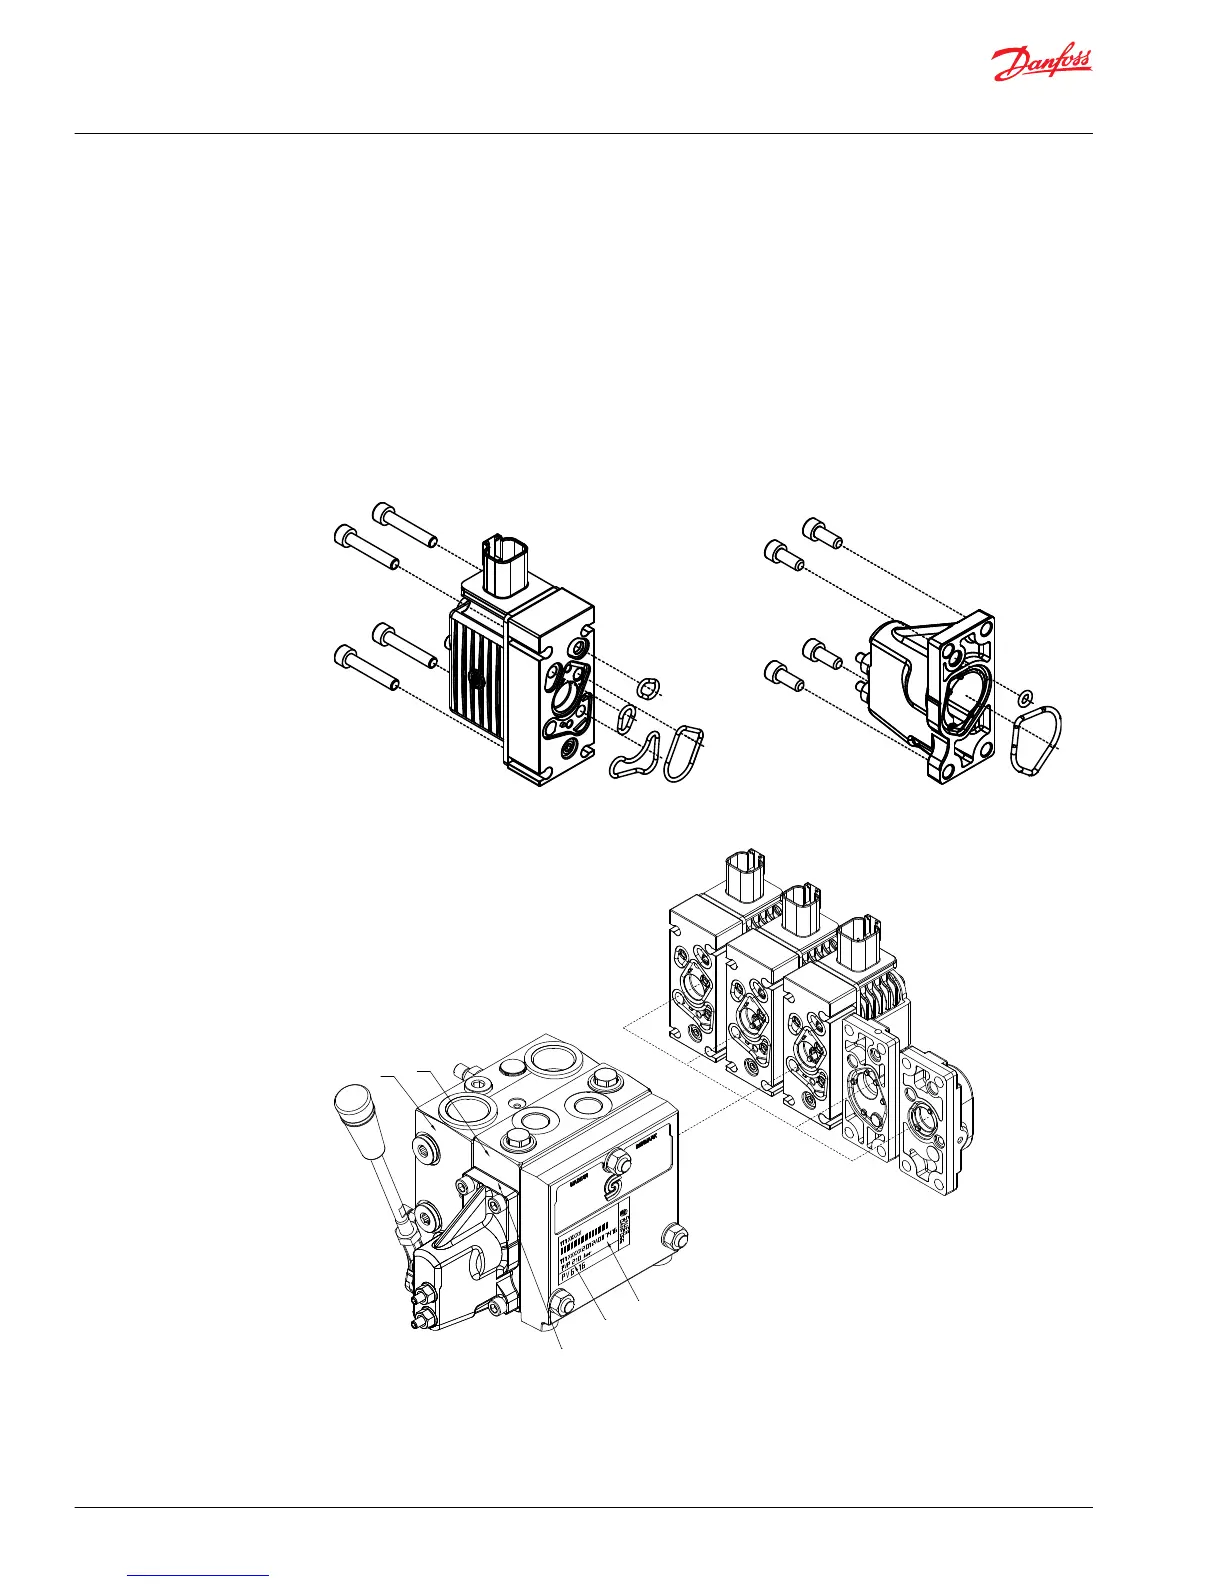
PVG 16 and PVG 32 are symmetrical, which allows for valve groups to be “option mounted” This can
be one by inserting the spools from the “B” port side and mounting the PVM’s on the “B” port side of
the PVB assembly.
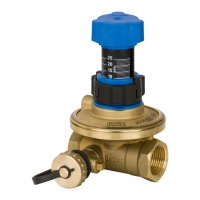
7. Assemble the mechanical actuators to the valve (see the figure below). Before fitting the PVM into
engagement with the PVBS tension rod, the driver arm must be pushed towards the PVB before
engagement will occur.
Once the driver arm is engaged, rotate the mechanical actuator while pressing the PVM until the PVM
is flush against the PVB housing.
Tighten the four (4) mounting screws to a torque of 0.8 +0/-0.5 N•m [70 +0/-4.5 lbf•in] using a 5 mm
hex driver.
Assembly of PVE, electrical actuation / Assembly of PVM, mechanical actuation
Assembly of PVG 16
Service Manual
PVG 16 and 32 Service Assembly/Disassembly Guide
Assembly instructions
18 |
©
Danfoss | November 2017 L1104530 | AX00000133en-US0106
 Loading...