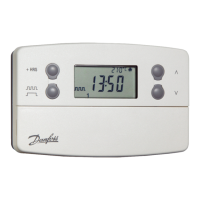
TP7001
User Instructions
Accepting the Factory Pre-settings
Weekdays (Mon-Fri) Weekend (Sat-Sun)
Event Time Temp °C Event Time Temp °C
1 06:30 20 1 07:30 20
2 08:30 15 2 09:30 20
3 11:30 20 3 11:30 20
4 13:30 15 4 13:30 20
5 16:30 21 5 16:30 21
6 22:30 15 6 22:30 15
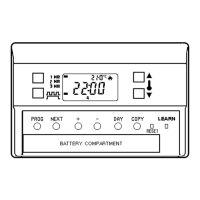
Before programming the thermostat, press the recessed
RESET button to reset, using a non-metallic object (Fig.2)
Fig.1
Fig.2
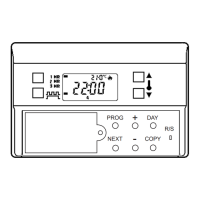
Press and hold V & - until display changes (Fig.3)
Selecting the temperature display (°C or °F)
Selecting the clock display (am/pm or 24 hr)
Setting the Clock & Day
Fig.3
Press and hold Λ & + until display changes (Fig.4)
Fig.4
The date and time are set in the factory and therefore it
will not normally be necessary to do this on site. Changes
between summer and winter time are handled automatically
by the unit.
Setting the date: Press and hold Λ & PROG buttons for 3
seconds, to display date. (Fig.5)
The YEAR number will ash, use Λ or V to correct the year
(Fig.6)
Use - or + to move to MONTH, then use Λ or V to correct
month (Fig.7)
Use - or + to move to DATE, in month then use Λ or V to
correct day (Fig.8) The day of the week is set automatically
from the date.
Setting the correct time
After setting the date press PROG to display the time.
Use - or + buttons to set the correct time. (Fig.9) When time
is correct press PROG to return to RUN mode.
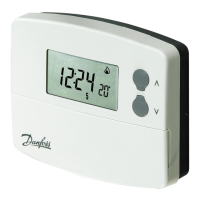
Y
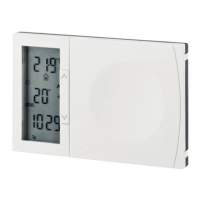
our TP7001 comes ready programmed with a set of
operating times and temperatures. (Fig.1)
To accept these settings close the front cover and after
2 minutes these will be accepted automatically.
If you
prefer, you can change any of these settings using the
following instructions.
Fig.5
Fig.6
Fig.7
Fig.8
Fig.9
Thermostat mode either 7-day, 5/2 day or 24 hour
To check which mode your unit is set to press PROG until
Event 1 ashes in display.
• In 7-day mode only one day of the week is shown in
the display.
• In 5/2 day mode either weekdays or weekend days are
shown in the display
• In 24 hour mode no days of the week are shown in
the display.
Press PROG to return to RUN mode.