1
Overview
This document describes the installation and use of the General Purpose Input Output
(GPIO) option for the I-Class Mark II printer. Follow the steps to begin installing/using the
option.
CAUTION
For safety and to avoid equipment damage, turn OFF the power switch and
unplug the AC power cord from the printer before starting this installation.
Contents
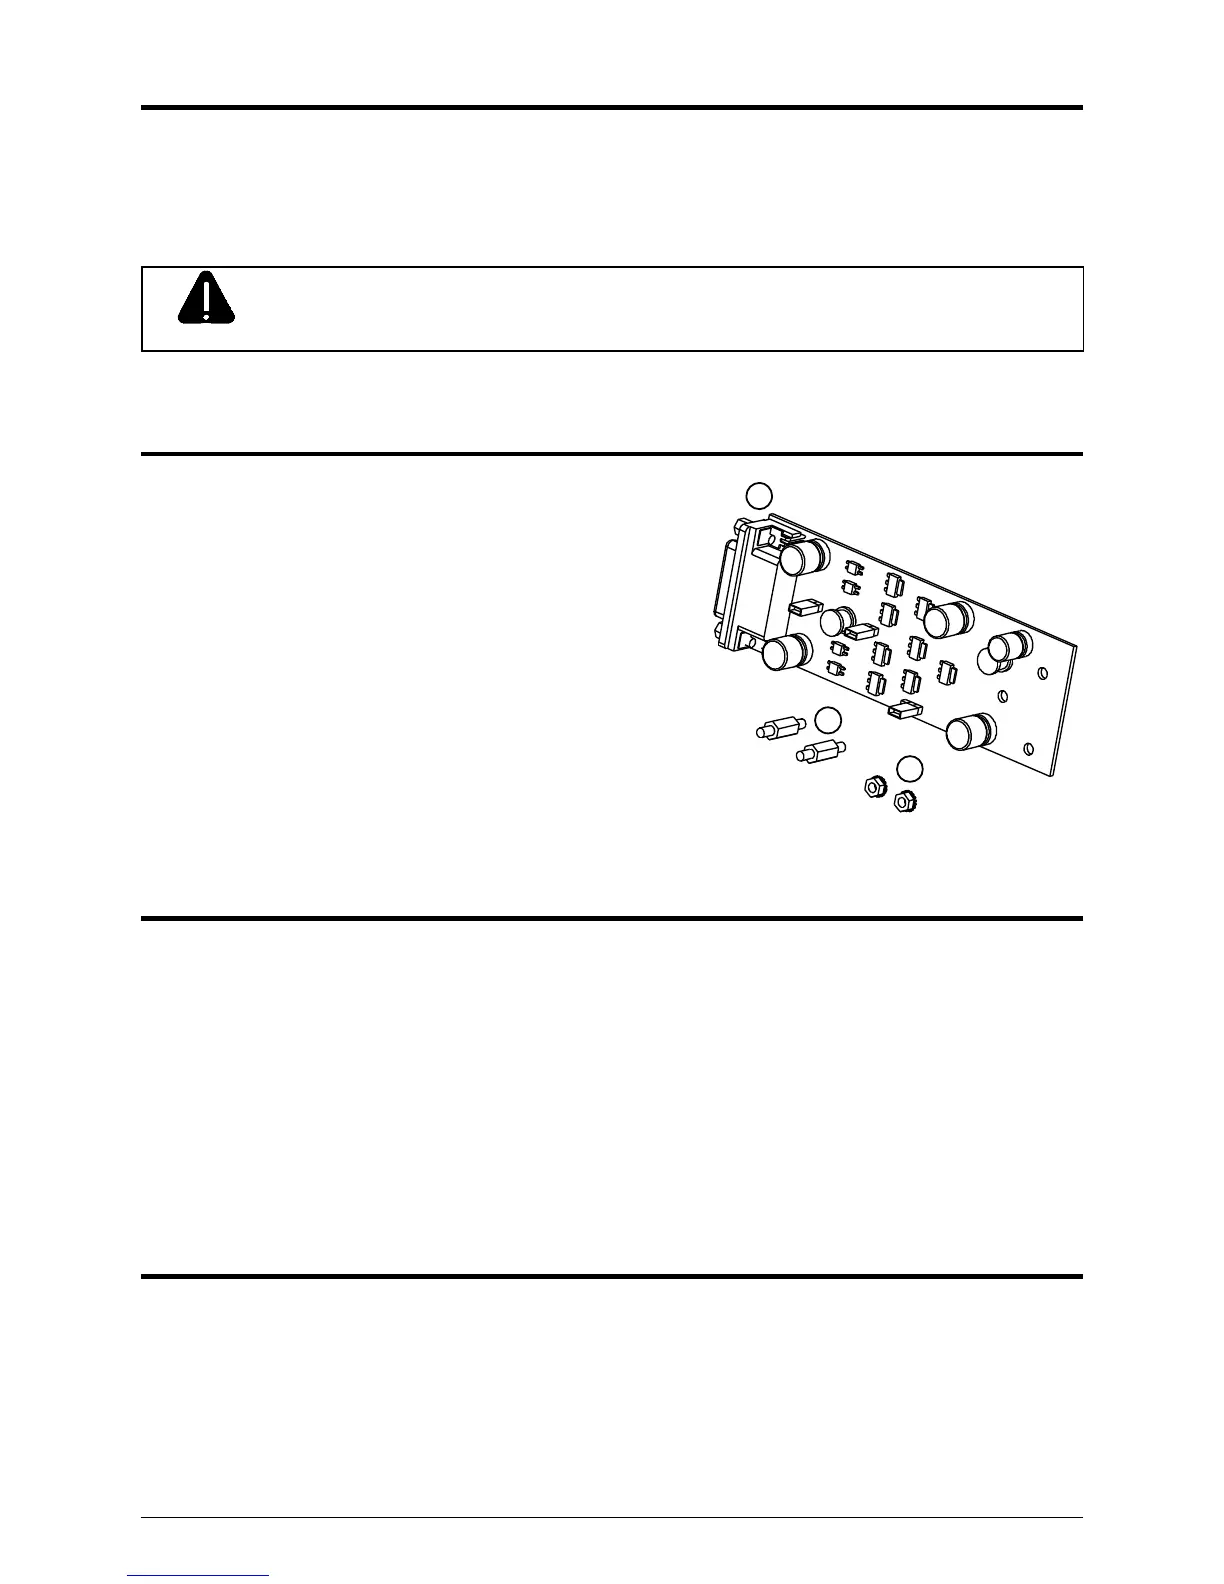
This kit contains the following items:
GPIO Circuit Card Assembly
Standoff, 6mm Hex (2)
Locking Nut, 5.5mm (2)
3
1
2
Tools Required
To install this option, you will need:
Philips screwdriver
5mm Hex Driver
5.5mm Hex Driver
6mm Hex Driver
Additional Requirements
Depending on your application, you may need the following hardware to interface the card:
Cable - DB15 Male connector (e.g., StarTech C15PCM) with shielded cabling.
 Loading...