■ CHARGING THE BATTERY
Follow the procedure below step by step:
1. Turn the power switch to (OFF)
2. Connect the charger’s power cord into the power
outlet.
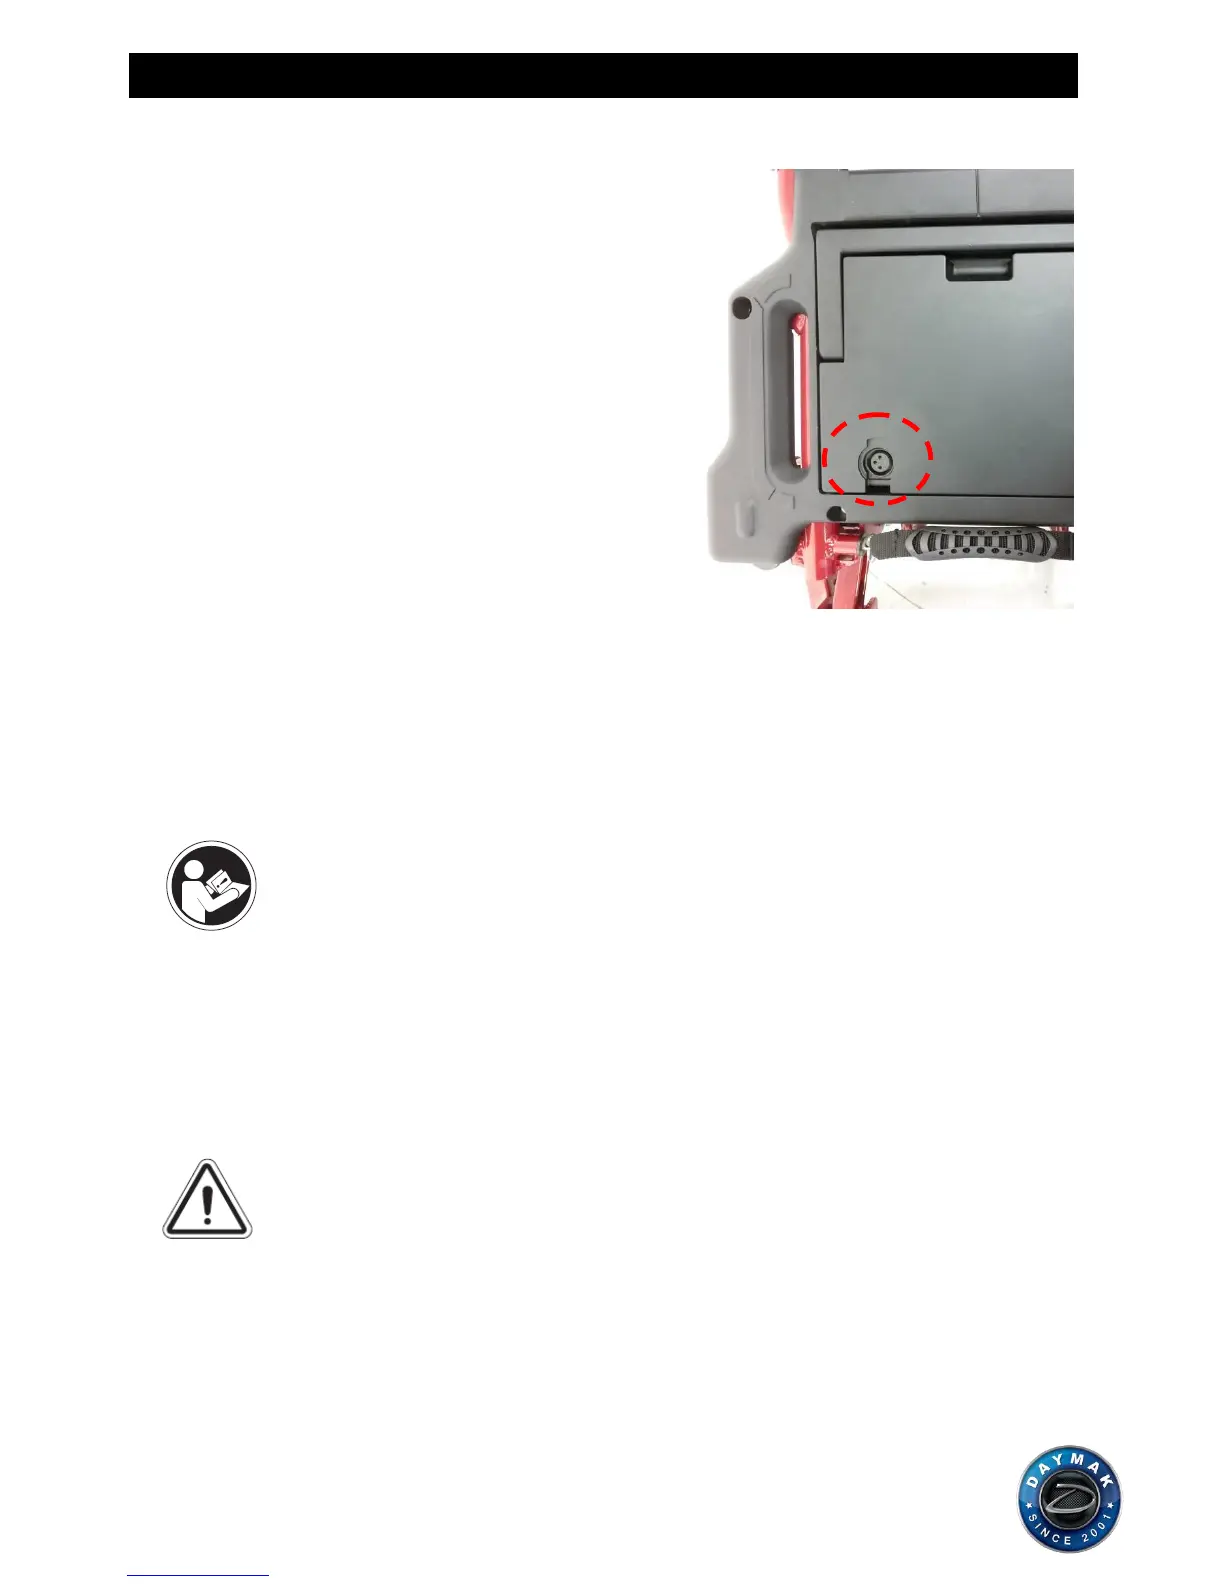
3. Open the charging socket cap on the battery pack.
Then connect the charger’s round plug to the
charging socket.
4. Turn on the switch on the charger.
5. Both the charger’s red and orange LEDs will be lit
when beginning charging. The charging duration is
about 6 hours. To ensure optimum performance a
10-hour charge is recommended. But we do not
recommend a charging more than 24 consecutive
hours.
6. Both the charger’s LEDs will be lit during the
charging process. The orange LED will turn green
when charging is complete.
7. Turn off the charger; disconnect the power cord and
the round plug from charger socket on the scooter.
This charger meets IP21 (International Protection Marking , IEC 60529)
Suggestions
There is a charger inhibit function on your scooter. The scooter will not run and the battery condition
meter will not operate while the batteries are charging.
WARNING!
1. To prolong charger life, do not connect the short output for long time.
2. Though charger charge automatically and can be used for deeply discharged
battery, do not use for extremely discharged, short aged and defective battery.
3. Use the charger in a well-ventilated area.
4. Use for LEAD ACID batteries 12V ( 12-60Amp-Hr. ) *2 only.
5. Do not use for voltage input except the specified.
(Make sure your present voltage input 115V or 230V and adjust manually)
 Loading...