6 7
Installation Cautions
Installing DT Series speakers requires skill in using tools such as a drill, screwdriver, saws and power tools. Installation also entails
running wires through walls. You should have a thorough understanding of local building and re codes and a familiarity with
the area behind the wall or ceiling into which you plan to install your speakers. When cutting holes and running wires through
walls/ceilings you run the risk of cutting electrical wires or water pipes, thereby causing safety hazards and property damage.
If you’re in any doubt that you possess the necessary skills or tools to install these speakers, contact your Denitive Technology
dealer, general contractor or a professional installer.
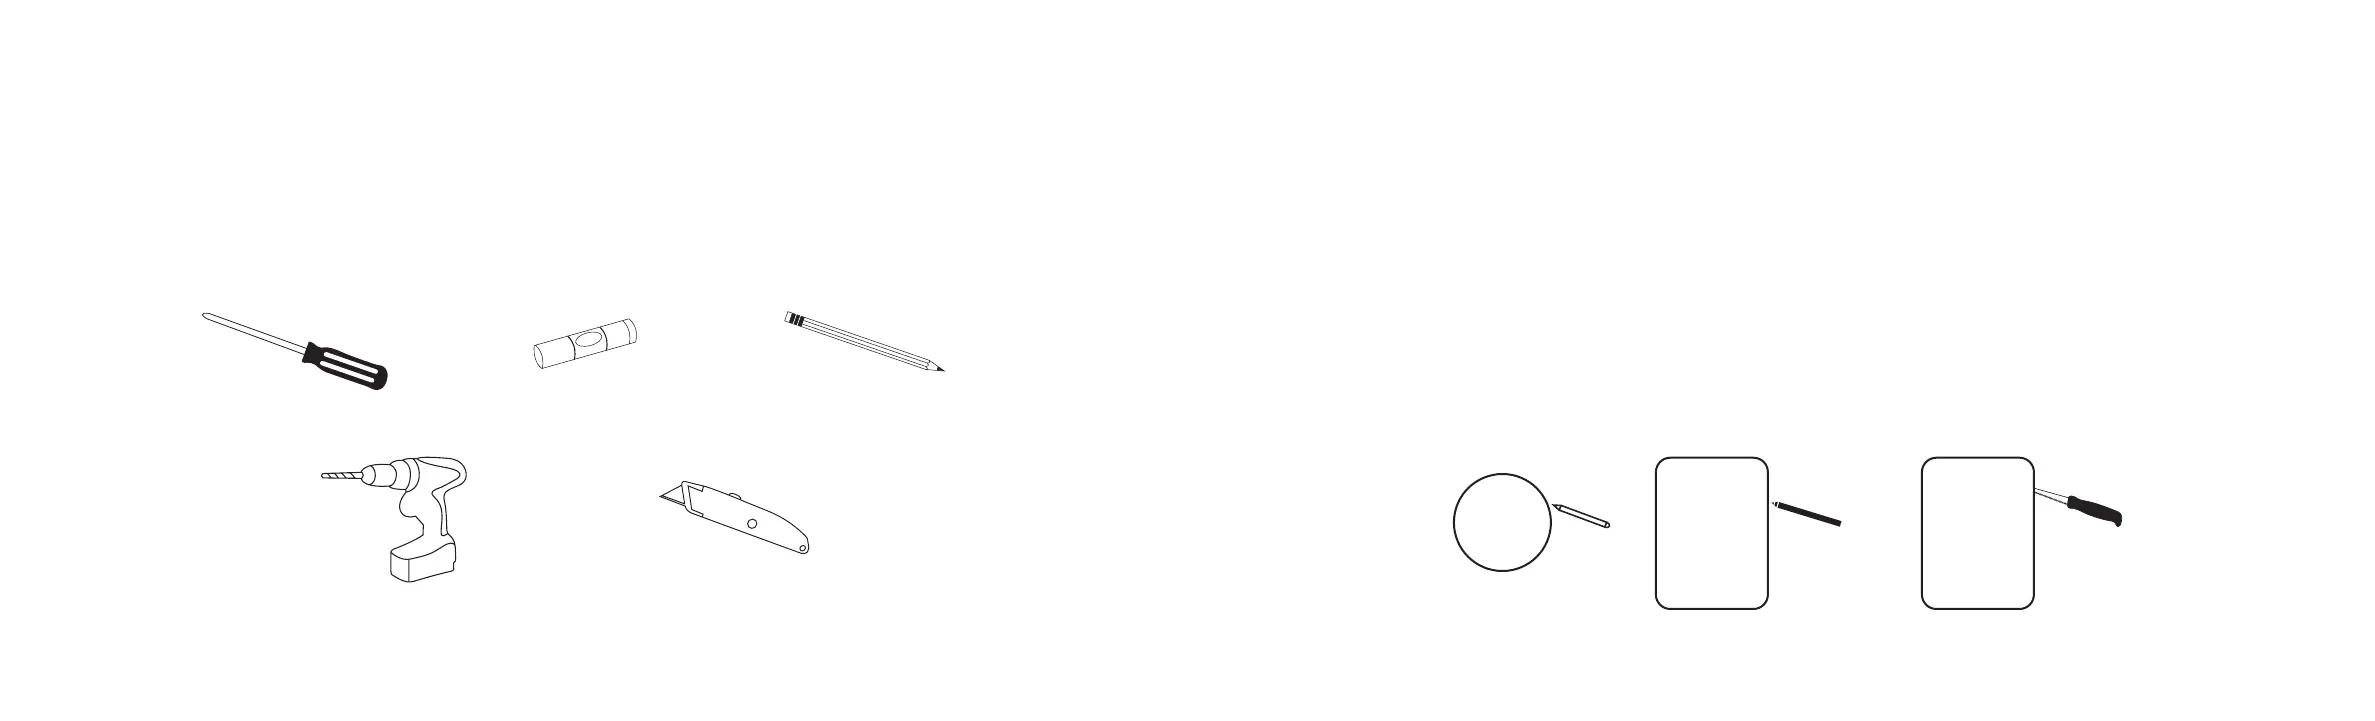
Required Tools
Installation Procedure
• You must rst install speaker wires that meet appropriate building and re codes before installing the speakers.
Use at least 18 gauge wire or heavier to ensure optimum sound quality.
• Make sure the material into which you plan to mount the speakers (plaster, drywall, paneling, stone, etc.) can support
the weight of the speakers.
• Make sure the locations you select do not conceal studs, electrical wiring or plumbing. Prior to installation, hold the speaker
with grille on in your chosen location to make sure it safely clears obstacles such as studs, corners, beams, lighting xtures and
door/window frames. Your cutout must be at least 2” (50 mm) from adjoining walls or ceiling, internal studs or plumbing.
• Using the supplied template, trace the installation location with a pencil. You can do this by holding the template in your preferred
location and tracing around it. In the case of the rectangular models (DT6.5LCR and DT8LCR) use a bubble level to square and
level the template. [Figures 8 & 9]
• Carefully cut the hole with the appropriate cutting tool for your wall or ceiling material. Start the hole by drilling a hole on the
inside of the tracing (with the drill bit just inside the line). Use this hole to insert the saw or knife and begin cutting. [Figure 10]
Figure 9Figure 8
Template Template
Figure 10
Keyhole saw, utility knife or material
appropriate incising implement for
cutting drywall or other wall material
Power drill with appropriate bit
(optional, for starting wall cut)
Pencil for marking
the location of installation
Phillips head screwdriver
Bubble level
 Loading...