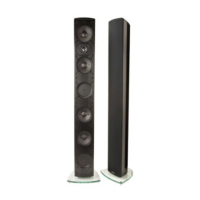
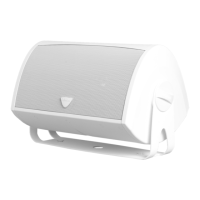
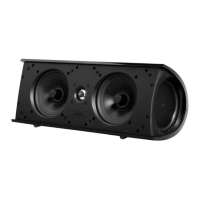
Definitive
Technology
MYTHOS XTR-50
RECEIVER/PREAMPIDECODER
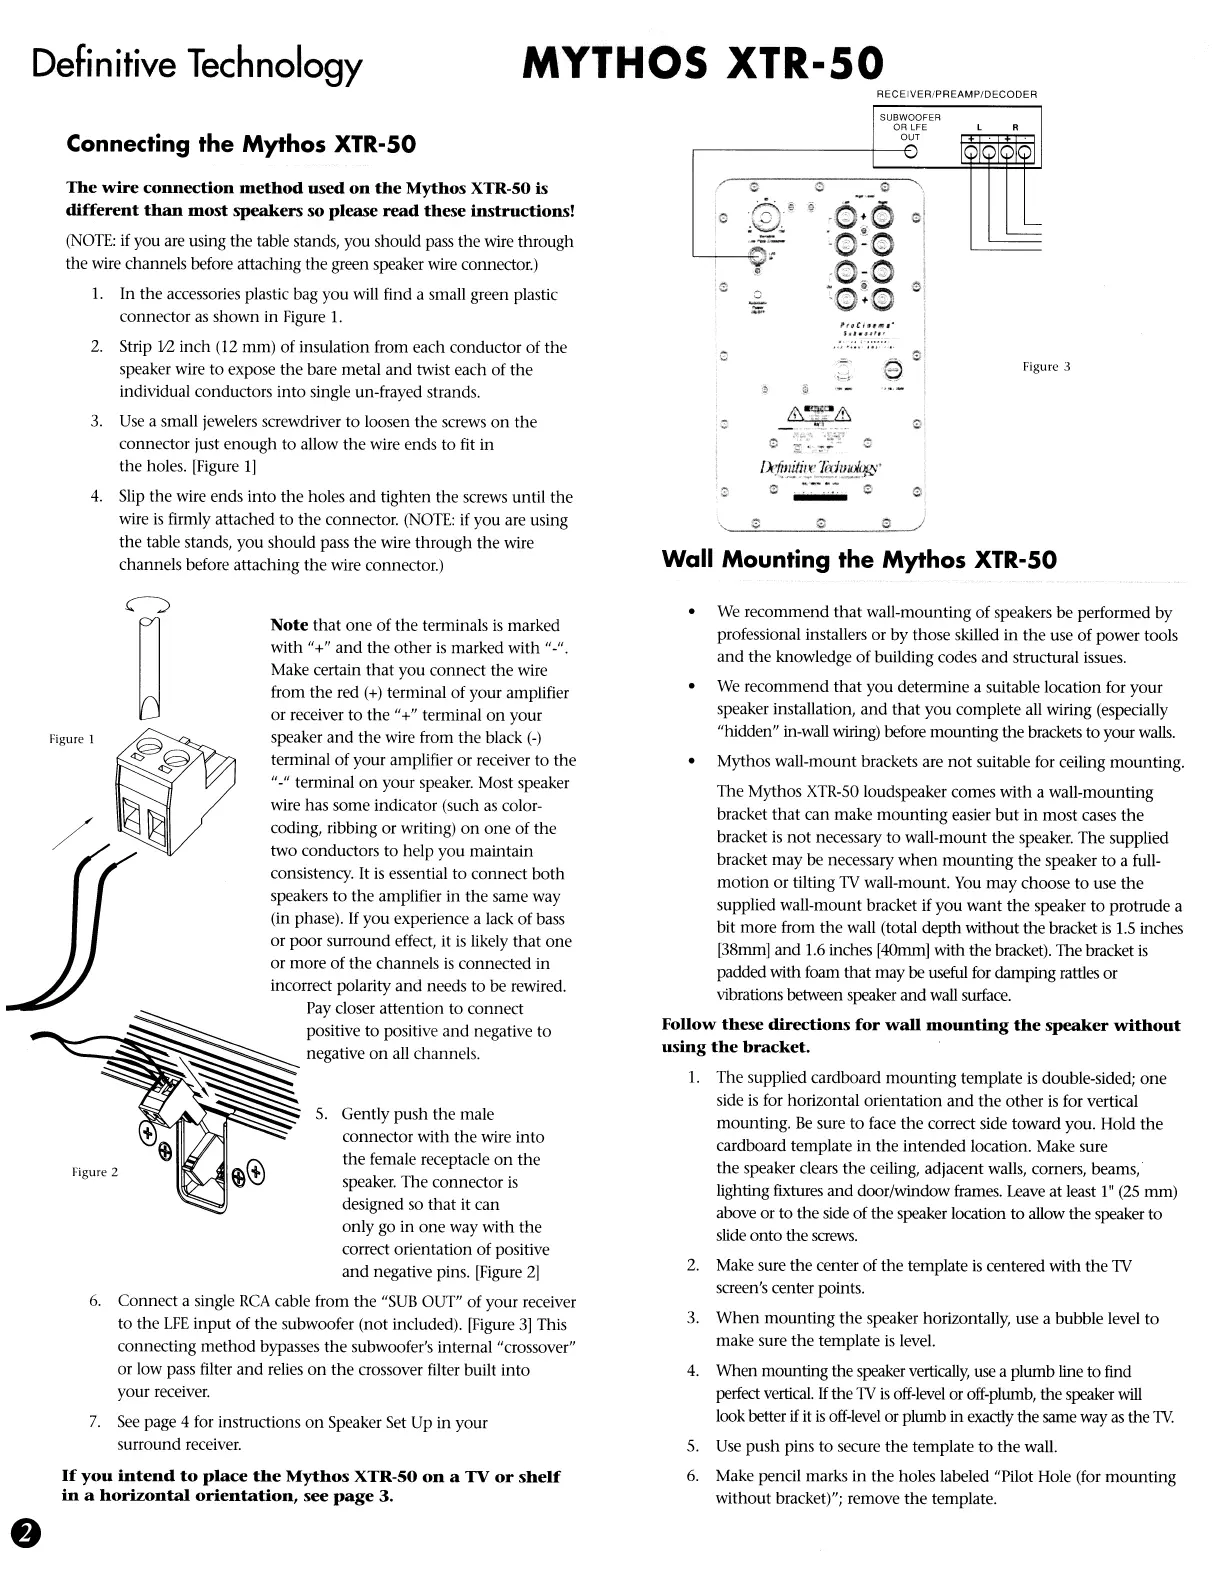
Connecting the Mythos XTR-50
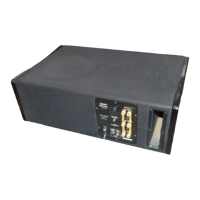
SUBWOOFER
OR
lFE
OUT
-0
Wall
Mounting the Mythos XTR-50
The
wire
connection
method
nsed
on
the
Mythos
XTR-50 is
different
than
most
speakers
so
please
read
these
instructions!
(NOTE:
if
you are using the table stands, you should pass the wire through
the wire channels before attaching the green speaker wire connector.)
1.
In the accessories plastic bag you will find a small green plastic
connector
as
shown
in
Figure 1.
2.
Strip];2 inch (12 mm) of insulation from each conductor of the
speaker wire to expose the bare metal
and
twist each of
the
individual conductors into single un-frayed strands.
3.
Use
a small jewelers screwdriver to loosen the screws
on
the
connector just enough to allow the wire ends to
fit
in
the holes. [Figure
1]
4.
Slip the wire ends into the holes
and
tighten the screws until the
wire
is
firmly attached to the connector.
(NOTE:
if
you are using
the table stands, you should pass the wire through the wire
channels before attaching the wire connector.)
r
e
<l
;;l
'\
@.
<l
Q
-d>
~I
0
.
""
·0-
~
:A;-
'-i0~€>
...".
@@
I
.•
:6~@
0
0
G,
I
I
".c"
••
,·
I
J~'
••
"f'
..•
'
.••
'0'
sl
;Z
=.
e
I
H
0
A-"'f?'f\
z
'J
.,
~:...-:;;.
(;
~
Ot~I!iti'.!.'
'IitjlJldiJf~'
z
e
........
0
~
'-
~
0 0
/
Figure 3
7.
See
page 4
for
instructions
on
Speaker
Set
Up
in your
surround receiver.
If
you
intend
to
place
the
Mythos
XTR-50
on
a
TV
or
shelf
in
a
horizontal
orientation,
see
page
3.
We
recommend
that
wall-mounting of speakers be performed by
professional installers or by those skilled in the use of power tools
and
the knowledge of building codes
and
structural issues.
We
recommend that you determine a suitable location for your
speaker installation,
and
that
you complete
all
wiring (especially
"hidden" in-wall wiring) before mounting the brackets to your
walls.
• Mythos wall-mount brackets are not suitable
for
ceiling mounting.
The Mythos
XTR-50
loudspeaker comes with a wall-mounting
bracket that can make mounting easier
but
in most cases the
bracket
is
not
necessary to wall-mount
the
speaker. The supplied
bracket may be necessary
when
mounting the speaker to a full-
motion or tilting
TV
wall-mount.
You
may choose to use the
supplied wall-mount bracket
if
you want the speaker to protrude a
bit more from the wall (total depth without the bracket
is
1.5
inches
[38mm] and 1.6 inches
[4Omm]
with the bracket). The bracket
is
padded with foam that may be useful
for
damping rattles or
vibrations between speaker and
wall
surface.
Follow
these
directions
for
wall
mounting
the
speaker
without
nsing
the
bracket.
1. The supplied cardboard mounting template
is
double-sided;
one
side
is
for
horizontal orientation
and
the other
is
for vertical
mounting.
Be
sure to
face
the correct side toward you. Hold
the
cardboard template in the intended location. Make sure
the speaker clears the ceiling, adjacent walls, corners, beams;
lighting fixtures and door/window frames.
Leave
at least 1"
(25
mm)
above or to the side of the speaker location to allow the speaker to
slide onto the
screws.
2.
Make sure the center of the template
is
centered with the
TV
screen's center points.
3.
When
mounting the speaker horizontally, use a bubble level to
make sure the template
is
level.
4.
When mounting the speaker
vertically,
use
a plumb line to find
perfect
vertical.
If
the
TV
is
off-level
or off-plumb, the speaker
will
look better
if
it
is
off-level
or plumb in exactly the same way
as
the lV.
5.
Use
push pins to secure the template
to
the wall.
6.
Make pencil marks in the holes labeled "Pilot Hole (for mounting
without bracket)"; remove the template.
Note
that
one
of the terminals
is
marked
with
"+"
and
the other
is
marked with
"_".
Make certain
that
you connect
the
wire
from the red
(+)
terminal of your amplifier
or receiver to the
"+" terminal
on
your
speaker
and
the wire from the black
(-)
terminal of your amplifier or receiver to the
"-,,
terminal
on
your speaker. Most speaker
wire has some indicator (such
as
color-
coding, ribbing or writing)
on
one of the
two conductors to help you maintain
consistency. It
is
essential to connect both
speakers to the amplifier in
the
same way
(in phase).
If
you experience a lack of bass
or poor surround effect, it
is
likely
that
one
or more of the channels
is
connected
in
incorrect polarity and needs to be rewired.
Pay
closer attention to connect
~
positive to positive and negative to
~
negative
on
all
channels.
~s
r
...
~.AIr",-(\
(f)
Gently push the male
connector with the wire into
the female receptacle
on
the
speaker. The connector
is
designed
so
that it can
only go in
one
way with the
correct orientation of positive
and
negative pins. [Figure
21
6.
Connect a single
RCA
cable from the
"SUB
OUT" of your receiver
to the
LFE
input of the subwoofer (not included). [Figure
3]
This
connecting method bypasses the subwoofer's internal "crossover"
or low pass filter and relies on the crossover filter built into
your receiver.
Figure 2
Figure 1
 Loading...