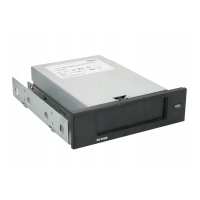
Installing the Dell PowerVault RD1000 External Drive
1. Carefully unpack the unit and accessories.
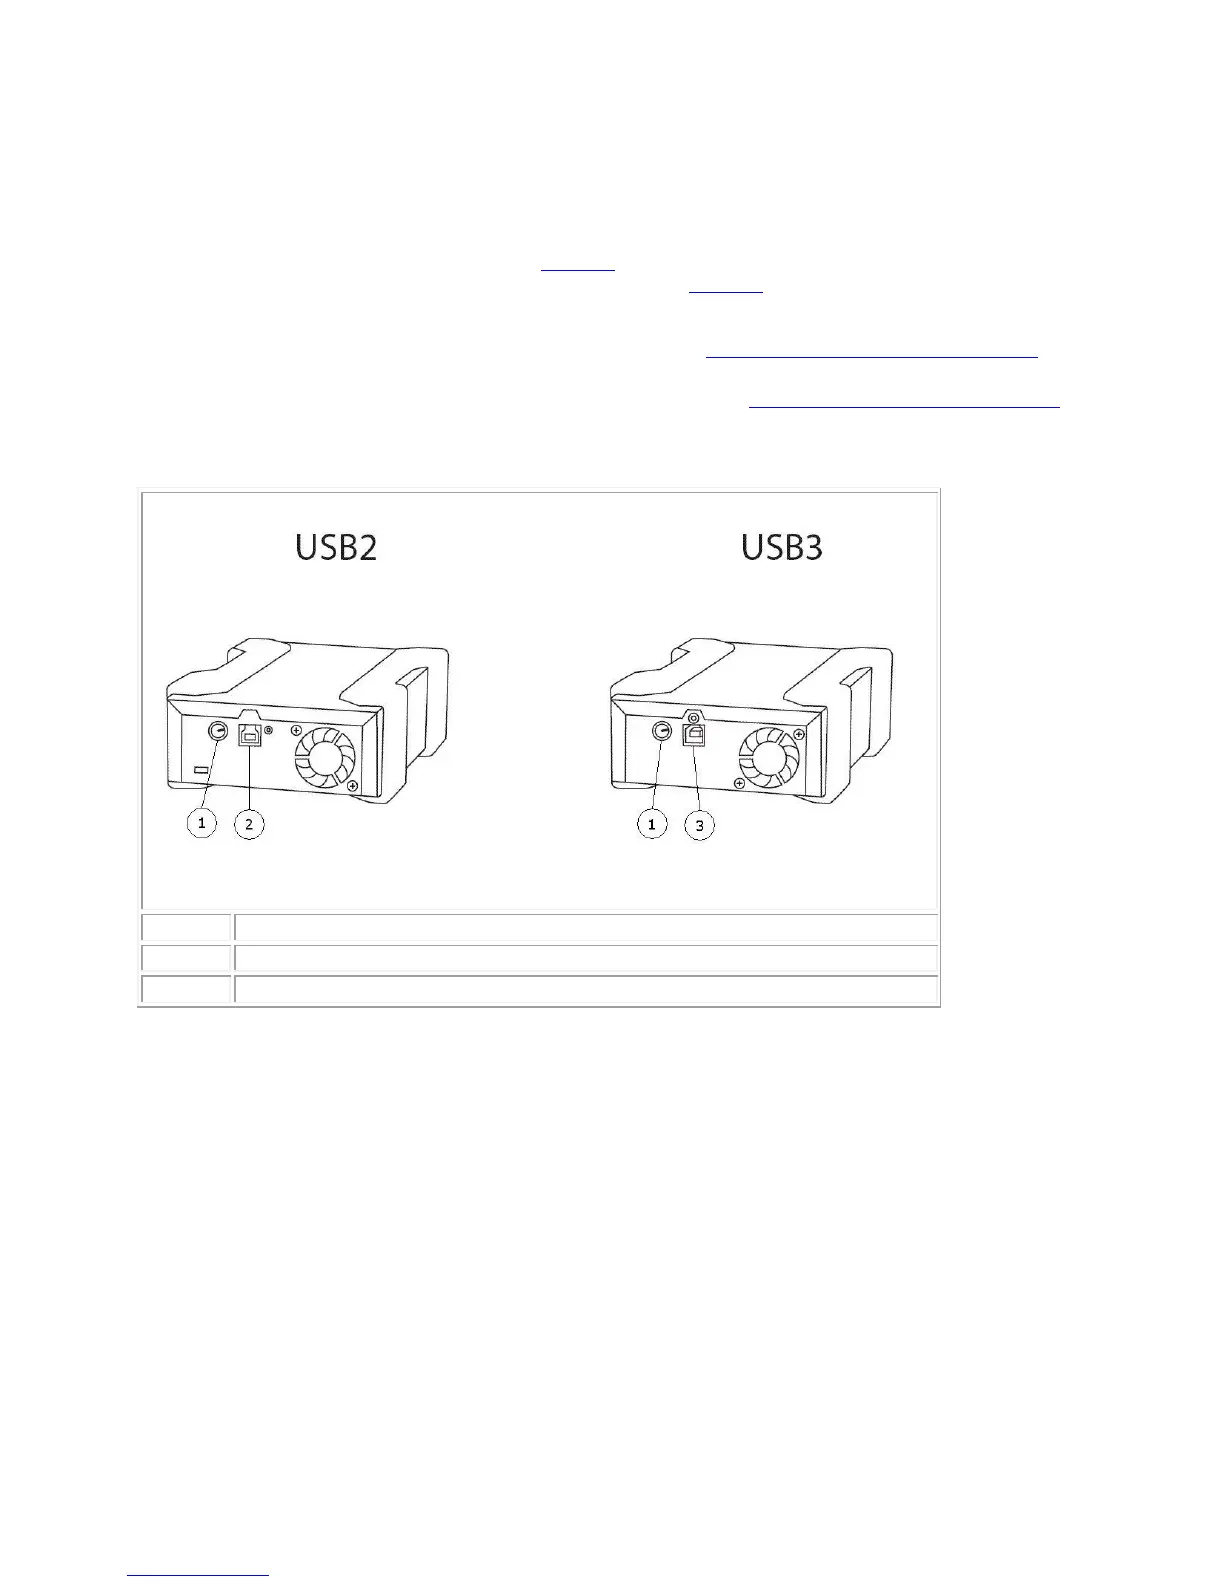
2. Attach the USB cable to USB port on the back of the RD1000 unit and connect it to an available
USB 2.0 port on the computer (see Figure 2 below).
3. Attach the power cable to the power connector (see Figure 2 below) and plug it into an outlet.
4. Select a convenient location for the PowerVault RD1000 External drive that is flat, sturdy, level
and close to the host server. The drive can be oriented horizontally or vertically.
5. If running Windows install the RD1000 software (see "Installing Unit Software for Windows").
6. If you are using the Linux operating system see appendix "Using the Linux Operating System".
Figure 2. RD1000 External USB Connectors
USB 2.0 Connector (black)
USB Cables
The USB2 device will only accept USB 2.0 cables and is not compatible with a USB 3.0 cable (see
“connector detail” in Figure 2).
The USB3 device will accept both USB 2.0 and USB 3.0 cables.
Note: Using a USB 2.0 cable with a USB3 device will not optimize the performance of the USB3 device
(see the section on “Unit Performance Seems Slow”)
 Loading...