Set the volume to the minimum by using VOLUME.
1
Set
<
SOURCE DIRECT
>
and
<
LOUDNESS
>
to “OFF”.
2
Set
<
BASS
>
,
<
TREBLE
>
and
<
BALANCE
>
to the
center position.
3
Press
<
SPEAKERS
>
A
or B depending on the
terminals to which speakers are connected.
4
5
Turn on the power by pressing POWER.
• The power indicator blinks red for several seconds, then lights
green.
Preparations prior to playing Starting recording
Turn
<
REC OUT SELECTOR
>
to select the source to be
recorded.
1
Set the recorder to the record mode.
2
PHONO, CD, TUNER, DVD/AUX:
Select the device connected to the recording terminals to record.
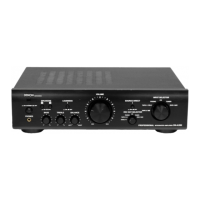
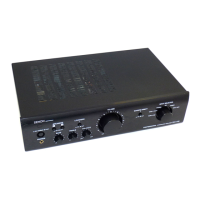
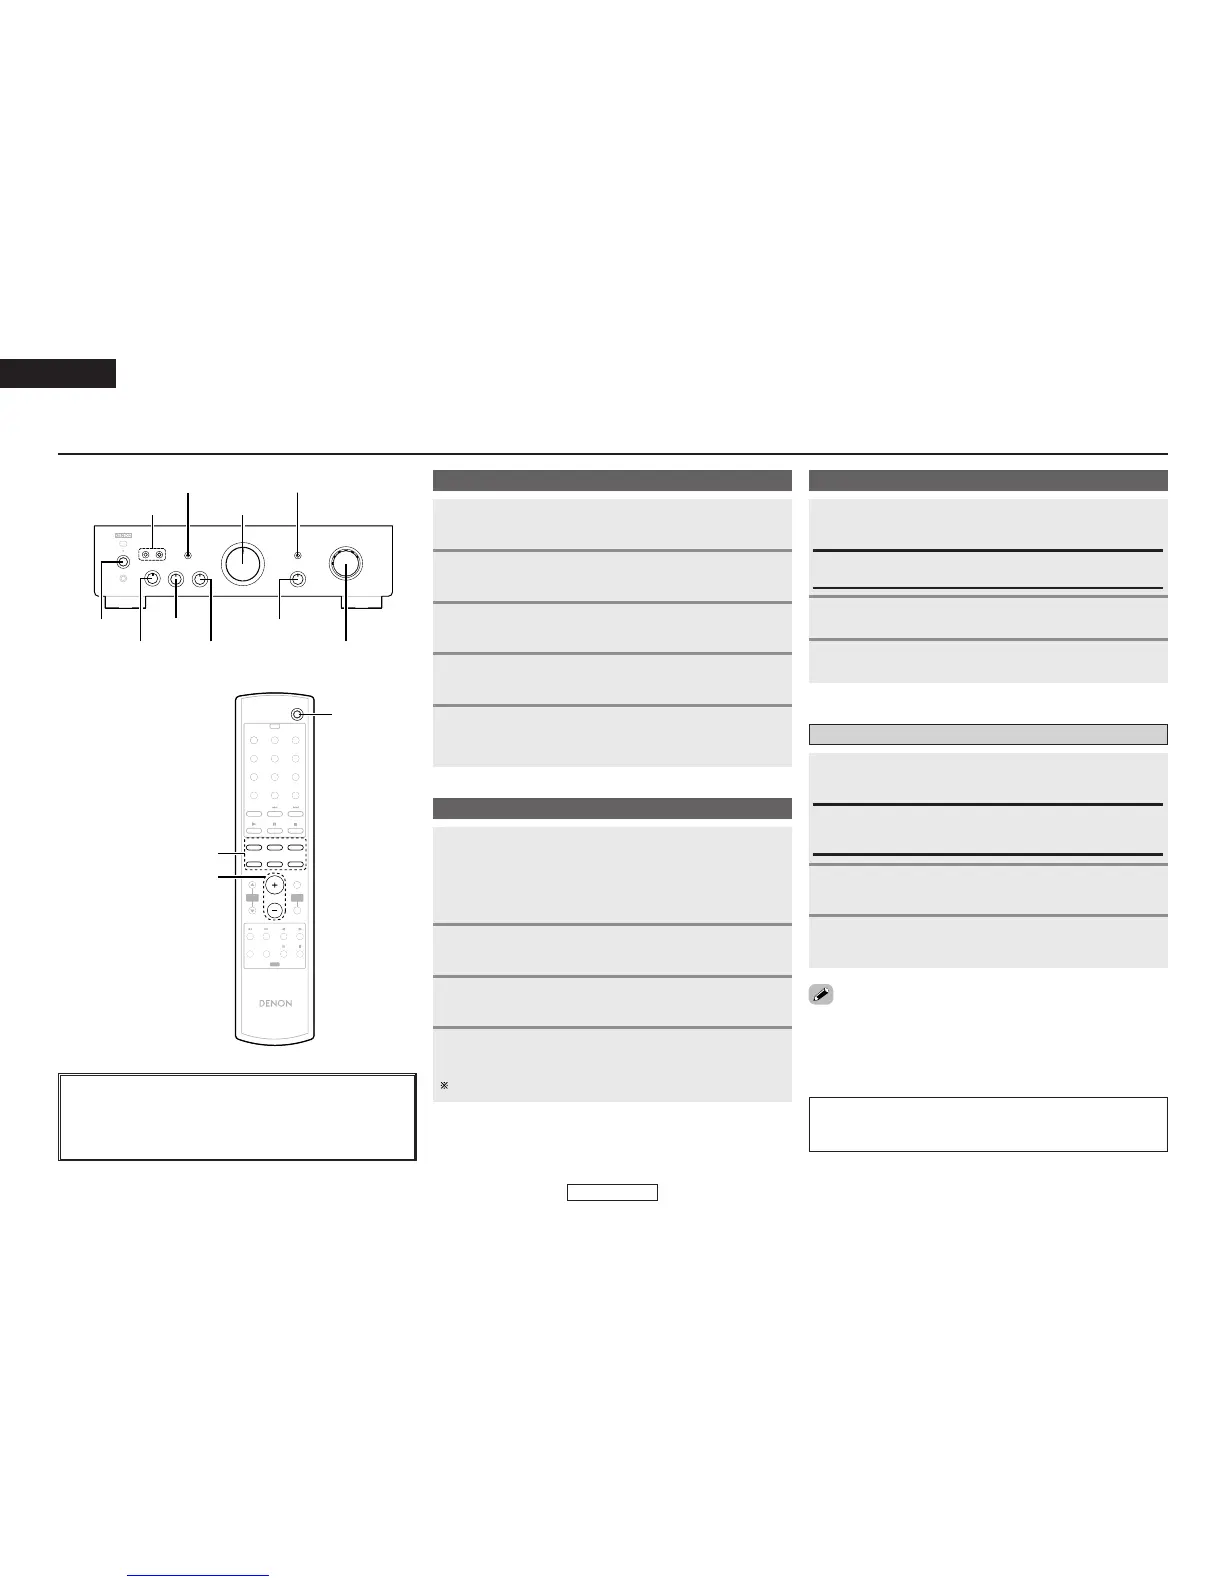
About the button names in this explanation
<>: Buttons on the main unit
[]: Buttons on the remote control unit
Button name only :
Buttons on the main unit and remote control unit
Use INPUT SELECTOR to select the source to be
played.
• Select one of the sources among the following: TAPE-2/MD,
TAPE-1/CD-R, PHONO, CD, TUNER and DVD/AUX.
• The input indicator for the selected source lights.
1
Play the selected source.
2
Adjust the volume by using VOLUME.
3
Adjust the tone with
<
BASS
>
,
<
TREBLE
>
,
<
BALANCE
>
and
<
LOUDNESS
>.
If there is no need to adjust the tone, press <SOURCE DIRECT>.
4
Starting playback
Start playing the source to be recorded.
3
Copying cassette tapes
Turn
<
REC OUT SELECTOR
>
and select “TAPE-1
1 2” (or “TAPE-2
1
Set the device connected to the TAPE-2/MD (or
TAPE-1/CD-R) terminal to the record mode.
2
TAPE-211, TAPE-112:
Select this to record from tape deck 2 onto tape deck 1 (or from
tape deck 1 onto tape deck 2).
Start playback on the device connected to the TAPE-
1/CD-R (or TAPE-2/MD) terminal.
3
• The sound to be recorded can be heard by selecting the playback
source with INPUT SELECTOR, while the recorded sound can be heard
by selecting the recorder.
• When performing these operations, also refer to the operating
instructions of the other devices.
NOTE:
• The sound may be interrupted or noise may be recorded if INPUT
SELECTOR is operated during recording.
ENGLISH
 Loading...