7
ENGLISH
OPERATION
Instructions for Use
WARNING: Always observe the safety instructions and
applicableregulations.
WARNING: To reduce the risk of serious personal
injury, turn tool off and disconnect tool from power
source before making any adjustments or removing/
installing attachments or accessories. An accidental
start‑up can causeinjury.
Applications
The table below suggests settings for differentapplications.
Setting Applications
Low • Drying paint and varnish
• Removing stickers
• Waxing and dewaxing
• Drying wet timber prior to filling
• Shrinking PVC wrapping and insulation tubes
• Thawing frozen pipes
Medium • Welding plastics
• Bending plastic pipes and sheets
• Loosening rusted or tightly fastened nuts and bolts
High • Removing paint and lacquer
• Soldering plumbing joints
• Removing linoleum or vinyl floor tiles
To Attach the Correct Accessory
This tool is supplied with a set of accessories for
differentapplications.
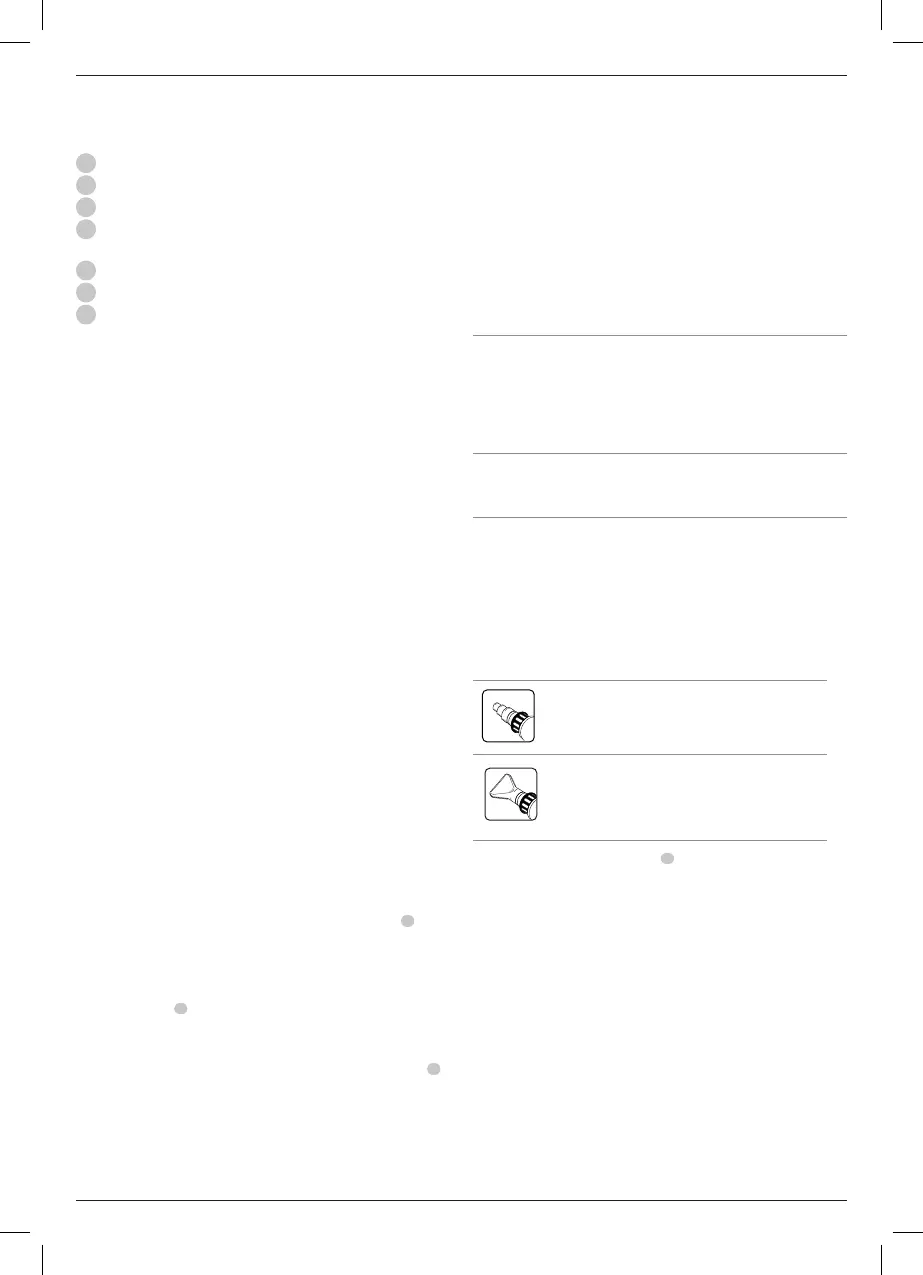
Icon Description Purpose
Cone nozzle Shrink sleeving (heat over
concentrated small area)
50 mm Fish tail
surface nozzle
Drying, removing paint,
removing vinyl or linoleum,
thawing (heat spread over
wide area)
1. Make sure the on/off switch
1
is in position O and the tool
is disconnected from the power source. Ensure the nozzle
has cooleddown.
2. Place the desired accessory onto thenozzle.
Air Temperature (Fig.A)
D26411
The air temperature can be adjusted to suit a wide range of
applications. Turn the air temperature adjustment knob
4
clockwise or counterclockwise for higher or lowerheat.
D26414
• Press and release the LCD air temperature indicator
and adjuster
4
to set the desired temperature in
10°Cincrements.
• To continously increase or decrease the temperature press
and hold the LCD air temperature indicator and adjuster
4
.
• Release the indicator when desired temperature or
minimum/maximum temperature isreached.
• The display shows the actual rising/falling temperature until
the desired temperature isreached.
ASSEMBLY AND ADJUSTMENTS
WARNING: To reduce the risk of serious personal
injury, turn tool off and disconnect tool from power
source before making any adjustments or removing/
installing attachments or accessories. Be sure the
trigger switch is in the OFF position. An accidental start‑up
can causeinjury.
Description (Fig. A)
WARNING: Never modify the power tool or any part of it.
Damage or personal injury couldresult.
1
On/off switch
2
Air vents
3
Kick-off stand
4
Air temperature adjustment knob (D26411)
LCD air temperature indicator and adjuster (D26414)
5
Nozzle
6
Tool hanging ring
7
Heat barrel cover
Intended Use
Your heat gun has been designed for stripping paint, soldering
pipes, shrinking PVC, welding and bending plastics as well as
general drying and thawingpurposes.
Do not use under wet conditions or in the presence of
flammable liquids orgases.
The heat gun is a professional power tool.
Do not let children come into contact with the tool. Supervision
is required when inexperienced operators use thistool.
• Young children and the infirm. This appliance is not
intended for use by young children or infirm persons
withoutsupervision.
• This product is not intended for use by persons (including
children) suffering from diminished physical, sensory or
mental abilities; lack of experience, knowledge or skills
unless they are supervised by a person responsible for their
safety. Children should never be left alone with thisproduct.
Set and Forget Temperature Control System
D26414
The desired temperature is stored in the memory of the tool.
Each time the heat gun is turned on, the heat gun heats to
the last temperature setting, with respect to air flow. If unsure
about the setting, always start with a low temperature setting
and gradually increase the temperature until the desired setting
isreached.

 Loading...