14
ENGLISH
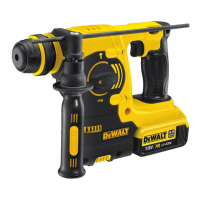
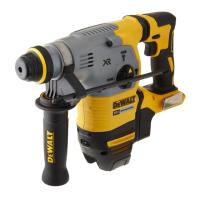
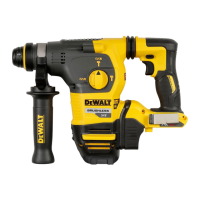
Active Vibration Control (fi g.1)
DCH143, DCH243, DCH253, DCH254, DCH273, DCH274
The active vibration control neutralises rebound
vibration from the hammer mechanism. Lowering
hand and arm vibration, it allows more comfortable
use for longer periods of time and extends the life of
the unit. In operation, a spring loaded mechanism
counterbalances the vibration forces. This can be
sensed by the cushioning effect when pressure is
applied to the tool. Make sure the spring is engaged
but not too firmly. The mechanism should be
allowed to "float."
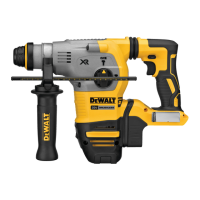
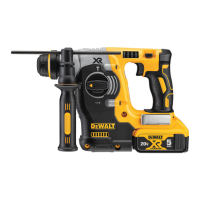
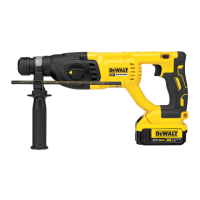
Belt Hook (Fig.1, 4)
DCH273, DCH274
A belt hook(r) is fitted below the main handle(h) on
the left side of the tool. To extend the belt hook pull
it out from the side of the tool. To store the belt hook
push it back flush with the side of thetool. The belt
hook(r) can be positioned to the left or right of the
tool to accommodate left or right-handed users.
1. Position the belt hook into the extended position
and remove the hex head screw located on the
underside of the main handle.
NOTE: Hex key is not included.
2. Pull out the belt hook until it is free from the unit.
3. Reinsert the belt hook into the desired side and
push it into the slot.
NOTE: On some models the slot may be
covered with a sticker. Either remove the
sticker or pierce the sticker to expose the slot
underneath.
4. Re-insert the hex screw and tighten securely.
If use of the hook is not desired at all, it can be
removedcompletely.
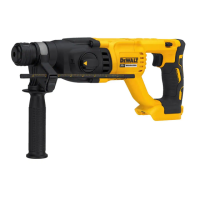
SDS Plus
®
Tool Holder (fi g.5)
To insert a drill or chisel bit, insert the shank of the
bit about 19 mm (3/4") into SDS Plus
®
tool holder(l).
Push and rotate bit until it locks in place. The bit will
be securelyheld.
To release bit, pull the sleeve(m) back and remove
thebit.
Replacing the SDS Plus
®
Tool Holder
with the Keyless Chuck (fi g.7)
DCH254, DCH274
1. Turn the locking collar(p) into the unlocked
position and pull the SDS Plus
®
tool
holder(l)off.
To select forward rotation, release the trigger switch
and depress the for ward/re verse control button on
the right side of thetool.
To select reverse, release the trigger switch and
depress the forward/reverse control button on the
left side of thetool.
The center position of the control button locks the
tool in the off position. When changing the position
of the control button, be sure the trigger isreleased.
NOTE: The first time the tool is run after changing
the direction of rotation, you may hear a click on
start up. This is normal and does not indicate
aproblem.
Worklight (fi g.1)
DCH143, DCH253, DCH254, DCH273, DCH274
There is a worklight(d) located on the front of the
tool. The worklight will be activated when the trigger
switch is squeezed. The worklight is activated
when the trigger switch is depressed, and will
automatically turn off 20 seconds after the trigger
switch is released. If the trigger switch remains
depressed, the worklight will remainon.
NOTE: The worklight is for lighting the immediate
work surface and is not intended to be used as
aflashlight.
Selecting the Operating Mode (fi g.1)
WARNING: Do not select the operating
mode when the tool isrunning.
Your tool is equipped with a separate mode
selector(c) to switch between rotary drilling, rotary
hammering and hammering onlymode.
Rotary drilling: for screwdriving and for drilling
into steel, wood andplastics.
Rotary hammering: for concrete and
masonrydrilling.
Hammering only: for lightchipping.
Before attempting to rotate the mode selector
depress the mode selector button(u). For rotary
drilling, rotate the mode selector(c) until the arrow
points to the drill bit symbol(i). For rotary hammering
mode, align the arrow with the hammerdrilling
symbol(j). For hammering only mode, align arrow
with the hammer symbol(k).
NOTE: The mode selector(c) must be in rotary
drilling, rotary hammering or hammering only
mode at all times. There are no operable positions
inbetween.

 Loading...