7
ENGLISH
WARNING: RISK OF HOT SURFACES
WHAT CAN HAPPEN HOW TO PREVENT IT
• Contact with hot surfaces,
such as engines exhaust
components, could result
in seriousburn.
• During operation, touch
only the control surfaces
of the pressure washer.
Keep children away from
the pressure washer at
all times. They may not
be able to recognise the
hazards of thisproduct.
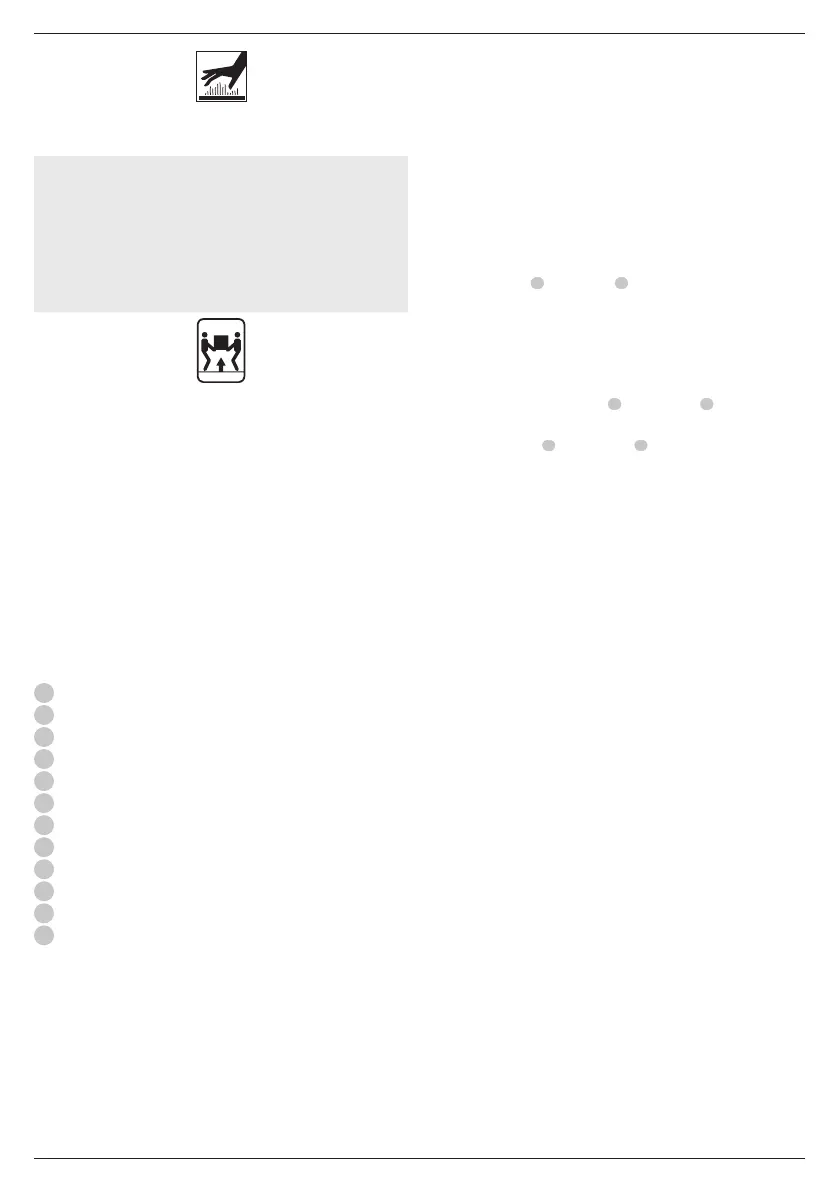
WARNING: RISK OF INJURY FROM LIFTING
WHAT CAN HAPPEN HOW TO PREVENT IT
• Serious injury can result
from attempting to lift too
heavy anobject.
• The pressure washer is too
heavy to be lifted by one
person. Obtain assistance
from others beforelifting.
SAVE THESE INSTRUCTIONS FOR FUTURE USE
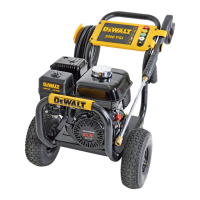
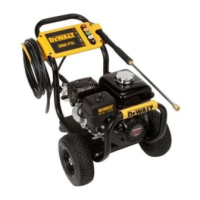
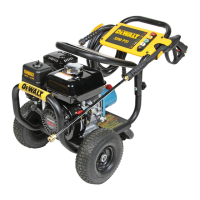
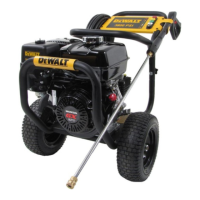
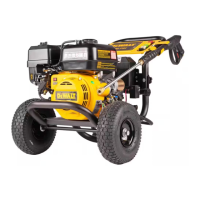
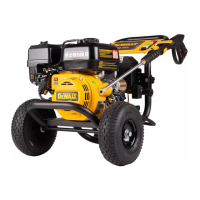
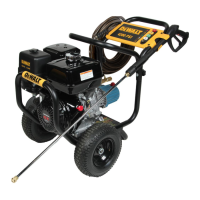
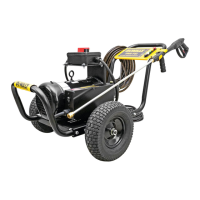
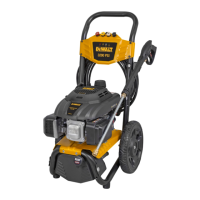
Description (Fig. A, G, K)
WARNING: Never modify the pressure washer or any part
of it. Damage or personal injury couldresult.
NOTE: Photographs and line drawings used in this
manual are for reference only and do not represent a
specificmodel.
1
High Pressure Pump
2
Engine
3
High Pressure Hose
4
Spray Gun
5
Quick-Connect Spray Wand
6
Detergent Siphon Hose (Fig. K)
7
Handle
8
Frame
9
Pump Outlet
10
Pump Inlet
11
Quick Connect Nozzles
12
Detergent Tank
Intended Use
Your pressure washer has been designed for
professionalapplications.
DO NOT let children come into contact with the pressure
washer. Supervision is required when inexperienced operators
use thistool.
• Young children and the infirm. This appliance is not
intended for use by young children or infirm persons
withoutsupervision.
• This product is not intended for use by persons (including
children) suffering from diminished physical, sensory or
mental abilities; lack of experience, knowledge or skills
unless they are supervised by a person responsible for their
safety. Children should never be left alone with thisproduct.
ASSEMBLY
Pressure Washer Assembly (Fig.B, C–F)
1. Locate and remove all loose parts from thecarton.
2. Cut four corners of the carton from top to bottom and lay the
panelsflat.
3. Place handle
7
onto frame
8
, depress the snap buttons,
and slide the handle assembly onto the frame until snap
buttons snap intoplace.
CAUTION: Risk of personal injury. Avoid placing
hands between handle and frame when assembling to
preventpinching.
4. Attach high pressure hose
3
to spray gun
4
. Make sure it
issecure.
5. Connect wand
5
to spray gun
4
. Make sure connection
issecure.
6. Remove the five coloured quick-connect nozzles from the
plastic bag and insert them into correct grommet on the
nozzle holder. Nozzles are colour coded to match coloured
nozzles on panelassembly.
7. Check the tyre pressure and add air if needed.
NOTE:Air tanks, compressors and similar equipment used
to inflate tyres can fill small tyres similar to these very rapidly.
Adjust pressure regulator on air supply to no more than the
rating of the tyre pressure. Add air in small increments and
frequently use the tyre gauge to prevent overinflation.
WARNING: Risk of bursting. Use a tyre pressure gauge
to check the tyres pressure before each use and while
inflating tyres; see the tyre sidewall for the correct
tyrepressure.
OPERATION
Instructions for Use
WARNING: Always observe the safety instructions and
applicableregulations.
Pressure Adjustments
The pressure setting is preset at the factory to achieve
optimum pressure and cleaning. To lower the pressure, follow
theseinstructions.
1. Back away from the surface to be cleaned. The further away
the nozzle is, the less the pressure will be on the surface to
becleaned.
2. Change to the 40˚ nozzle (white). This nozzle delivers a less
powerful stream of water and a wider spray pattern. Refer to
Spray WandNozzles.
NOTICE: DO NOT attempt to increase pump pressure. A
higher pressure setting than the factory set pressure may
damagepump.
Batteries
Chargers/Charge Times (Minutes)
Cat #
DC
Weight
*Date code 201811475B or later
**Date code 201536 or later
 Loading...