DVM-100 & DVM-400 Installation Guide 860-00187-00 REV A
Copyright © 2013 Digital Ally, Inc.
4-1
Section - 4: Testing the Installation
1. Turn the vehicle ignition switch to the ON position, the vehicle does not have to be
running.
2. Press and release the DVM power button and the DVM boot-up process will begin; all 3-
status indicators will flash in sequence until boot up is complete.
3. Once the boot-up process is complete the Blue status indicator will be lit, indicating the
DVM is powered on and in standby mode.
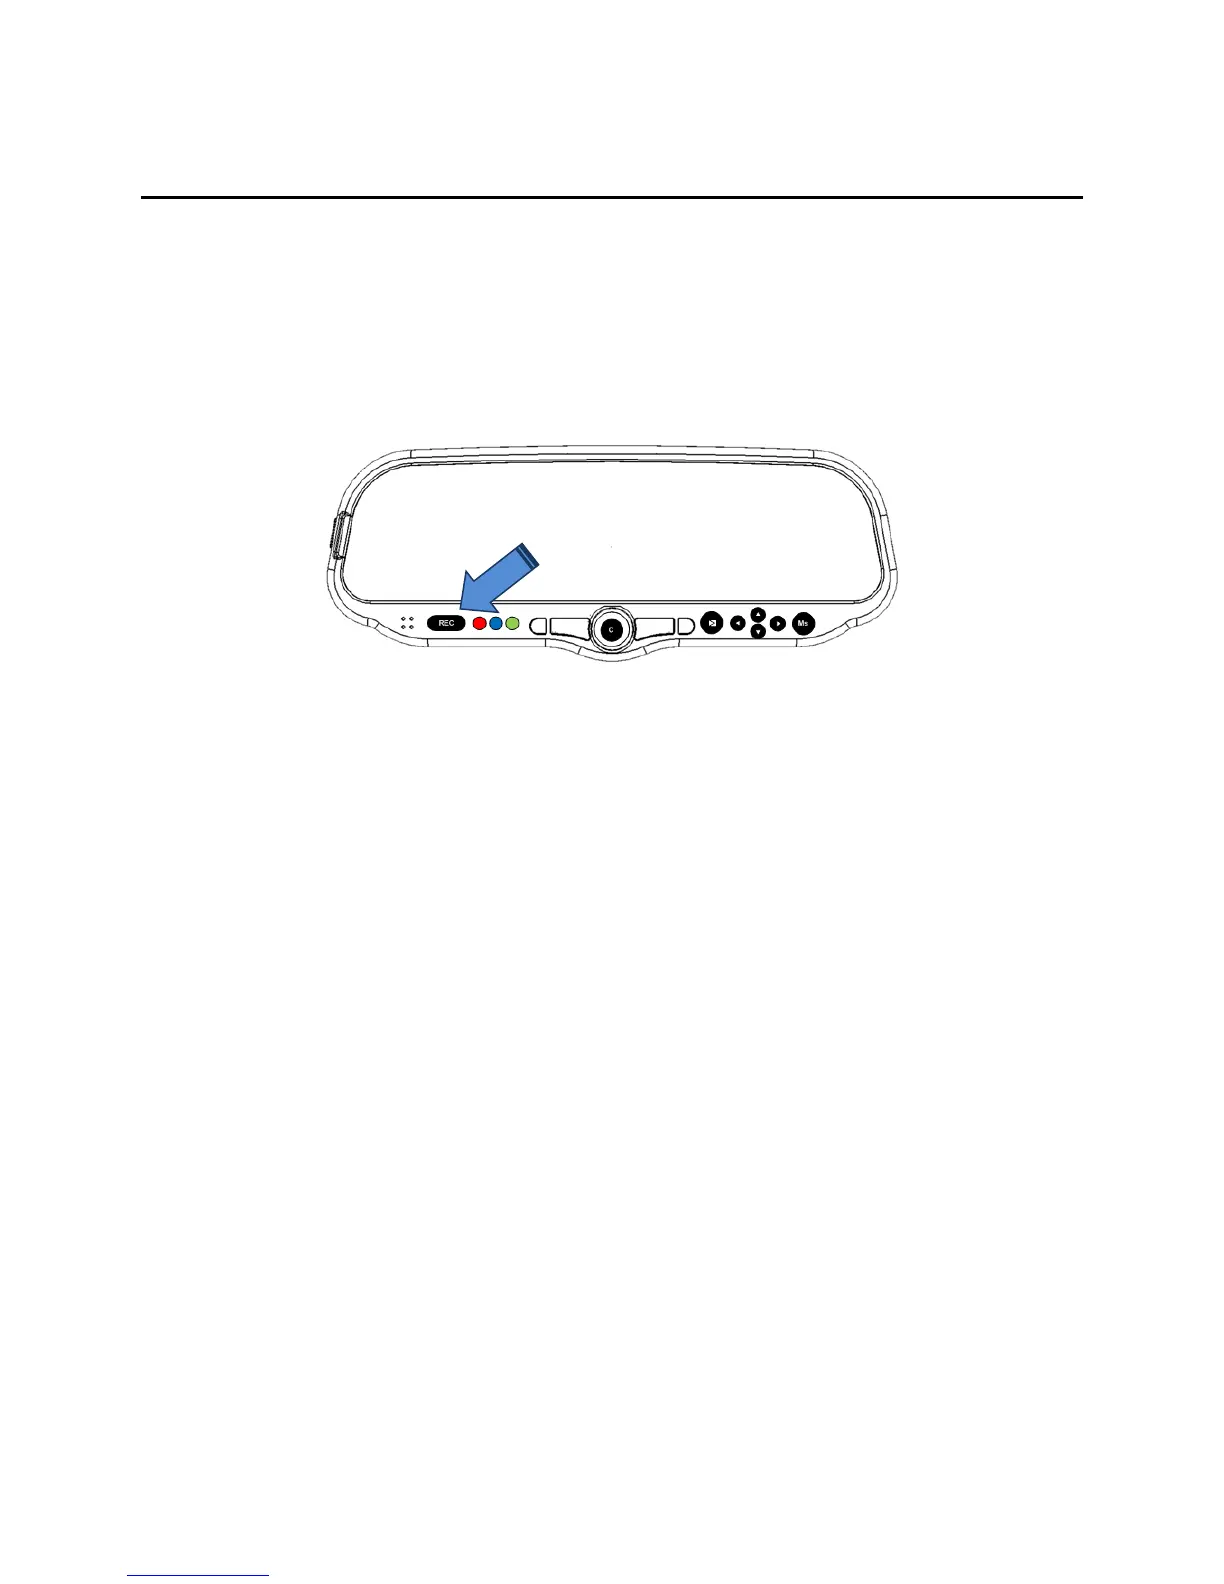
4. Press the RECORD Start button.
5. The Red status indicator will turn on to indicate the event is being recorded.
6. After 10 seconds, press the RECORD Stop button to stop the event record.
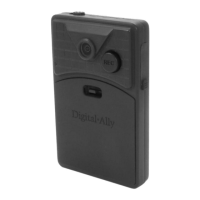
7. Remove the wireless microphone from the charging cradle and press the record button.
8. The Red status indicator will turn on again to indicate the event is being recorded.
9. After 10 seconds, press the RECORD Stop button to stop the event record.
10. The Red status indicator will extinguish, indicating the DVM has returned to standby
mode.
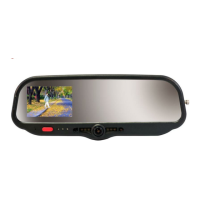
11. Press the Play/Pause button and the event will playback on the DVM-400 display.
 Loading...