GB
7
DITEC S.P.A - IP1836 - 192C
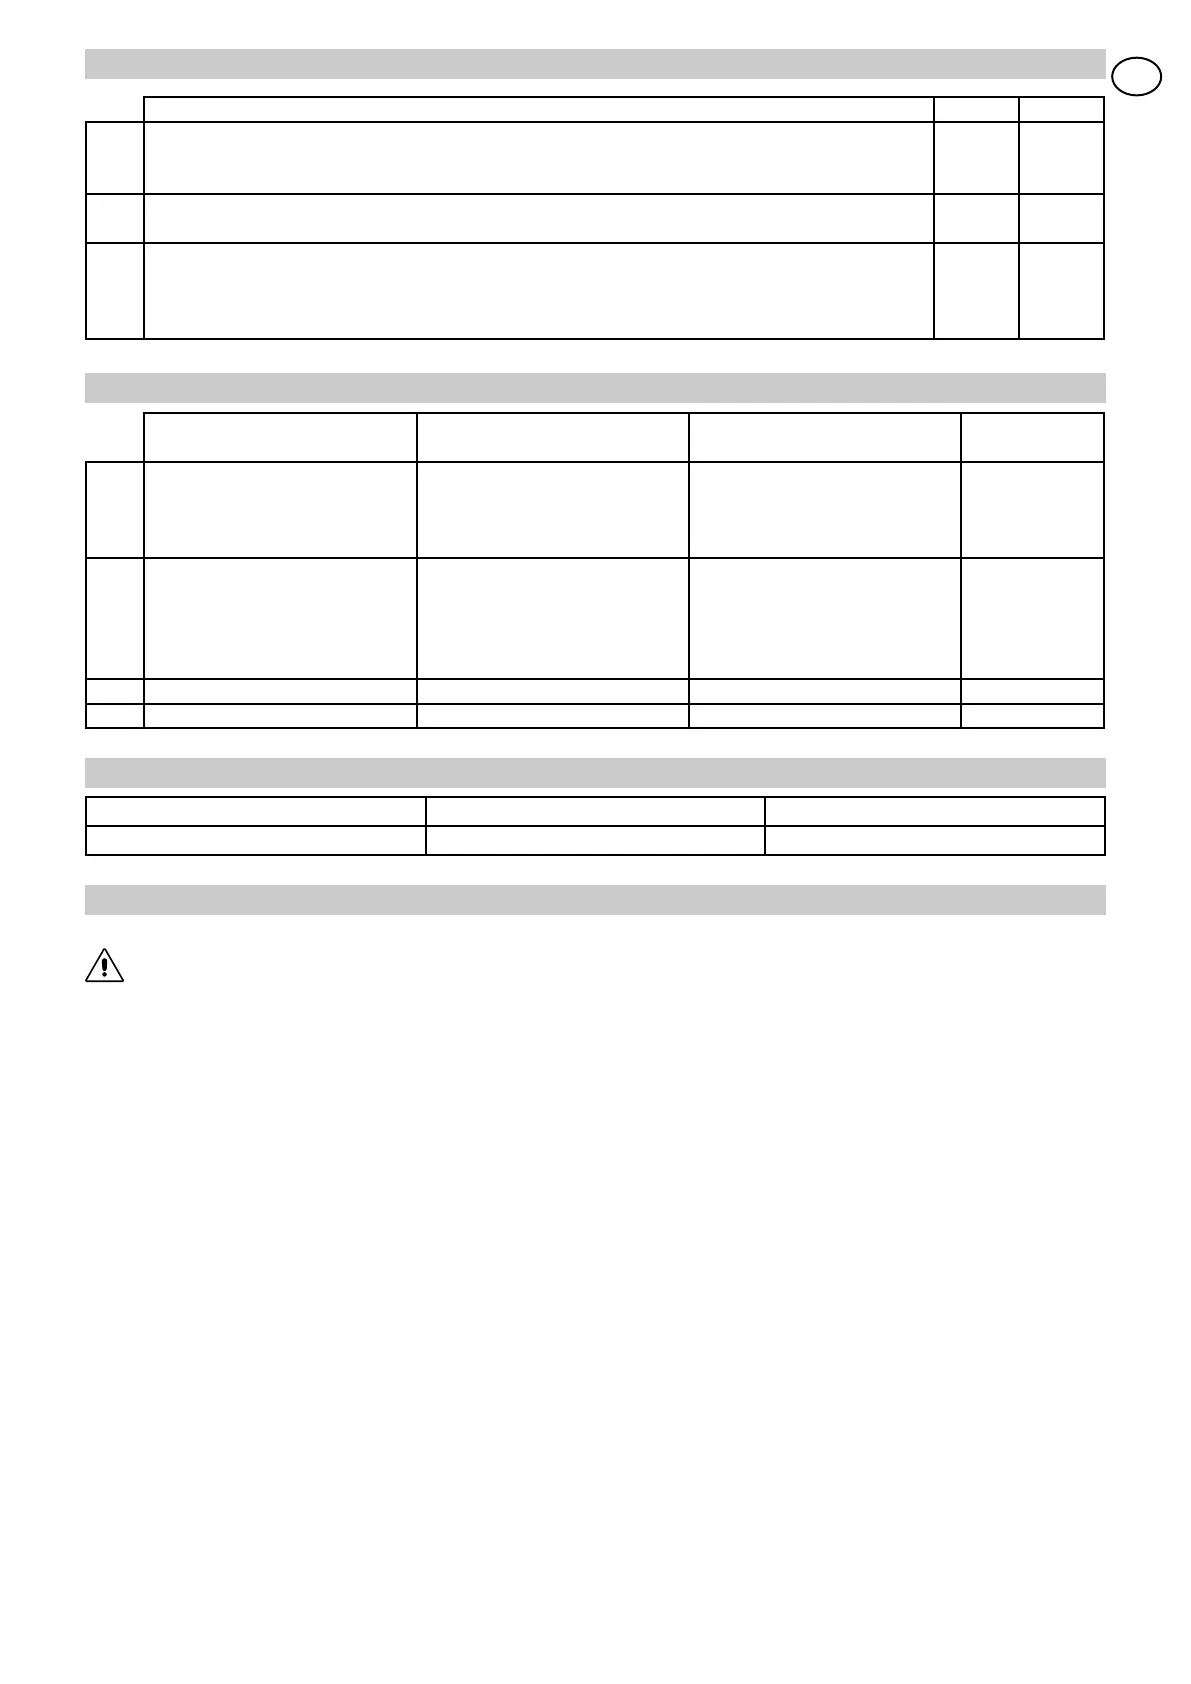
LED ON FLASHING
POWER ALARM Power on 24 V= Encoder / Automation fault.
2.3 ADJUSTMENT TRIMMER
2.4 SELECTION DIP SWITCH
2.5 INDICATORS
DESCRIPTION OFF ON
FACTORY
SETTING
DIP1 Locking function Unpowered lock with closed door.
When open, it cuts off power to
the lock throughout the opening
manoeuvre.
/ OFF
DIP2 Selection of the movement di-
rection. The opening direction is
intended by looking at the auto-
mated device from the inspection
side.
Right opening for one wing doors
and working for two-wing doors.
Left opening for one wing door. OFF
DIP3 Batteries. Antipanic operation Continuous operation OFF
DIP4 Unloaded batteries Last closing operation Last opening operation OFF
DESCRIPTION MIN. MAX.
R1 Thrust on obstacles (ODS). Adjust the thrust on the obstacles before the door reopens and before
the door stops against the obstacle itself. With heavy doors and/or doors with high friction, a low
force setting may cause detection of a non-existent obstacle.
0% 100%
TC Automatic closure time. It adjusts the time that elapses between the ending of opening control
and the beginning of the automatic closing.
0 s 30 s
RP Partial opening. Adjusts the passage spaciousness when the control is given between 27-3A (3B).
With the trimmer set to the minimum, the opening is equal to 5% of the normal passage, with the
trimmer set to the maximum the opening is equal to 90% of the normal passage.
Note: Set RP not less than 1/4.
5% 90%
3. START UP
ATTENTION: Before performing any procedure, make sure that the device is not powered and that the batteries are
disconnected.
The operations regarding point 3.4 are without safety devices.
The trimmer can only be adjusted with door not moving
3.1 Set DIP 1, 3 and 4 to OFF. Set DIP 2 as described in section 2.4.
3.2 Set TC to the minimum, R1 and RP to the half.
3.3 Short circuit the safety devices (1-8) and the stop (1-9).
3.4 Power (mains and batteries). Give a RESET.
Note: Whenever the power supply is interrupted or the RESET key is pressed, the opening maneuver is carried out at a
slower speed in order to learn the end-of-travel positions (acquisition phase). Check that door operates properly by sending
several open and close commands.
3.5 Adjust with R1 the thrust on obstacles.
3.6 Remove the jumpers and connect the safety devices (1-8) and the stop (1-9).
3.7 Set out with DIP3 and DIP4 the working with battery.
3.8 Adjust the automatic closure with TC (enabled by command 1-2).
3.9 If desired, set the partial opening time via RP.
3.10 Connect any accessories and check their function.
3.11 If the automated device encounters an obstacle while closing, it detects it and reopens. If it encounters an obstacle while
opening, it detects it and stops. In later maneuvers, the obstacle will be considered a new stop until it is removed.
Attention: check that the force from the movement and the bumping force between the wing and the obstacle is less than
that provided for in the standard prEN 12650-1.
 Loading...