11
EN
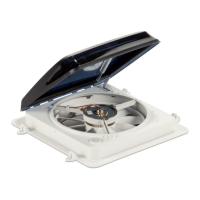
Dometic Fan Installation
I
Torque all screws equally and do not over
tighten.
4. Apply sealant over the screw heads and at the
mounting flange where it meets the roof or side.
e
w
q
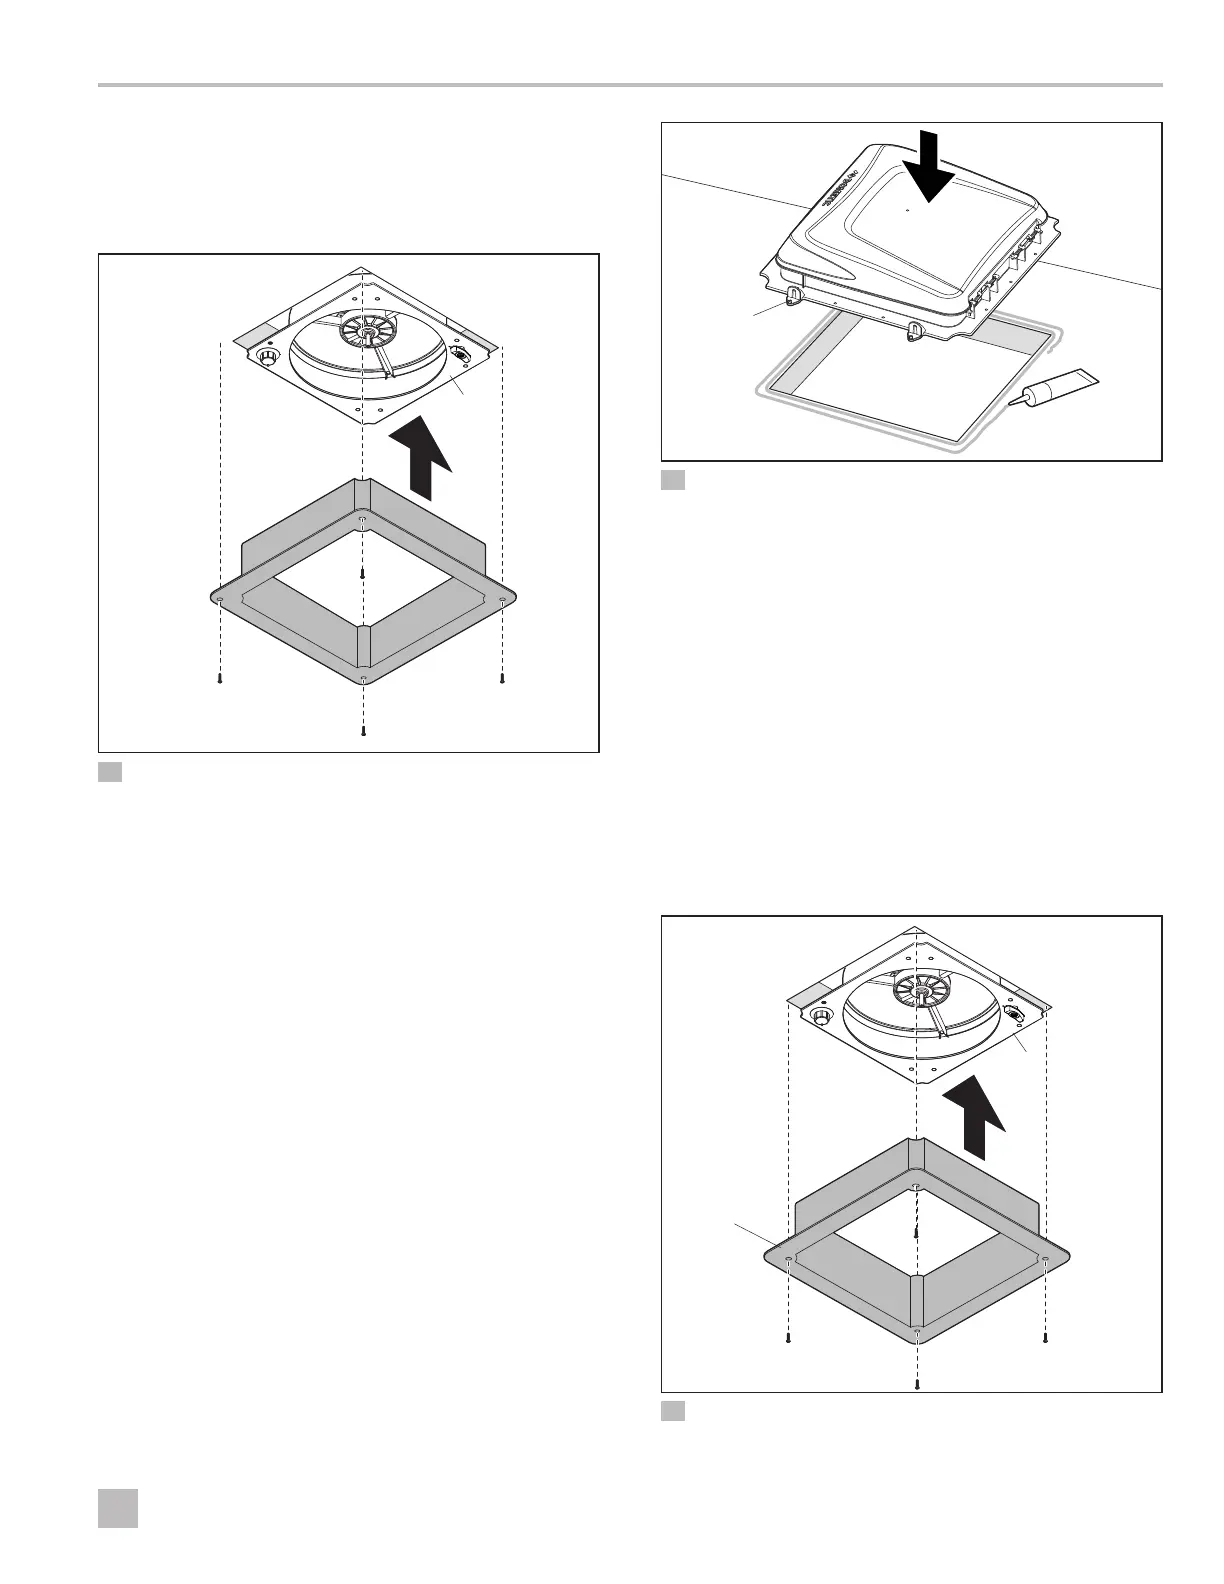
12 Securing the Trim Garnish for a Vent Mount
q
Fan
e
Screws
w
Trim Garnish
5. From the interior of the RV, secure the garnish to the
roof using the appropriate screw for the garnish size.
See “Trim Garnish Dimensions” on page5.
I
Torque all screws equally and do not over-
tighten.
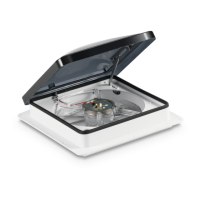
7.1.2 Clamp-Fan Mount
This section describes how to install a fan using the
clamp-fan method.
Some fans are available in a “clamp fan” configuration
for roof or wall openings with a thickness less than 4 in.
(102mm). The shorter trim garnish for a clamp-fan mount
is designed to secure the fan with screws into the fan
base from inside the RV and to trim the cut-out.
w
ee
qq
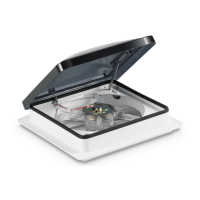
13 Clamp-Fan Mounting
q
Flange
e
Sealant
w
Fan Hinge
1. Run a double-bead of sealant around the outside of
the roof or wall opening.
I
Do not use putty tape, butyl, or gaskets for
clamp-fan mounts.
2. Position the fan on the sealant and press down.
3. Apply sealant over the screw holes and at the
mounting flange where it meets the roof or side.
I
Failure to seal the screw holes and flange could lead
to water damage.
e
q
w
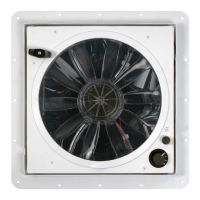
14 Securing the Trim Garnish for a Clamp-Fan Mount

 Loading...