17
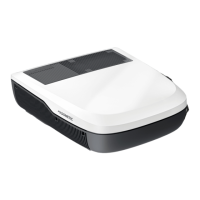
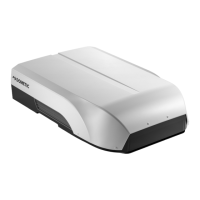
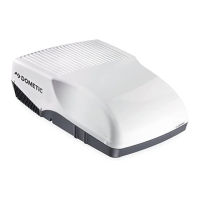
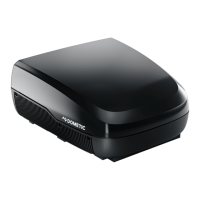
FreshJet3000 Installation
8.5 Installing the roof air conditioner ADB
A
See fig. b, page 6
➤ Orientate roof frame based on opening size.
➤ Fit the roof frame into the roof opening
➤ Seal around the roof frame with flexible non-hardening butyl sealing com-
pound (e.g. SikaLastomer-710, Selleys Butyl Mastic, Bostik ezycaulk butyl
sealant, or similar products).
See fig. c, page 6
➤ Lift the roof air conditioner onto the roof of the vehicle.
➤ Position the roof air conditioner onto the roof plate and align into the groove
in the base pan.
Observe the direction of travel.
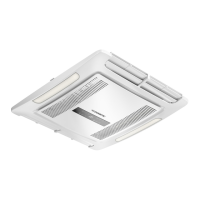
8.5.1 Attaching the roof air conditioner
See fig. d, page 6
➤ Use the corners of the front of the base pan to help align the unit with the roof
plate.
8.5.2 Electrical connection
NOTICE! Risk of damage
Observe the structural strength of the roof of the vehicle. The roof of the vehicle
must be able to bear the weight of the roof air conditioner. The roof must not
be indented or deformed by the weight of the unit, even over a longer period
of time.
Item (fig. e,
page 7)
Description
1220 – 240Vw mains
2 Evaporator plate
3 Communication wire
4 Heatsink metal net
5 Condenser plate
6 Reversing valve
7Inverter compressor
8 Fan evaporator
FreshJet3000--INM.book Seite 17 Donnerstag, 12. März 2020 11:39 11
 Loading...