6. If there are two batteries, remove the top battery and
dual battery wire assembly. Otherwise, proceed to the
next step.
7. Push up on the open notch-end of the bottom battery
bracket to release one end.
8. Remove the battery(s).
ote:N Dispose expired batteries in an environmentally
responsible manner. Consult local regulations for
proper battery disposal.
9. Place the replacement battery(s) in the location the
previous battery(s) were in.
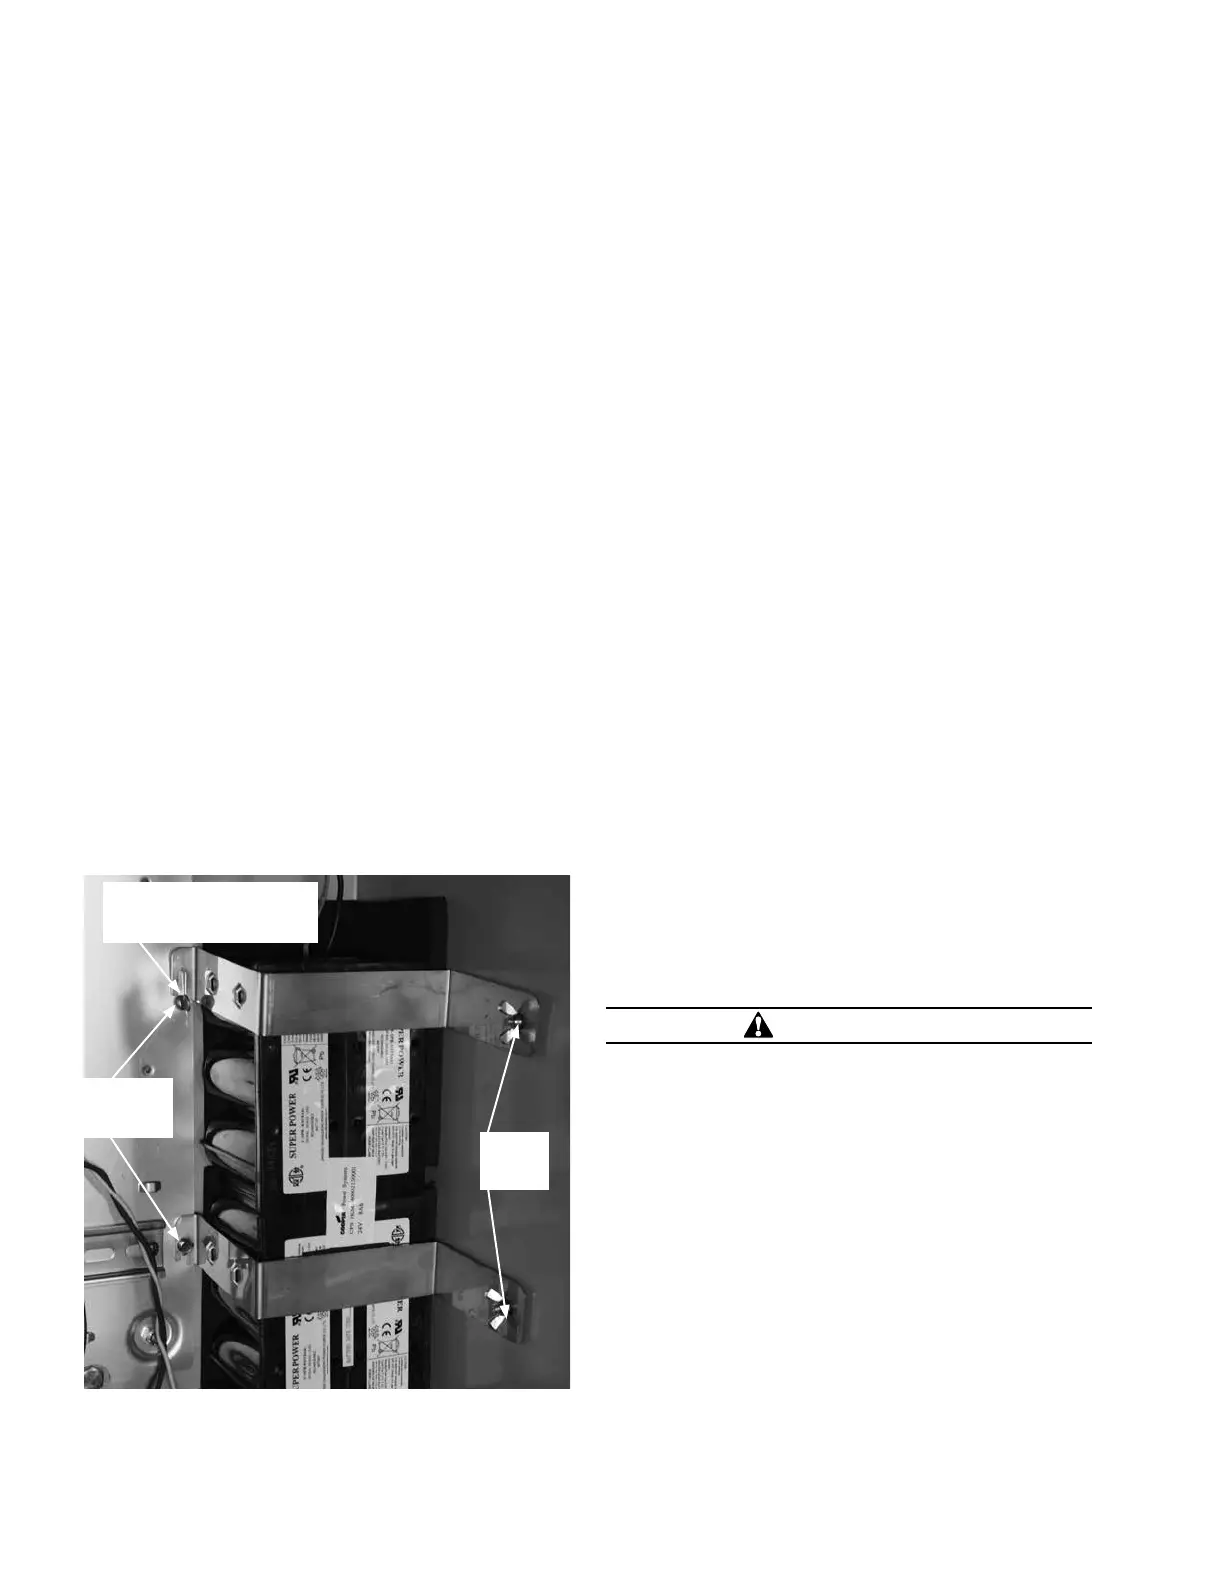
10. Re-install the battery brackets by sliding the open notch-
end back into place (Figure 46).
11. Tighten down the two thumb screws (Figure 46).
12. Tighten down the two wing nuts for the battery
brackets (Figure 46).
13. If there are two batteries, reconnect the dual battery
wire assembly. Otherwise, proceed to next step.
14. Reconnect control wiring to replacement battery(s)
(Figure 44).
15. Re-energize the control. Follow all locally approved
safety procedures.
16. Perform a battery test on the new battery(s) (assuming
it has been adequately charged) to confirm the state
of the new battery(s) and wire assembly connections.
Refer to Battery Test and Charging Procedures
section of this manual.
Thumb
Screws
Wing
Nuts
Sliding open notch-end
down back into place.
Figure 46. Reinstall battery bracket(s)
Return the control to service
After the required work is completed, proceed as
follows:
1. Remove AC power from the control.
2. Disconnect the control battery.
3. Disconnect the control from the test set.
Follow this procedure to return the control to service:
1. Appropriate personnel must verify that all control
settings are correct.
2. Reconnect the ground cable to the control.
3. Control cable properly connected, fully tightened to
ensure gasket seal, and supported on both ends.
4. Plug in the control battery.
ote:N The Form 4D pole-mount recloser control will not
automatically power up until AC power is applied.
5. Apply AC power to the control.
6. Disable GND TRIP BLOCKED.
A. Depress the GND TRIP BLOCKED button.
7. Verify the control clock is set to the current time after
AC power has been reapplied.
ote:N The control clock may require resetting if the
operating power has been disconnected for more
than thirty days. Refer to Service Information S280-
104-2 Form 4D Microprocessor-Based Recloser
Control Programming Guide for information on
setting the control clock.
Additional procedures
Using removable inserts
CAUTION
Control damage. De-energize both AC and DC power
prior to removing or installing any internal connections
or circuit boards in the control. Failure to comply can
result in damage to the control.
T241.1
1. Follow all locally approved safety procedures.
2. De-energize both AC and DC power.
A. Following established safety procedures, remove
AC input power from TB1 or from AC input
receptacle, if applicable.
B. Disconnect the control wiring to the battery(s)
(Figure 44).
3. Loosen, but do not remove, the module swing panel
ground link 3/8” nuts with 3/8” nut driver (Figure 47).
4. Use a 1/4” nut drive to loosen, but not remove, the
three (3) nuts from the retaining bar (Figure 47).
5. Slide the retaining bar up to release the module.
44 OPERATION INSTRUCTIONS MN280049EN September 2017
Form 4D Microprocessor-based pole-mount recloser control installation and operation instructions
 Loading...


