- START INSTALLATION/OPERATING INSTRUCTIONS
2
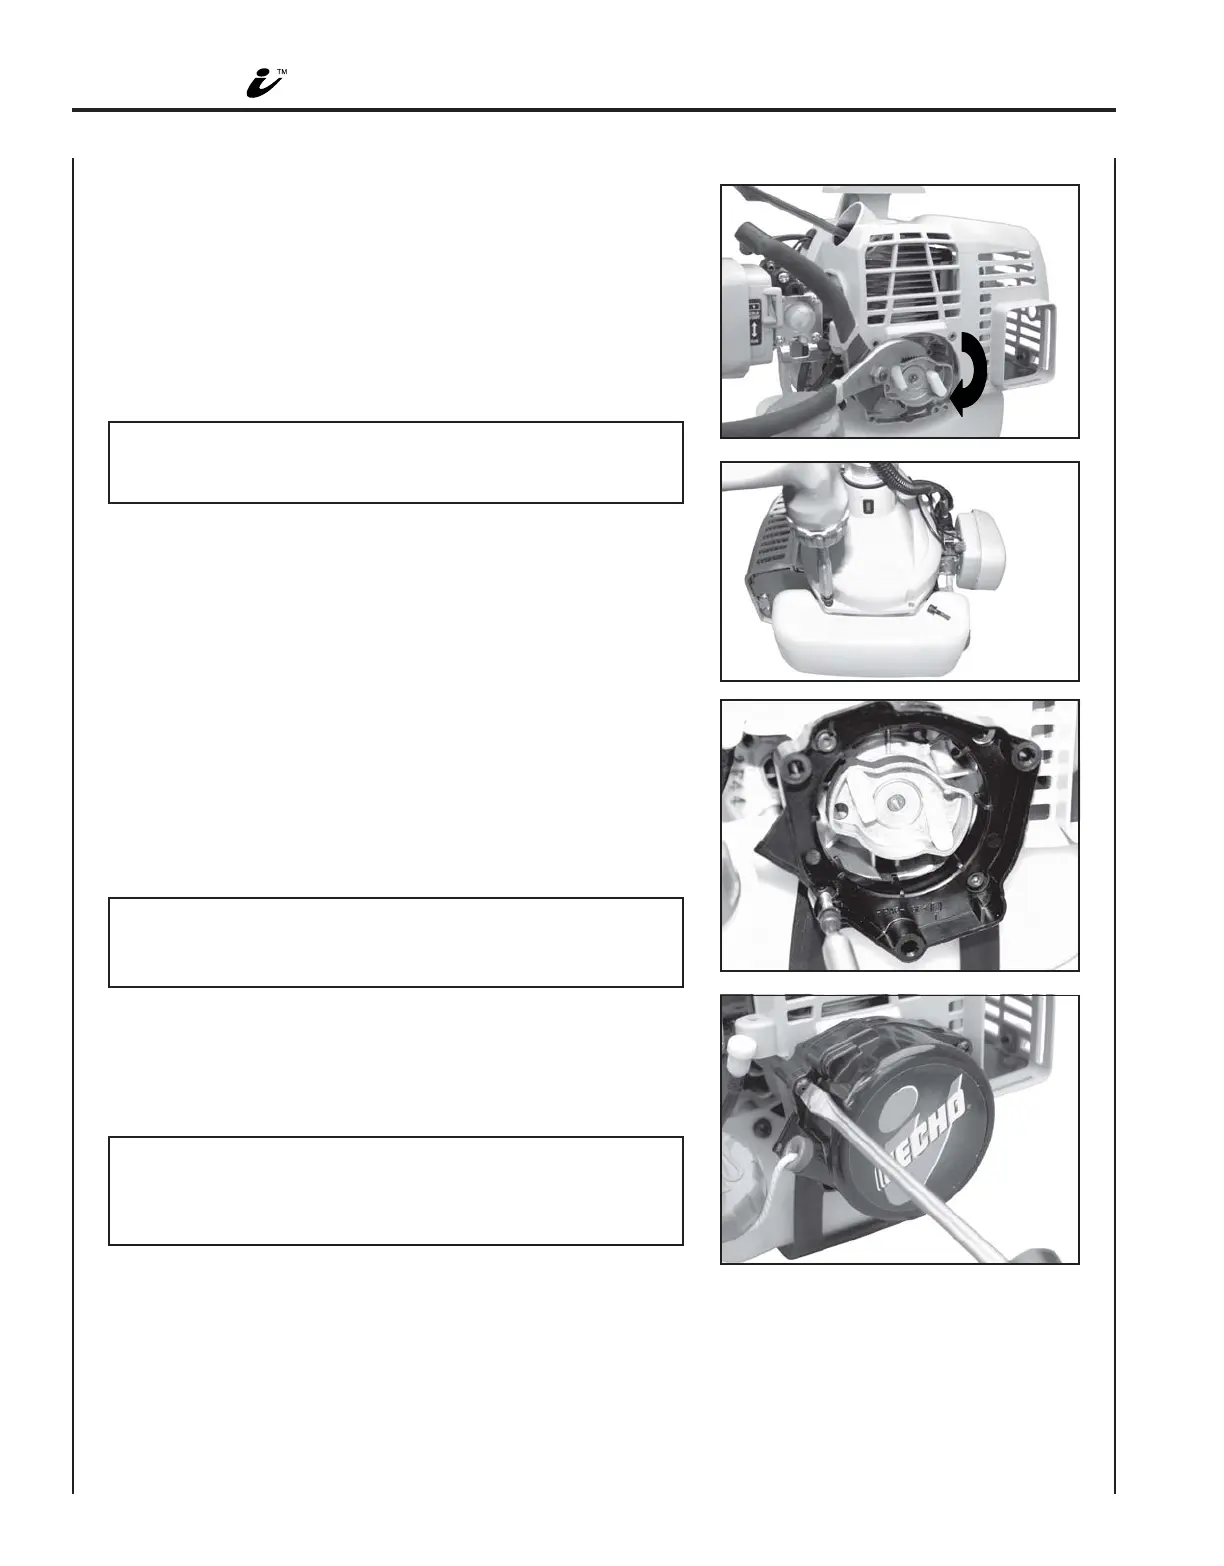
ASSEMBLY:
1. Thread new pawl catcher CW onto crankshaft end. Turn
pawl catcher and crankshaft CW until the piston rests
firmly against piston stop, preventing crankshaft from further
rotation.
2. Use pliers to clamp pawl catcher, then turn CW until tight.
NOTE:
Do not use excessive force when clamping pawl catcher to
avoid damage to assembly.
3. Remove two bottom fan cover screws and retain.
4. Install engine stand to fan cover with two fan cover screws.
Tighten securely.
5. Position spacer with triangular tab to the left when viewed
from the rear. Install eye plate between spacer and engine
stand flange. Align screw holes and secure spacer, engine
stand and eye plate using four (4) screws removed from
original starter assembly.
6. Install the i-Start assembly to the spacer with starter
handle positioned to the left when viewed from the rear.
Secure with three (3) tapping screws supplied.
NOTE:
When installing starter assembly to spacer, pull starter rope
six (6) inches until starter assembly fits flush with spacer.
7. Remove piston stop. Slowly pull starter rope to verify engine
rotates freely. If engine does not rotate freely, check spacer
and starter alignment.
8. Install spark plug and connect spark plug lead.
NOTE:
When the starter is correctly installed, you will hear a
clicking sound when the starter rope is pulled out then
returned.
 Loading...