20
Installing the Motherboard
Installing a Hard Disk Drive/CD-ROM/SATA Hard Drive
This section describes how to install IDE devices such as a hard disk drive and a CD-
ROM drive.
About IDE Devices
Your motherboard has one IDE channel interface. An IDE ribbon cable supporting
two IDE devices is bundled with the motherboard.
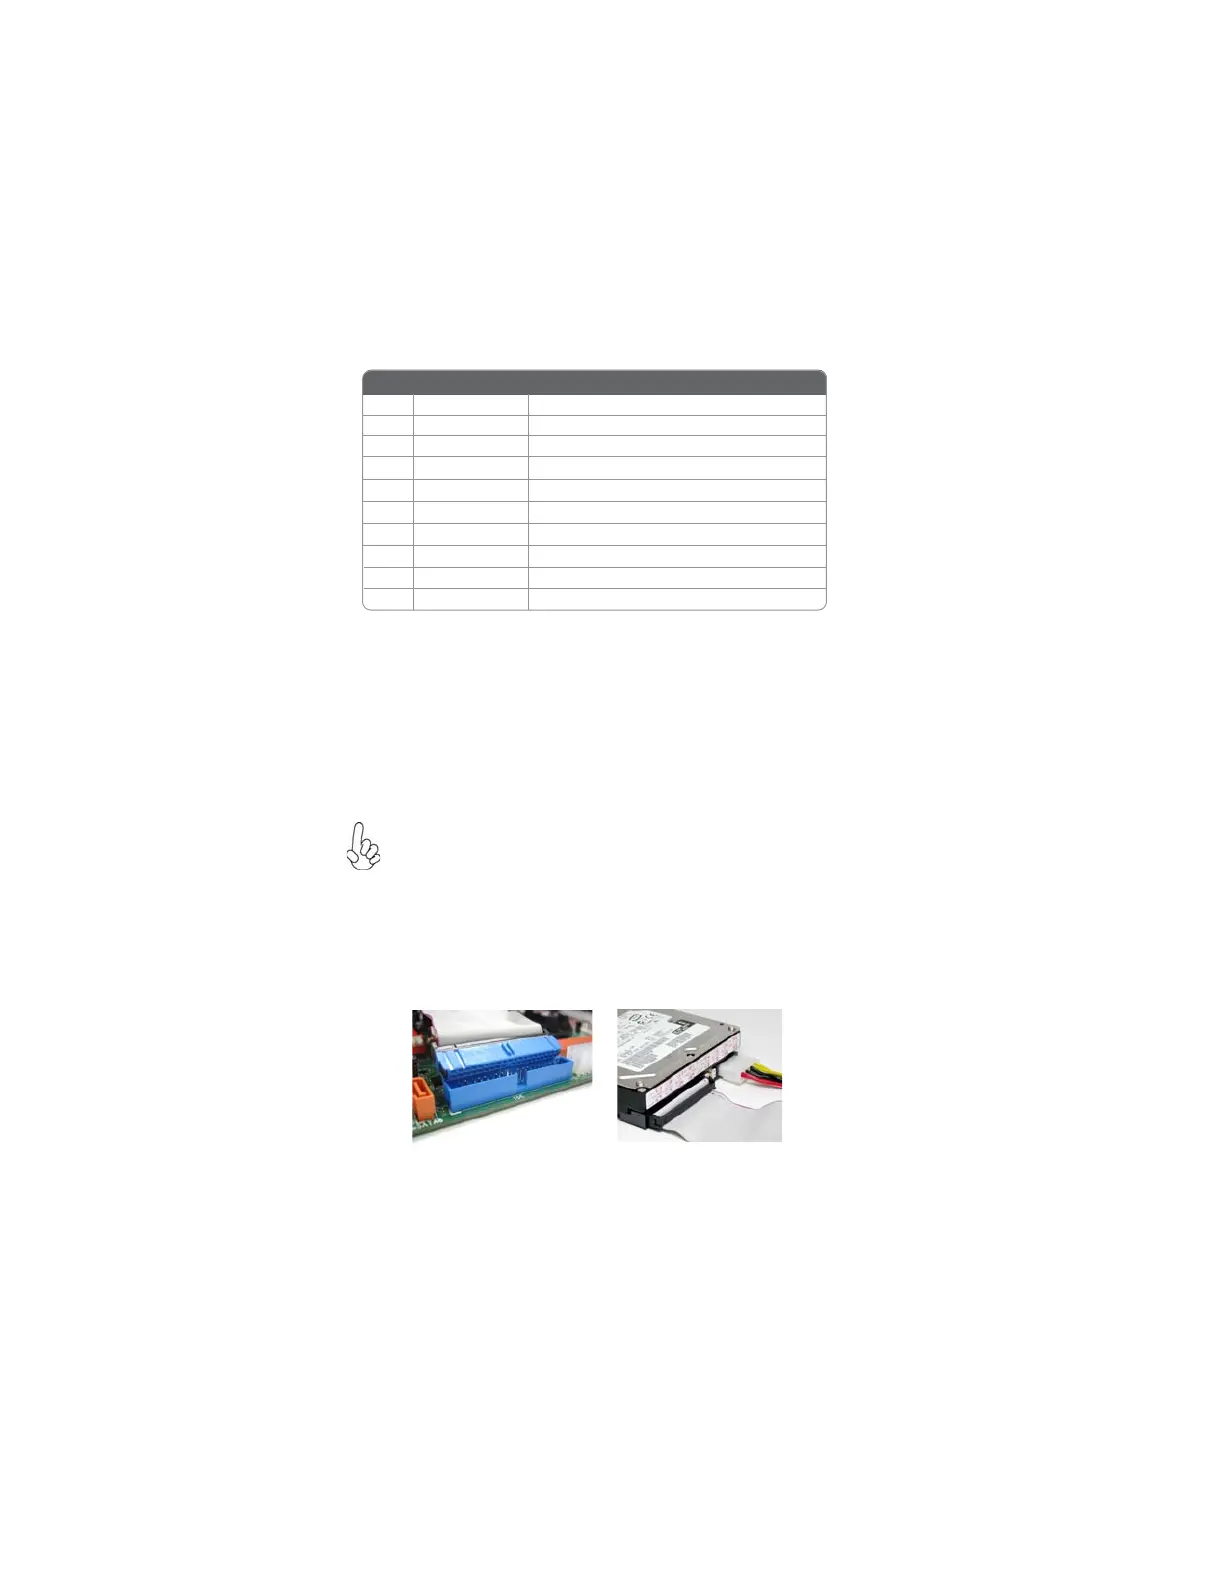
You must orient the cable connector so that the pin1 (color) edge of the
cable corresponds to the pin 1 of the I/O port connector.
IDE: IDE Connector
This motherboard supports four high data transfer SATA ports with each runs up to
3.0 Gb/s. To get better system performance, we recommend users connect the CD-
ROM to the IDE channel, and set up the hard drives on the SATA ports.
COM: Onboard serial port header
Connect a serial port extension bracket to this header to add a second serial port to
your system.
1 DCDB Data Carrier Detect
2 SINB Serial Input
3 SOUTB UART B Serial Output
4 DTRB UART B Data Terminal Read y
5 GND Ground
6 DSRB Data Set Ready
7 RTSB RART B Request to Send
8 CTSB Clear to Send
9 RI Ring Indicator
10 Key No pin
Pin Signal Name Function
IDE devices enclose jumpers or switches used to set the IDE device as MASTER or
SLAVE. Refer to the IDE device user’s manual. Installing two IDE devices on one
cable, ensure that one device is set to MASTER and the other device is set to SLAVE.
The documentation of your IDE device explains how to do this.
 Loading...