2000 and 2500 Series
7
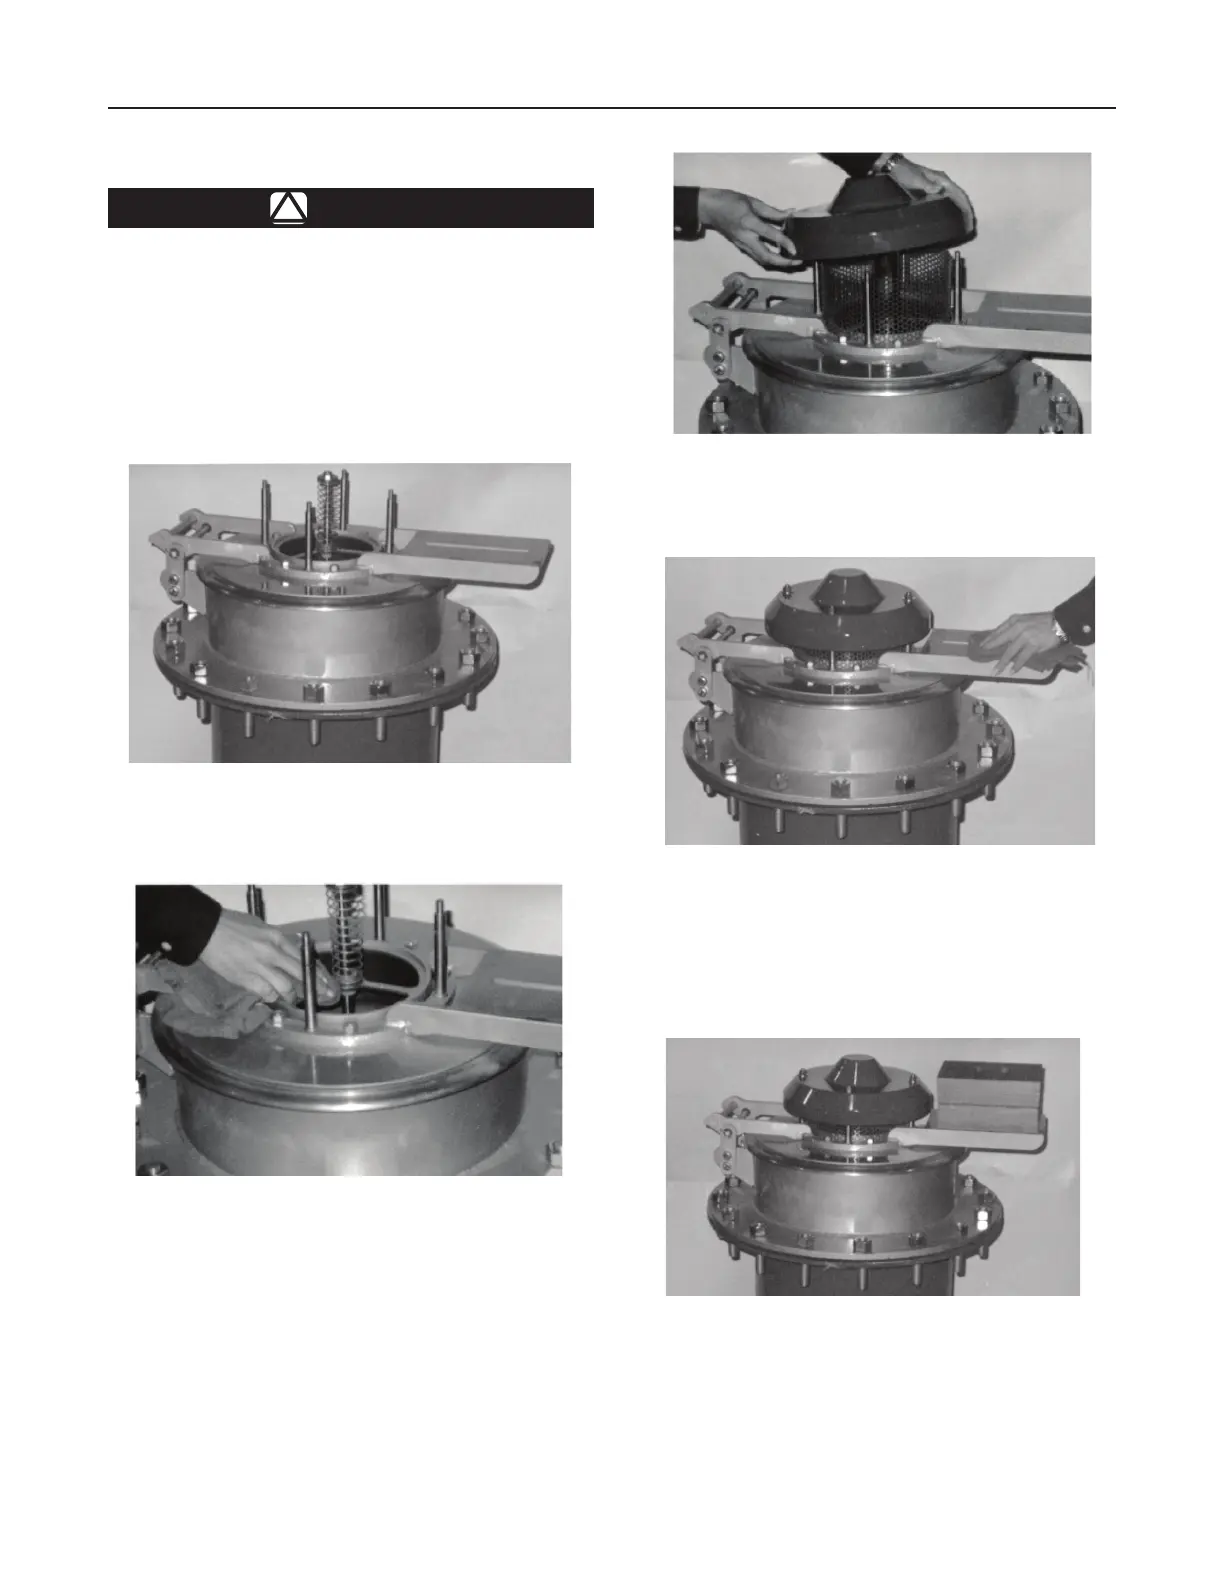
3. Replace the spring chamber and hood. Fasten
them securely.
Figure 9. 2500 Series with an Elevated Pressure Setting
1. Loosen fasteners on top of the vent and remove
the hood and the spring chamber.
Maintenance
!
WARNING
Always make sure that the tank is at
atmospheric pressure before opening.
pressure build-up inside the tank can
cause a spray to be emitted from the
vent if opened under pressure.
Follow the instruction below for the preventive
maintenance of the 2000 and 2500 Series.
2. Inspect and clear away any debris or buildup
that may cause the vent to become lodged or
impede air ow through the unit. Do not adjust
the height of the installed spring. Clean the
internal components with a suitable solvent and
non-abrasive cloth.
4. Clear away any debris or buildup on the unit surface
that may cause the vent to become lodged, impede
air ow or add weight to the lid assembly (added
weight will adjust the pressure setting of the vent).
 Loading...