AFTER INSTALLATION THE END USER SHOULD
KEEP THIS GUIDE FOR FUTURE REFERENCE
DO NOT
THROW AWAY
12
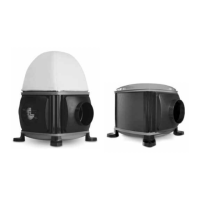
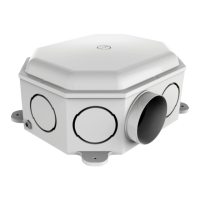
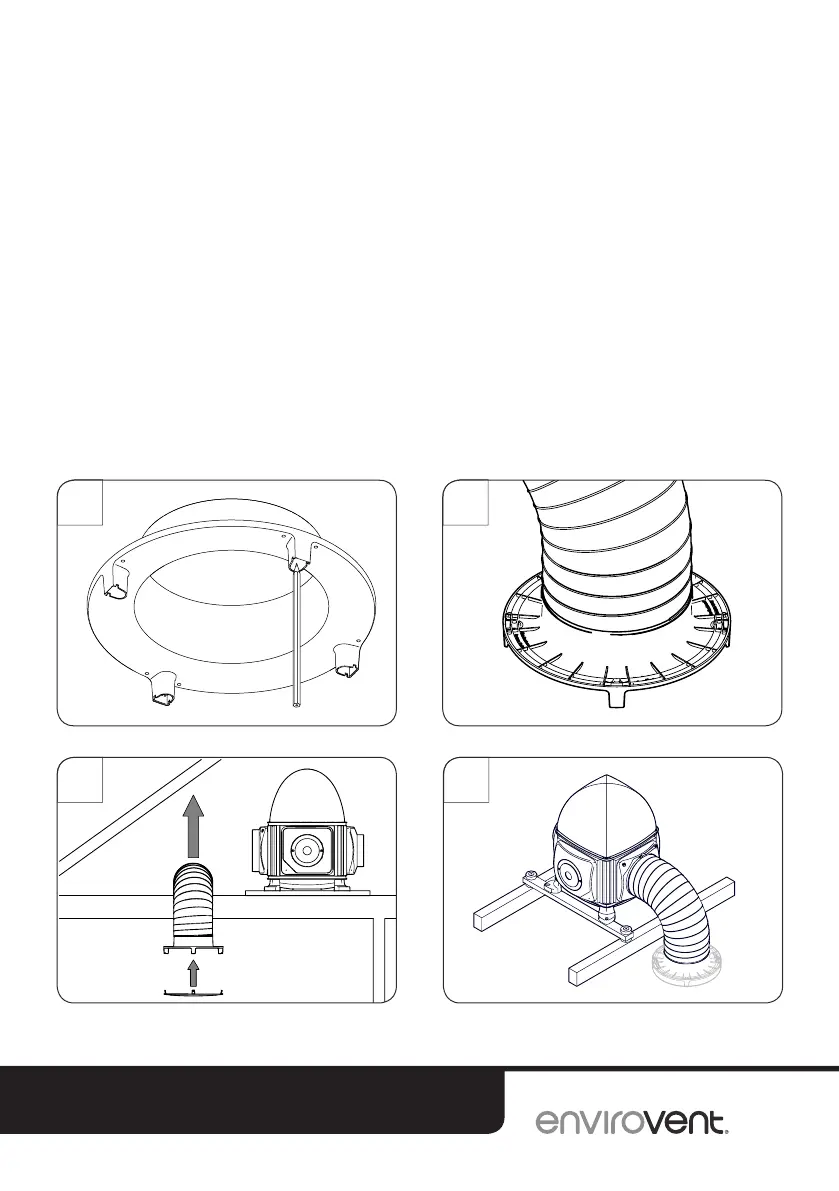
5. Insert the diffuser spigot into the ceiling hole so that the diffuser
outlets face towards the walls then mark the four fixing holes.
6. Attach the duct to the spigot of the diffuser and seal the connection
using the fixings supplied.
7. Insert the diffuser spigot into the hole then fix it in place.
Use the four plasterboard plugs and four 8g x 1.5” panhead
screws. (do not use countersunk screws on the diffuser).
Then clip the diffuser cover into the diffuser spigot.
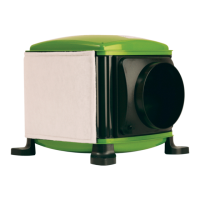
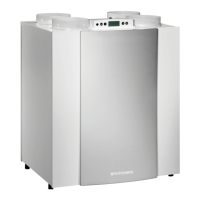
8. Attach the flexible duct to the spigot on the unit and ensure it is
pulled taught. Seal the connection tightly using the fixings supplied.
Cut the duct to length if required.
5 6
7 8
 Loading...