PRO 32 & 48 X-AXIS ASSEMBLY
2
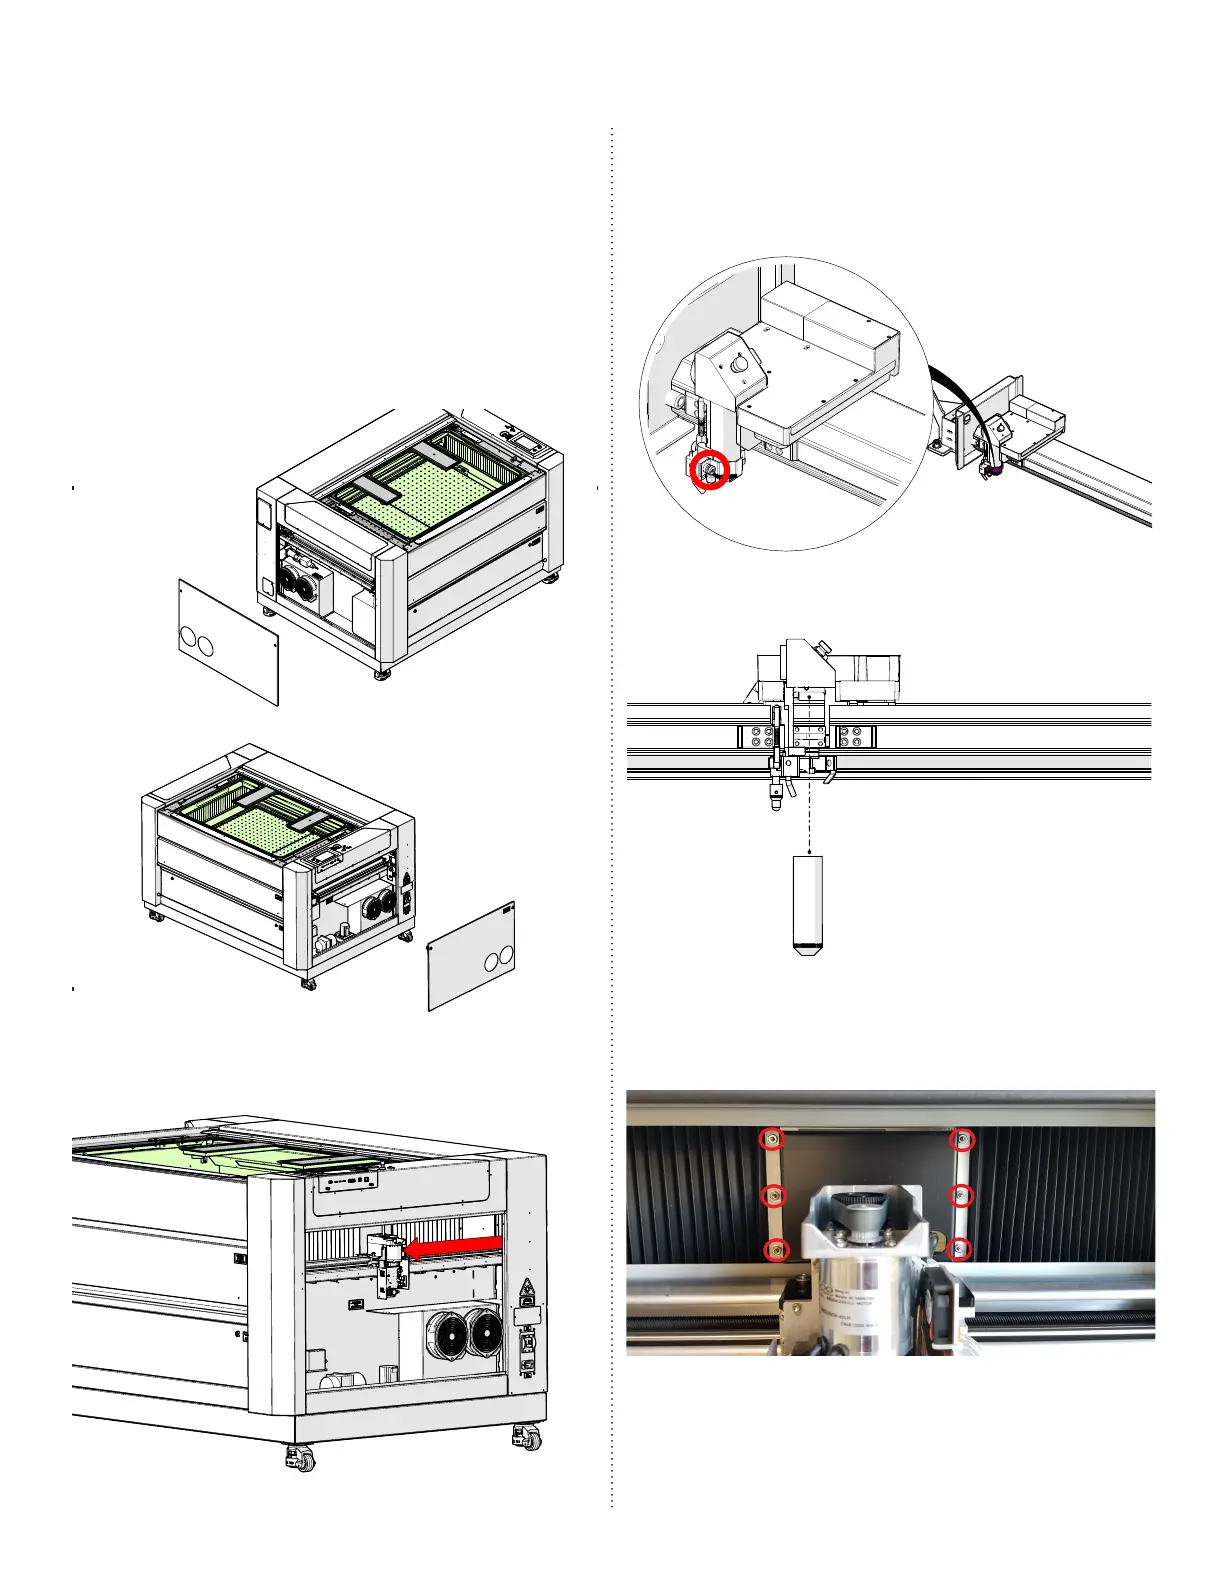
X-Axis Assembly Removal
1. Turn o the engraver.
2. Disconnect engraver from power source.
3. Remove the le and right panels of the
engraver by loosening the 5/32” cam
locks:
4. Manually move the x-axis assembly to
the middle of the engraver:
5. Loosen the Phillips screw on the lens
tube retaining collar. Make sure to hold
the lens tube to ensure that it does not
fall:
6. Remove the lens tube:
7. Remove the le and right bellows
by loosening the six (6) 5/16” nuts and
backing plate:

 Loading...


