www.pcnametag.com | 800.233.9767
Epson PM-400 Printer Setup 1
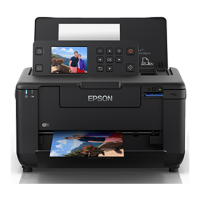
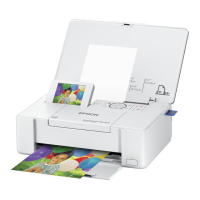
Epson PM-400 Printer Setup (Windows)
Make sure your printer is NOT connected to your PC and download the Drivers and Utilities
Combo Package Installer here: www.epson.com/support/pm400downloads
Run the installer program. When you see the Select Your Connection screen, select Direct USB
connection and use your micro USB cable (included in kit) to connect. When the software
installation is complete, restart your computer.
Select ‘Devices and Printers’ from the Windows Start Menu. Right click on the Epson PM-400
Series printer icon and select ‘Printing Preferences’. Make the following settings updates:
On the ‘Main’ tab, and Document Size drop down, click on ‘User Dened’. Create a Paper Size
named ‘4x3 nametag’ (or ‘4x6 nametag’ if you are printing that size).
Adjust the Paper Width to be 4.00” and the Paper Height to be 3.00” (or 6.00”). Click on Save
and OK. Select the new nametag on the Document Size dropdown. Orientation should be set
to ‘Portrait’. Paper Type should be set to ‘Plain Paper’. Quality can be either Standard or High.
Color should be set depending on if you are printing in full color or black & white (select
Black/Grayscale). Click on ‘Apply’ then ‘OK’.
Ensure that the nametag paper is loaded in your PM-400 with landscape orientation for 4x3
nametags (Windows computers only—see reverse for Mac instructions) and portrait orienta-
tion for 4x6 nametags.
To download the template for printing your nametags, search for UEPM on www.pcnametag.
com. Click on the ‘Manual and Template’ tab and download the ‘4x3 nametag.doc’ or ‘4x6
nametag.doc’. Personalize and print your nametag in Microsoft Word.
1
2
3
4
5
EPSON PM-400 PRINTER