Selecting the Options Using the DIP Switches
***FS = Factory Settings
CONTINUED ON NEXT PAGE...
1
2
3
4
5
6
7
8
1
2
3
4
5
6
7
8
1
2
3
4
5
6
7
8
1
2
3
4
5
6
7
8
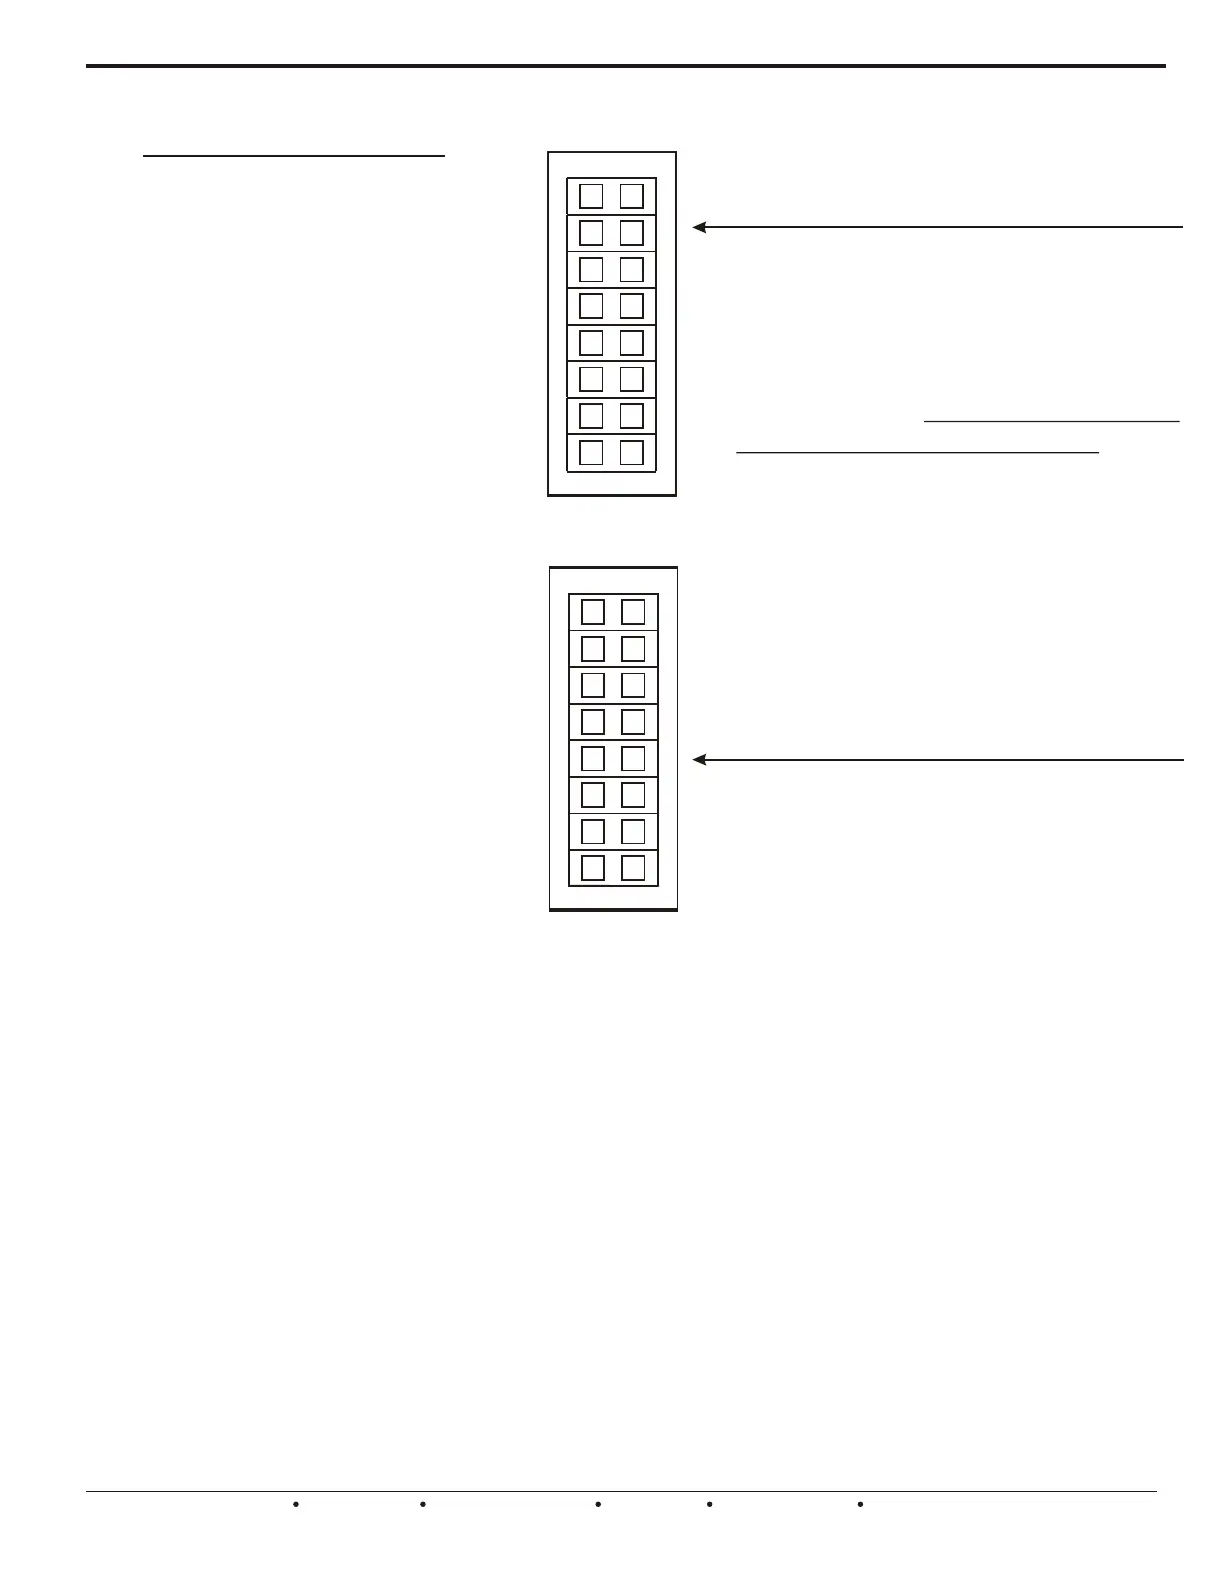
FS HP < SYSTEM > GAS
DF < HP > CONV FS
FS OFF < FAN PRG > ON
90s < PURGE > 180s FS
OAS < STAGES > TMR FS
FS OFF < 50% R > ON
FS OFF < SAS > ON
FS GAS < FAN > HYDRO
SWITCH LEGEND
HC < TSTATS > HPFS
FS1 < CS# > 2
FS O < RV > B
FS OFF < ZDL > ON
RA < AUX RLY > DA FS
FS OFF < RAS > ON
FS 0 < RA LIMIT > +10
FS ANY < FAN CTRL > Z1
Bank1
Bank2
Detailed explanations of each Dip Switch Function are included on the following
pages. Please study and familiarize yourself with all of the functions and features, prior
to activating the Zoned HVAC system. Not all features will apply to your application.
The UZC4 comes from the factory pre-set to operate a 2 stage Heat Pump using
heat pump thermostats to control the staging.
Failure to properly set all dip switches to the correct and/or desired positions will result
in improper operation of the controlled HVAC System.
Please read and study the entire Technical Bulletin and if necessary, Call the EWC
Technical Support Hotline when assistance is required.
Leave this Technical Bulletin with the Home or Building Owner for future reference.
6
EWC Controls Inc. 385 Highway 33 Englishtown, NJ 07726 800-446-3110 FAX 732-446-5362 E-Mail- info@ewccontrols.com
RECORD YOUR DIP SWITCH
SETTINGS HERE
Programming and setting up the
UZC4 is very easy! Check the
Switch Legend and refer to the
following pages for an explanation of
each dip switch function and choose
your settings. Some functions may
not apply to your application. Use a
pencil to fill in the square & record
your settings. If the settings get
changed later on, you will have a
record of the original settings.
NOTE: When you choose “HP” at
switch #1, Bank 1, the fan mode is
automatically set for you. There is no
need to move switch #8, Bank1.
Leave it in the “GAS” factory setting.
RECORD YOUR DIP SWITCH
SETTINGS HERE

 Loading...