ot
0.5”
1”
2”
3”
6”
12”
Laser Beam
24”
4”
Sensor Beam
0.63”
1
2
3
4
5
6
7
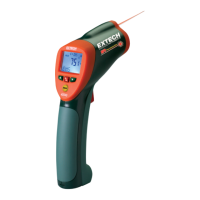
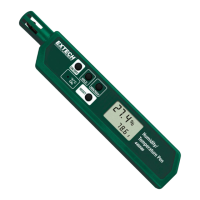
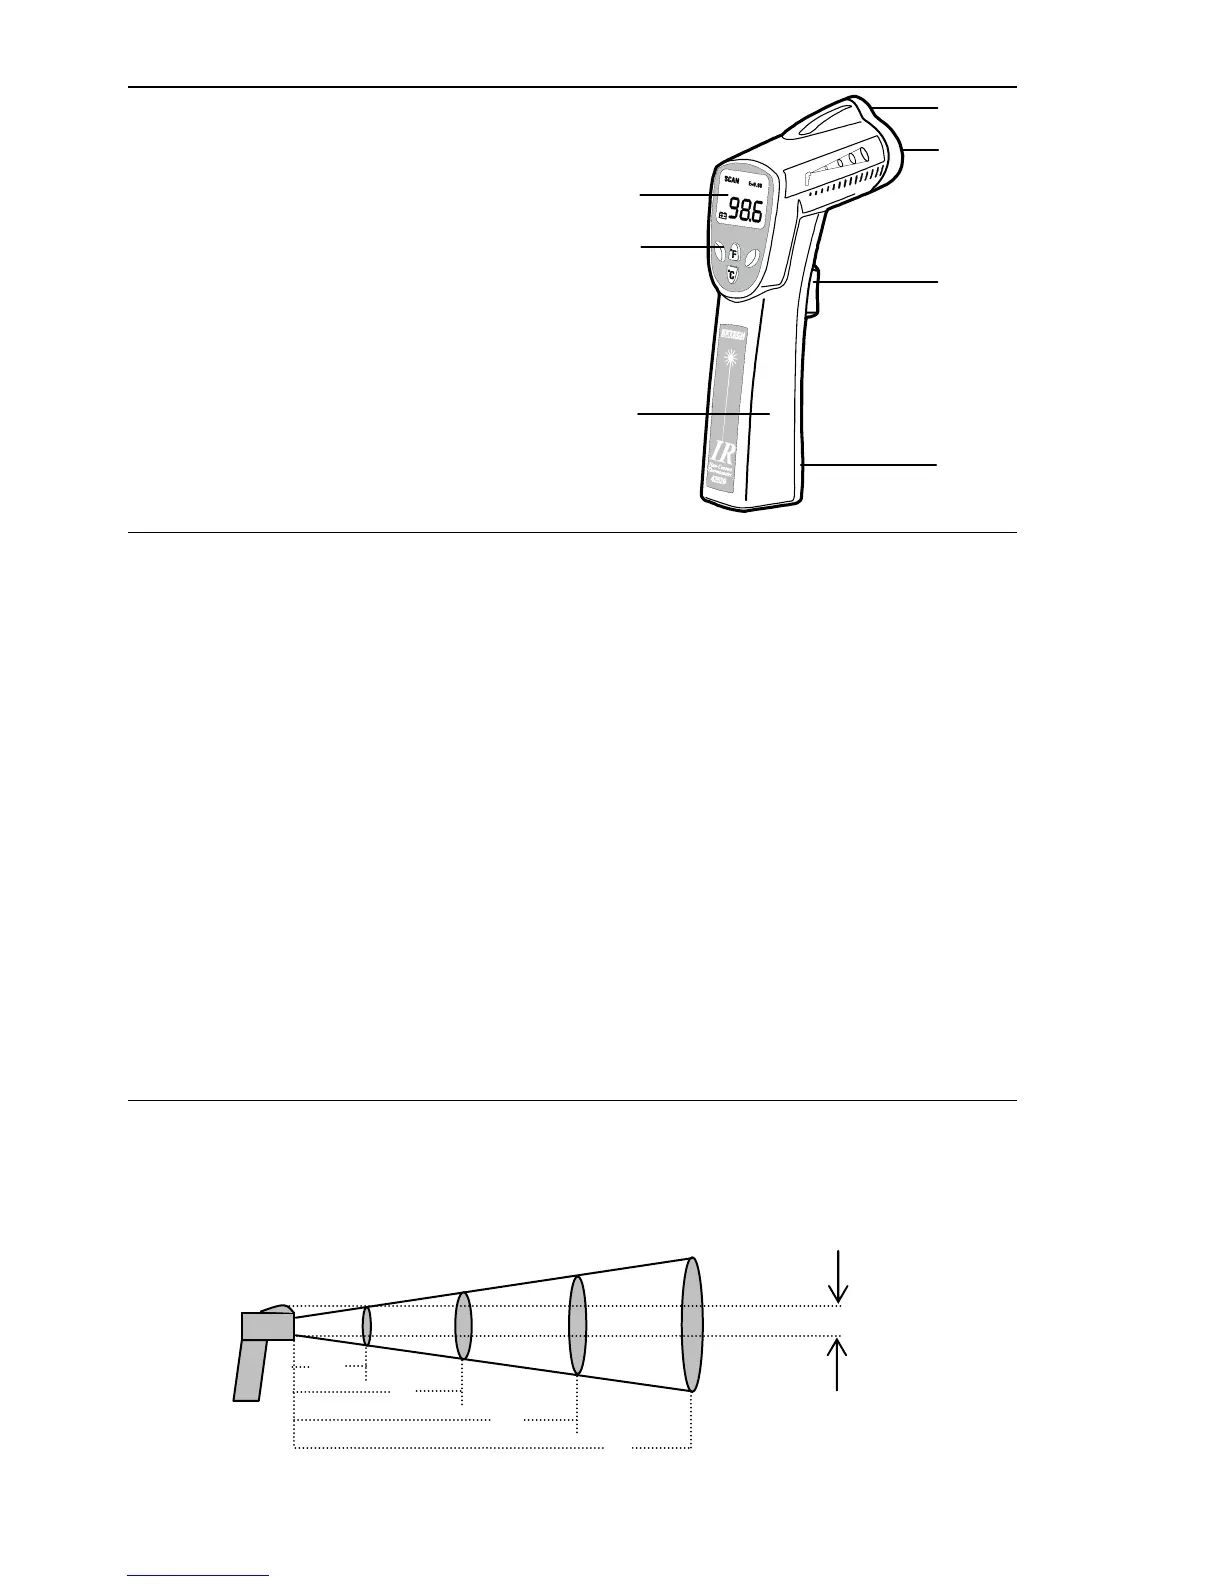
Meter Description
1. LCD Display
2. Function Buttons
3. Handle Grip
4. Laser Pointer
5. IR Sensor
6. Measurement Trigger
7. Battery Compartment
Operating Instructions
1. Hold the meter by its Handle Grip and point it toward the device whose temperature is
to be measured.
2. Press and hold the red Trigger to turn the meter on and begin testing. The display will
light if the battery is charged. Replace the battery if the display does not light.
3. While continuing to press the Trigger, push the red Laser button to turn on the laser
pointer. Aim the red beam approximately a half inch higher than the point of test as
shown in the diagram below (pressing the Laser button again turns the laser off).
4. While measuring, the SCAN display icon will appear on the LCD above the
temperature measurement and to the left of the emissivity value (fixed at 0.95.).
5. If the measurement exceeds the useable temperature range (0 to 600
o
F), the meter will
emit a tone and the LCD will display ‘OVER’.
6. Release the Trigger when the temperature stabilizes. The HOLD display icon will
appear on the LCD indicating that the reading is being held.
7. Set the temperature units (
o
C or
o
F) using the blue
o
C and
o
F buttons.
8. Press the yellow Backlight key to turn on the LCD backlighting function.
9. The meter will automatically power down after 7 seconds.
Field of View
The meter’s field of view is 6:1, meaning that if the meter is 6 inches from the target, the
diameter of the object under test must be at least 1 inch. Other distances are shown below
in the field of view diagram. Refer to the chart printed on the meter for more information.
 Loading...