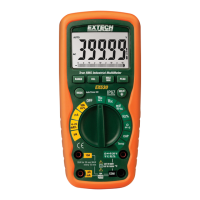
5 DM220-en-US_V3.3 10/20
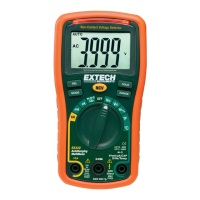
3. If AC voltage is present, the detector light will illuminate.
NOTE: The conductors in electrical cord sets are often twisted. For best results, rub the probe tip
along a length of the cord to assure placing the tip in close proximity to the live conductor.
NOTE: The detector is designed with high sensitivity. Static electricity or other sources of energy
may randomly trip the sensor. This is normal operation.
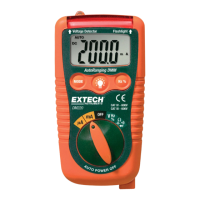
FLASHLIGHT
Press and hold the button to turn the flashlight on. Release the button to turn the flashlight off.
AUTO POWER OFF
The auto off feature will turn the meter off after 15 minutes.
LOW BATTERY INDICATION
The icon will appear in the lower left corner of the display when the battery voltage becomes low.
Replace the battery when this appears.
Maintenance
WARNING: To avoid electric shock, disconnect the test leads from any source of voltage before
removing the battery cover.
WARNING: To avoid electric shock, do not operate your meter until the battery cover is in place and
fastened securely.
This MultiMeter is designed to provide years of dependable service, if the following guidelines are
followed:
1. KEEP THE METER DRY. If it gets wet, wipe it off.
2. USE AND STORE THE METER IN NORMAL TEMPERATURES. Temperature extremes can
shorten the life of the electronic parts and distort or melt plastic parts.
3. HANDLE THE METER GENTLY AND CAREFULLY. Dropping it can damage the electronic parts
or the case.
4. KEEP THE METER CLEAN. Wipe the case occasionally with a damp cloth. DO NOT use
chemicals, cleaning solvents, or detergents.
5. USE ONLY FRESH BATTERIES OF THE RECOMMENDED SIZE AND TYPE. Remove old or
weak batteries so they do not leak and damage the unit.
6. IF THE METER IS TO BE STORED FOR A LONG PERIOD OF TIME, the batteries should be
removed to prevent damage to the unit.
BATTERY INSTALLATION
WARNING: To avoid electric shock, disconnect the test leads from any source of voltage before
removing the battery cover.
1. Turn power off.
2. Open the rear battery cover by removing the Phillips head screw located on the bottom of the
meter.
3. Insert the batteries into battery holder, observing the correct polarity.
4. Put the battery cover back in place. Secure with the screw.
WARNING: To avoid electric shock, do not operate the meter until the battery cover is in place and
fastened securely.
NOTE: If your meter does not work properly, check the batteries to make sure that they are still good
and that they are properly inserted.
RESETTABLE FUSE
1. The fast acting, 0.2A/500V resettable fuse will open if the current limits of the meter are exceeded.
2. The fuse will automatically reset itself when the suspect current is removed from the meter’s input.
 Loading...