PH100-PH110 Version 5.0 06/05
4
Operation
Overview
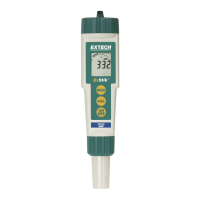
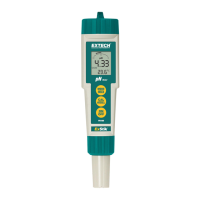
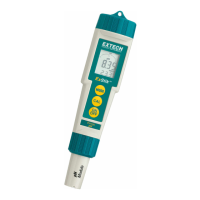
When the electrode is placed in a solution, the main display and bargraph indicate the pH
reading while the lower display reads temperature (readings flash until they have
stabilized). The bargraph is ‘center zero’, i.e. at pH 7 there is no display. As the pH rises,
the bar moves from the center to the right. If the pH drops, the bar moves from the center
to the left.
pH Calibration (1, 2, or 3 points)
A two point calibration with a buffer of 7 plus 4 or 10 (whichever is nearest to the expected
sample value) is always recommended. A one point calibration (choose the value closest
to the expected sample value) is also valid. For best accuracy, always calibrate at the
sample temperature.
1. Place the electrode into a buffer solution (4, 7, or 10) and momentarily press the CAL
key. pH 7 should be calibrated first, then 4 and/or 10 pH.
2. The ExStik
TM
automatically recognizes the solution and calibrates itself to that value.
Note: If the solution is more than 1pH off from the 4, 7, or 10pH standard, the
ExStik
TM
will assume an error and abort the calibration. CAL and END will be
displayed.
3. During calibration, the pH reading flashes on the main display.
4. When calibration is complete, the ExStik
TM
automatically displays ‘END’ and returns
to normal operation mode.
5. The appropriate circled indicator
➃ ,➆ , or ➉ will appear on the LCD when a
calibration has been completed. The calibration data is stored until a new calibration
is performed.
6. For a two or three point calibration, repeat steps 1-4.
Note: Always turn the meter off and then on before calibrating to allow sufficient time to
complete the calibrations during one power cycle. If the meter auto powers off during
calibration the calibrations remain valid, but new calibrations will turn the circled
indicators off.
Changing the Displayed Temperature Units
Press and hold the CAL button for approx. 3 seconds. The
o
C or
o
F icon will change first
and the numerical temperature value will change after the button is released. If the
Calibration mode is accidentally accessed ‘CAL’ appears on the LCD. Simply turn the
ExStik
TM
off and start again.
Data Hold
Momentarily press the MODE button to freeze the current reading. The HOLD display icon
will appear along with the held reading. The held reading will also be stored in memory.
Momentarily press the MODE key to return to normal operation.
 Loading...