Scout Operator’s Manual 3—Operating Your Scout Camera
431-TS00-00-10, Revision 110 11
3–3 Charging the Camera
The batteries in the camera must be fully charged prior to use. If not
fully charged or if the recommended batteries are not installed, the
battery status indicator may not accurately reflect the remaining
battery life. Only use the auxiliary power adapter provided with your
Scout camera.
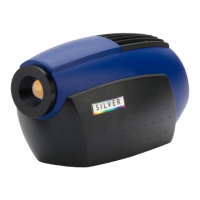
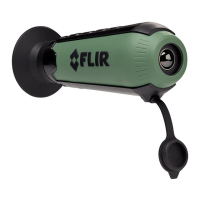
1. Connect the Hot Shoe to your camera.
2. Rotate the attachment wheel in
the clockwise direction until tight.
3. Plug the power adapter provided
with the camera into its power
source and also into the Hot Shoe.
4. Ensure that the plug is fully
seated in the Hot Shoe.
When charging correctly, the
charging indicator will be lit
yellow and will blink green for one
second within about 35 seconds.
The charging indicator will
continue to blink at decreasing
intervals until the batteries are
fully charged.
When fully charged, the charging
indicator will be lit solid green.
The initial charge time is
approximately 4 hours.
Note
The charging indicator will be lit solid green when the Hot Shoe is
not connected to the camera or the recommended batteries are
not installed. Ensure the batteries are charging by verifying the
green blink described above.
Plug from power adapter
Charging
indicator
Solid
green
1.800.561.8187 w ww . . co m
 Loading...