3
Place a rubber pad around the seat post, if necessary:
• If the seat post diameter is 27 to 28.6 mm, use the thicker
pad.
• If the seat post diameter is 30.4 to 31 mm, use the thinner
pad.
• If the seat post diameter is 31 to 31.8 mm, do not use a
rubber pad.
4
Place the seat-post connector around the rubber pad.
NOTE:
You should align the contours on the rubber pad with
the grooves on the inside of the seat-post connector.
5
Replace and tighten the screw.
NOTE: Garmin recommends a torque specification of 7 lbf-in.
(0.8 N-m). You should check the tightness of the screw
periodically.
6
Align the tabs on the back of the device with the seat-post
mount notches
Â
.
7
Press down slightly and turn the device clockwise until it
locks into place.
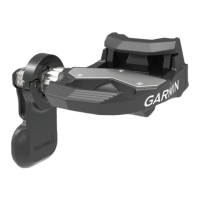
Installing the Multi-Location Mount
1
Select a secure location to mount the taillight where it does
not interfere with the safe operation of your bike.
NOTE: You can mount the device on your seat post, helmet,
backpack, or other location.
Garmin recommends that you
enable the deceleration indicator only when mounting the
device vertically on your seat post.
2
If necessary, select the correct rubber pad
À
for your seat
post shape.
3
Place the mount on the seat post or other mounting location.
4
Attach the mount securely using one or two bands
Á
.
NOTE:
You can use the hooks on the center of the mount
Â
if using only one band.
5
Align the tabs on the back of the device with the mount
notches
Ã
.
6
Press down slightly and turn the device clockwise until it
locks into place.
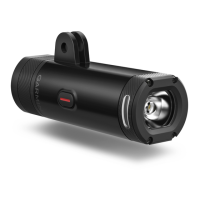
Varia
HL
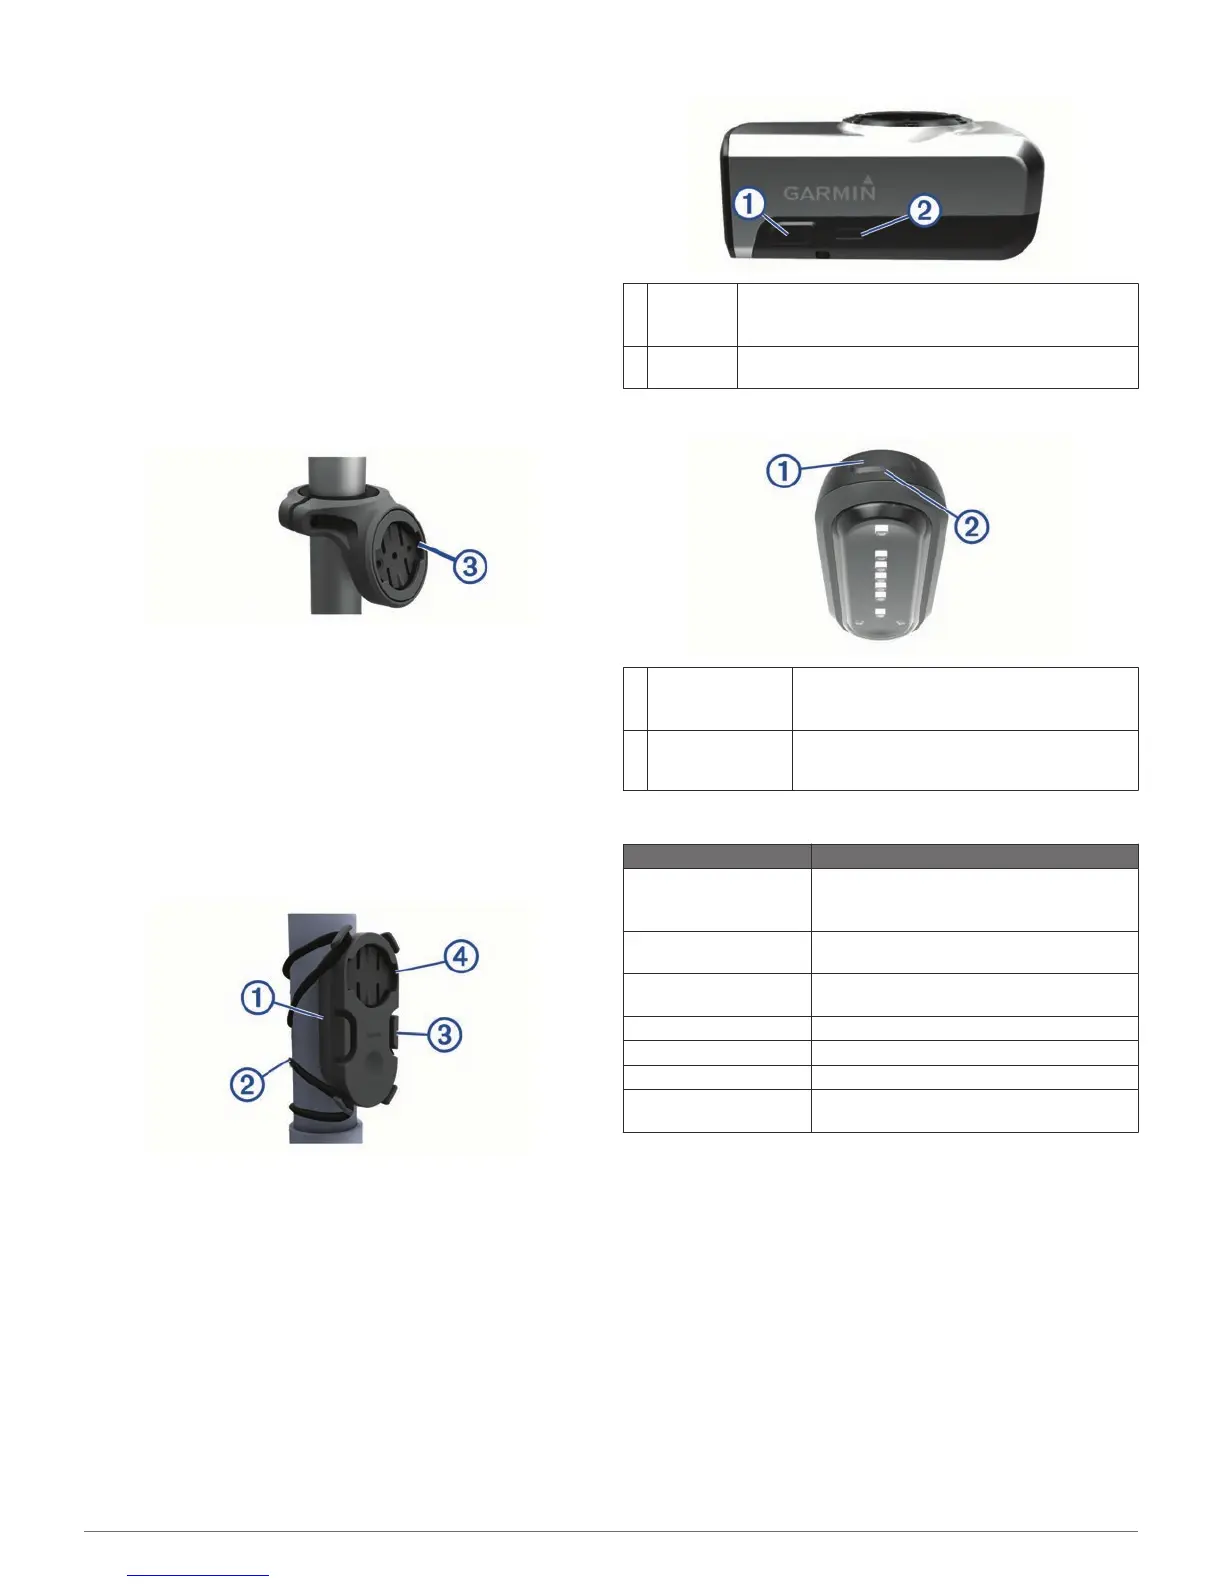
Device Overview
À
Device key Select to cycle through the headlight pairing, intensity,
and pattern modes.
Hold to turn the device on and off.
Á
Status LED View device status (Bike Light Status LEDs,
page 2).
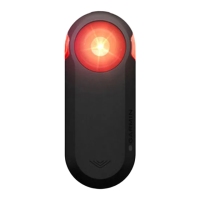
Varia
TL
Device Overview
À
Device key Select to cycle through the taillight pairing,
intensity, and pattern modes.
Hold to turn the device on and off.
Á
Status LED (visible
above the device
key)
View device status (Bike Light Status LEDs,
page 2).
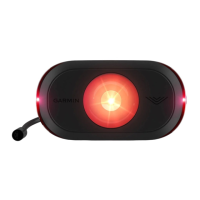
Bike Light Status LEDs
LED Activity Status
Solid red An error occurred while charging.
The device shut down to prevent
overheating.
Alternating blue and
green
The device is uploading settings from
Garmin Express
™
.
Alternating blue and red An error occurred while uploading settings
from Garmin Express.
Flashing green The battery is charging.
Solid green Charging is complete.
Flashing red The battery is low.
Flashing blue The device is in smart mode and can be
controlled by a paired wireless remote.
Using the Device Key
1
Hold the device key for 1 second to turn on the device.
The first time you turn on the device, it enters smart mode.
The status LED flashes blue. The device can be controlled by
a paired wireless remote or Edge
device.
2
Select the device key to cycle through the bike light intensity
and pattern modes.
Taillight modes include smart mode, high, medium, low, and
flash. Headlight modes include smart mode, overdrive, high,
medium, low, and flash.
NOTE:
Taillight medium and flash modes are available on
the
Varia TL 300 device only. Headlight overdrive and flash
modes are available on the Varia
HL
500 device only.
3
Hold the device key for 2 seconds to turn off the device.
The next time you turn on the device, it enters the last-used
operating mode.
2 Introduction