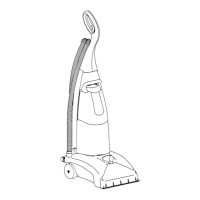
Dust Cup
4
How To Assemble
CAUTION: Assemble the cleaner completely before plugging into an electrical outlet.
CAUTION: Moving parts, stay clear of brush roll when plugging in.
NOTE: Features may vary by model yet all parts assemble the same.
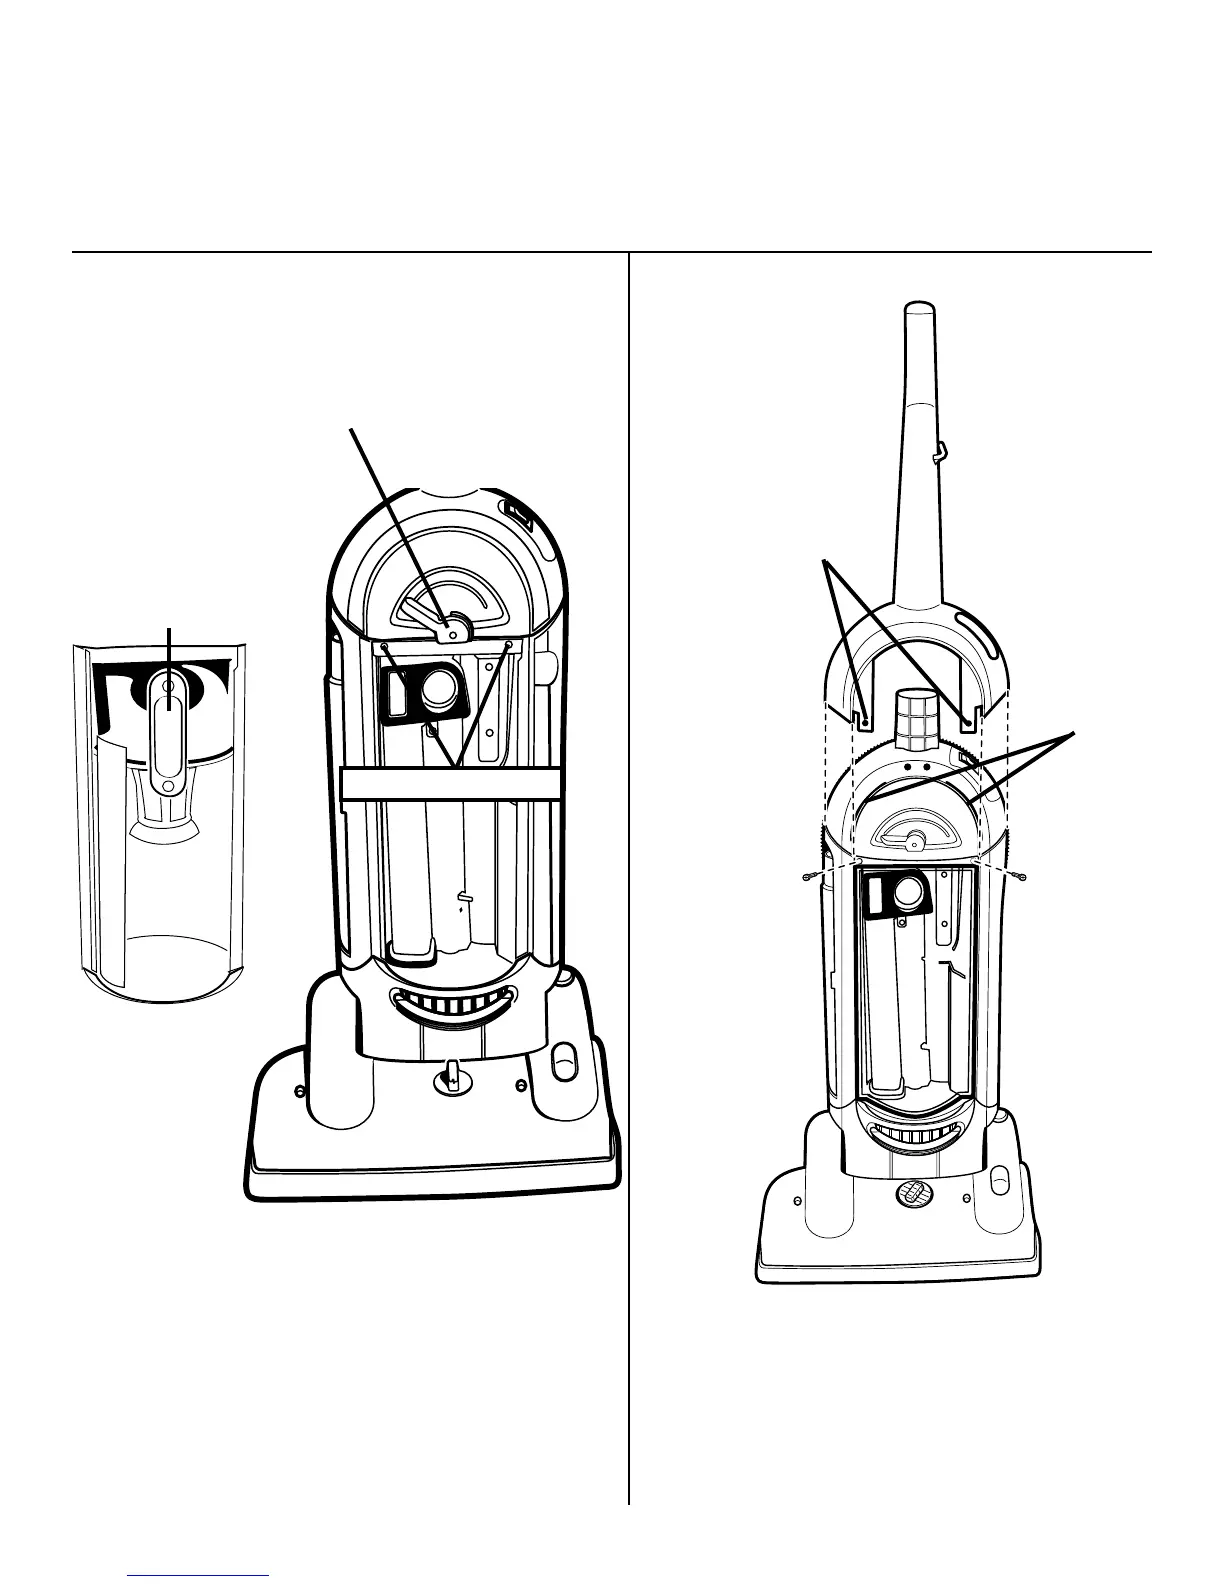
Step A Remove Dust Cup
1. Remove dust cup from unit to expose the two
screw installation locations. Release the dust cup
by rotating the dust cup latch to the left. Pull out
and up on the dust cup handle to remove from
unit.
##
##
#
Dust
Cup
Latch
Step B Attach Handle
2. Position handle as above. Slide the handle down
over the top of the unit, inserting handle tabs into
slots on unit.
3. Find the two screws in the accessory bag included
in the carton. To secure the handle on the unit,
install the two screws.
Dust Cup
Handle
Handle
Tabs
Slots
Screw
Screw
Two Screw Locations
 Loading...