Replace the vent cover on the unit and secure it
to the unit by replacing the two screws that were
removed, with one in the middle hole and one on
either side.
9
6
Installation Instructions
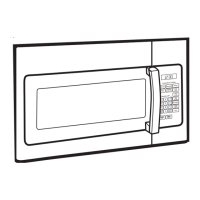
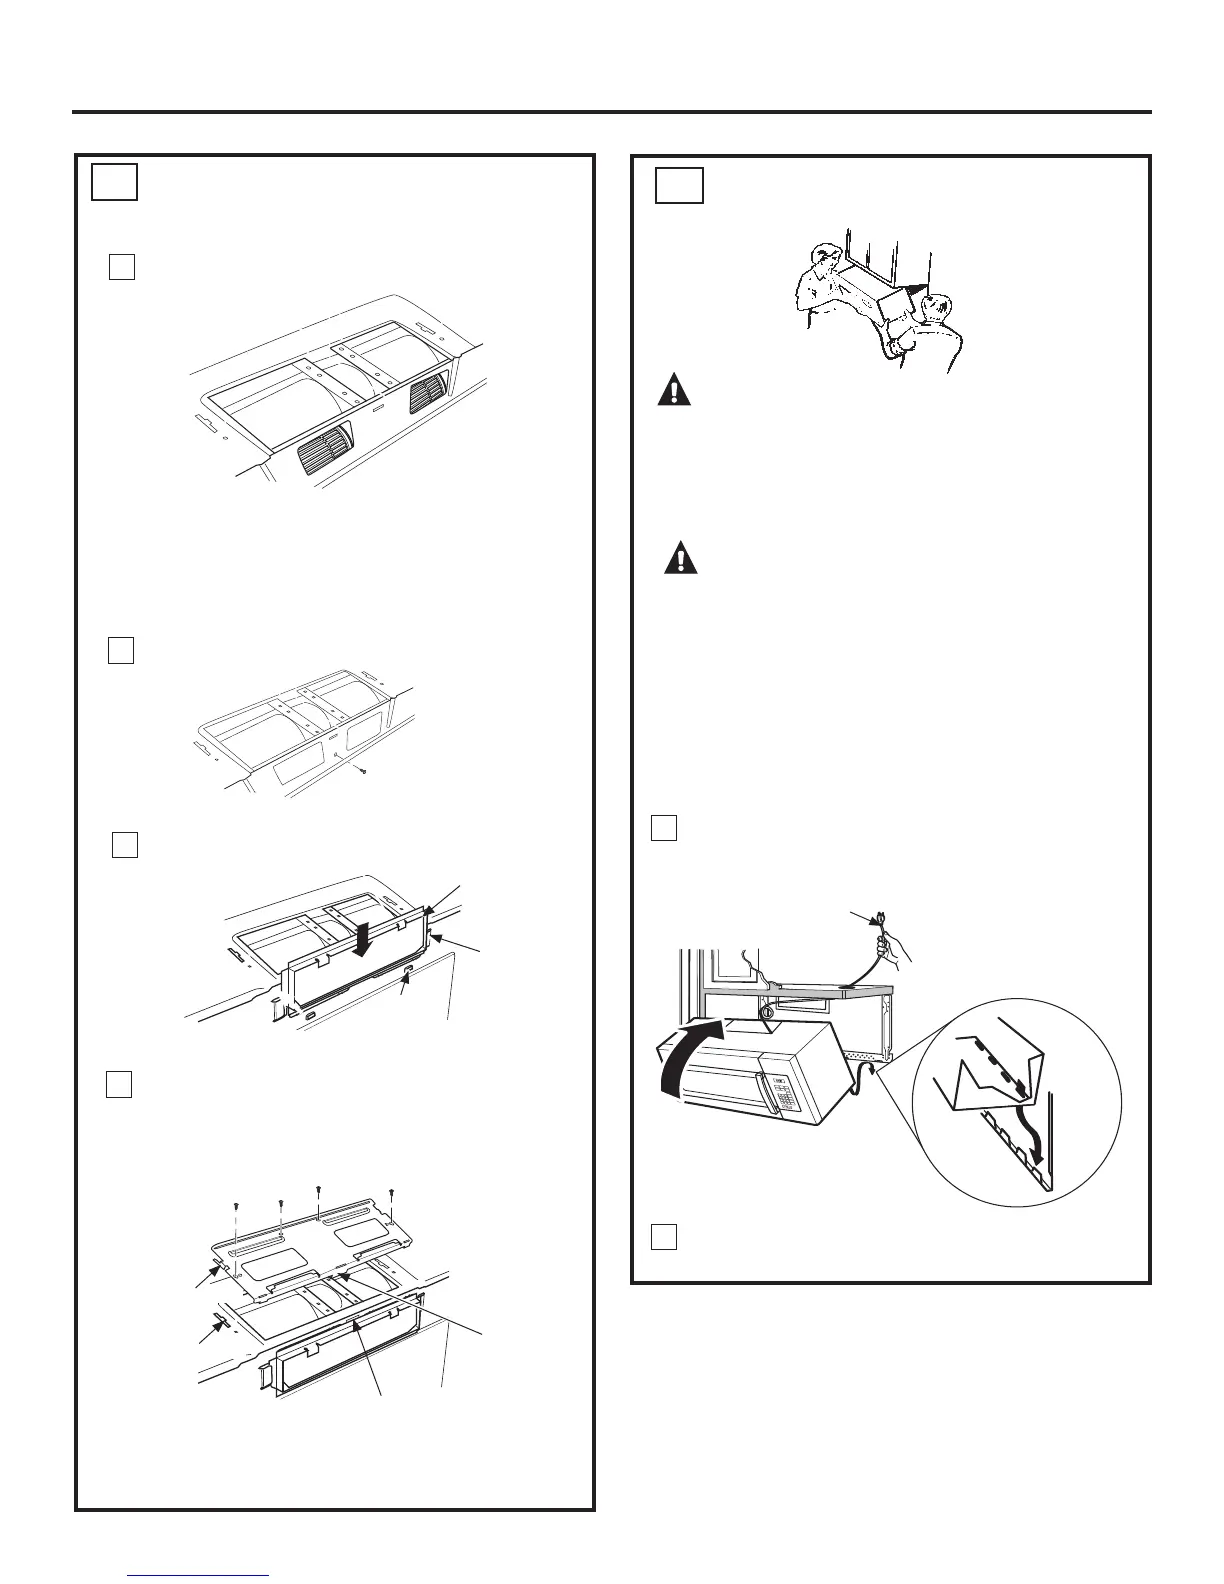
MOUNT THE MICROWAVE OVEN
C5
CAUTION: 7RDYRLGWKHULVNRISHUVRQDO
LQMXU\EDFNLQMXU\RURWKHULQMXULHVGXHWRH[FHVVLYH
ZHLJKWRIWKHPLFURZDYHRUSURSHUW\GDPDJH\RX
ZLOOQHHGWZRSHRSOHWRLQVWDOOWKLVPLFURZDYH
IMPORTANT: Do not grip or use handle during
installation.
WARNING: 5LVNRI(OHFWULF6KRFN&DQ
FDXVHLQMXU\RUGHDWK,ILQVWDOOLQJXQLWZLWKPHWDO
FRXQWHUWRSVFRYHUWKHHGJHRIWKHSRZHUVXSSO\
FRUGKROHZLWKWKHSRZHUVXSSO\FRUGEXVKLQJ
IMPORTANT: If filler blocks are not used, case damage
may occur from overtightening screws.
NOTE: When mounting the microwave, thread power
cord through hole in bottom of top cabinet. Keep it
tight throughout Steps 1–3. Do not pinch cord or lift
microwave oven by pulling cord.
Lift microwave, tilt it forward, and hook slots at
back bottom edge onto four lower tabs of mounting
plate.
Rotate front of microwave oven up against cabinet
bottom.
1
2
P
op
corn
Co
n
v
e
n
i
e
n
ce
Co
o
k
in
g
E
xp
r
e
s
s
Co
o
k
P
ot
a
t
o
S
ta
r
t
Pa
u
se
Ca
n
ce
l
O
ff
B
ev
er
a
g
e
R
e
h
e
a
t
S
e
t
C
l
o
ck
T
u
rn
t
a
b
l
e
S
u
r
f
a
ce
L
i
g
h
t
V
e
n
t
A
d
d
30
Se
c
.
P
o
w
e
r
L
e
ve
l
0
8
5
2
7
4
1
9
6
3
C
o
ok
T
ime
D
e
f
r
o
s
t
W
e
i
g
h
t
/
T
i
m
e
T
i
me
r
O
n
/
O
f
f
Power Cord
ADAPTING BLOWER FOR
OUTSIDE BACK EXHAUSTcont.
C4
Side Tab
Side Slot
Rear Slot
Rear
Tab
7
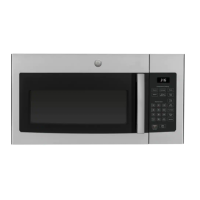
Replace screw on the back of the unit.
Screw
8
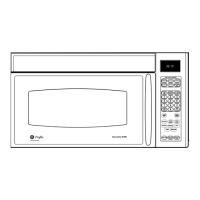
Slide the vent damper on back of the unit with the
hinge at the top.
Slide
exhaust
adaptor into
guides on
microwave
oven rear.
Exhaust
Adaptor
Damper
(hinge side up)
Locking
Tabs
Back of
Microwave
Oven
22
Gently place the fan back into the cavity with the
exhaust portion of the fan at the top and facing the
back of the unit.
Note: Make sure the wires remain routed through
the openings in the motor frame. To avoid damage
to the fan motor wiring, insert motor carefully such
that the fan motor wiring does not contact the
microwave power cord bracket.
 Loading...