49-9000029 Rev. 0
Installation Requirements
CAUTION
Lifting Hazard: It is recommended to have two people move and install the ice maker in
order to prevent injury.
Ŷ3URGXFWLVGHVLJQHGWREHLQVWDOOHGLQGRRUV'RQRW
use your ice maker outdoors.
Ŷ3URGXFWPXVWEHLQVWDOOHGXSULJKWRQDIODWOHYHO
surface that is able to support the total weight when
full of water.
Ŷ(QVXUHDPLQLPXPRIWKUHHLQFKHVFOHDUDQFH
around the side and back walls of the ice maker for
proper air circulation.
Ŷ,QVWDOOWKHSURGXFWLQDZHOOYHQWLODWHGDUHDZLWKDQ
DPELHQWWHPSHUDWXUHEHWZHHQ)DQG)
Ŷ'RQRWSODFHWKHSURGXFWQHDUKHDWVRXUFHVVXFKDV
ovens or cooktops.
Ŷ'RQRWSODFHWKHSURGXFWLQGLUHFWVXQOLJKW
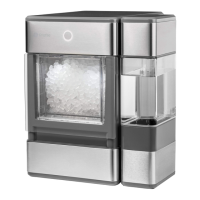
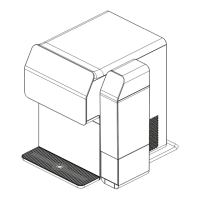
Prepare Opal For Use
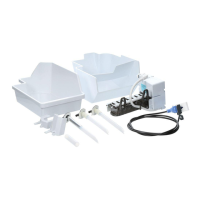
&DUHIXOO\UHPRYHSDFNLQJPDWHULDO'RQRWXVHVKDUS
WRROVWKDWFDQGDPDJHWKHER[FRQWHQWV
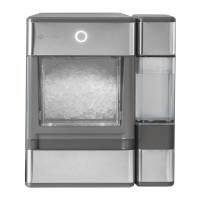
(QVXUHDOOFRPSRQHQWVDUHSUHVHQW,IDQ\LWHPLV
missing, please contact
3. Place the ice maker upright on a flat, level surface
and plug it in.
,QVWDOOGULSWUD\E\VOLGLQJLWXQGHUWKHIURQWHGJHRI
Opal. The tray slots should align with the front feet of
Opal.
6DQLWL]HDQGULQVHWKHLFHPDNHUZLWKFOHDQZDWHUIRU
five minutes before first use.
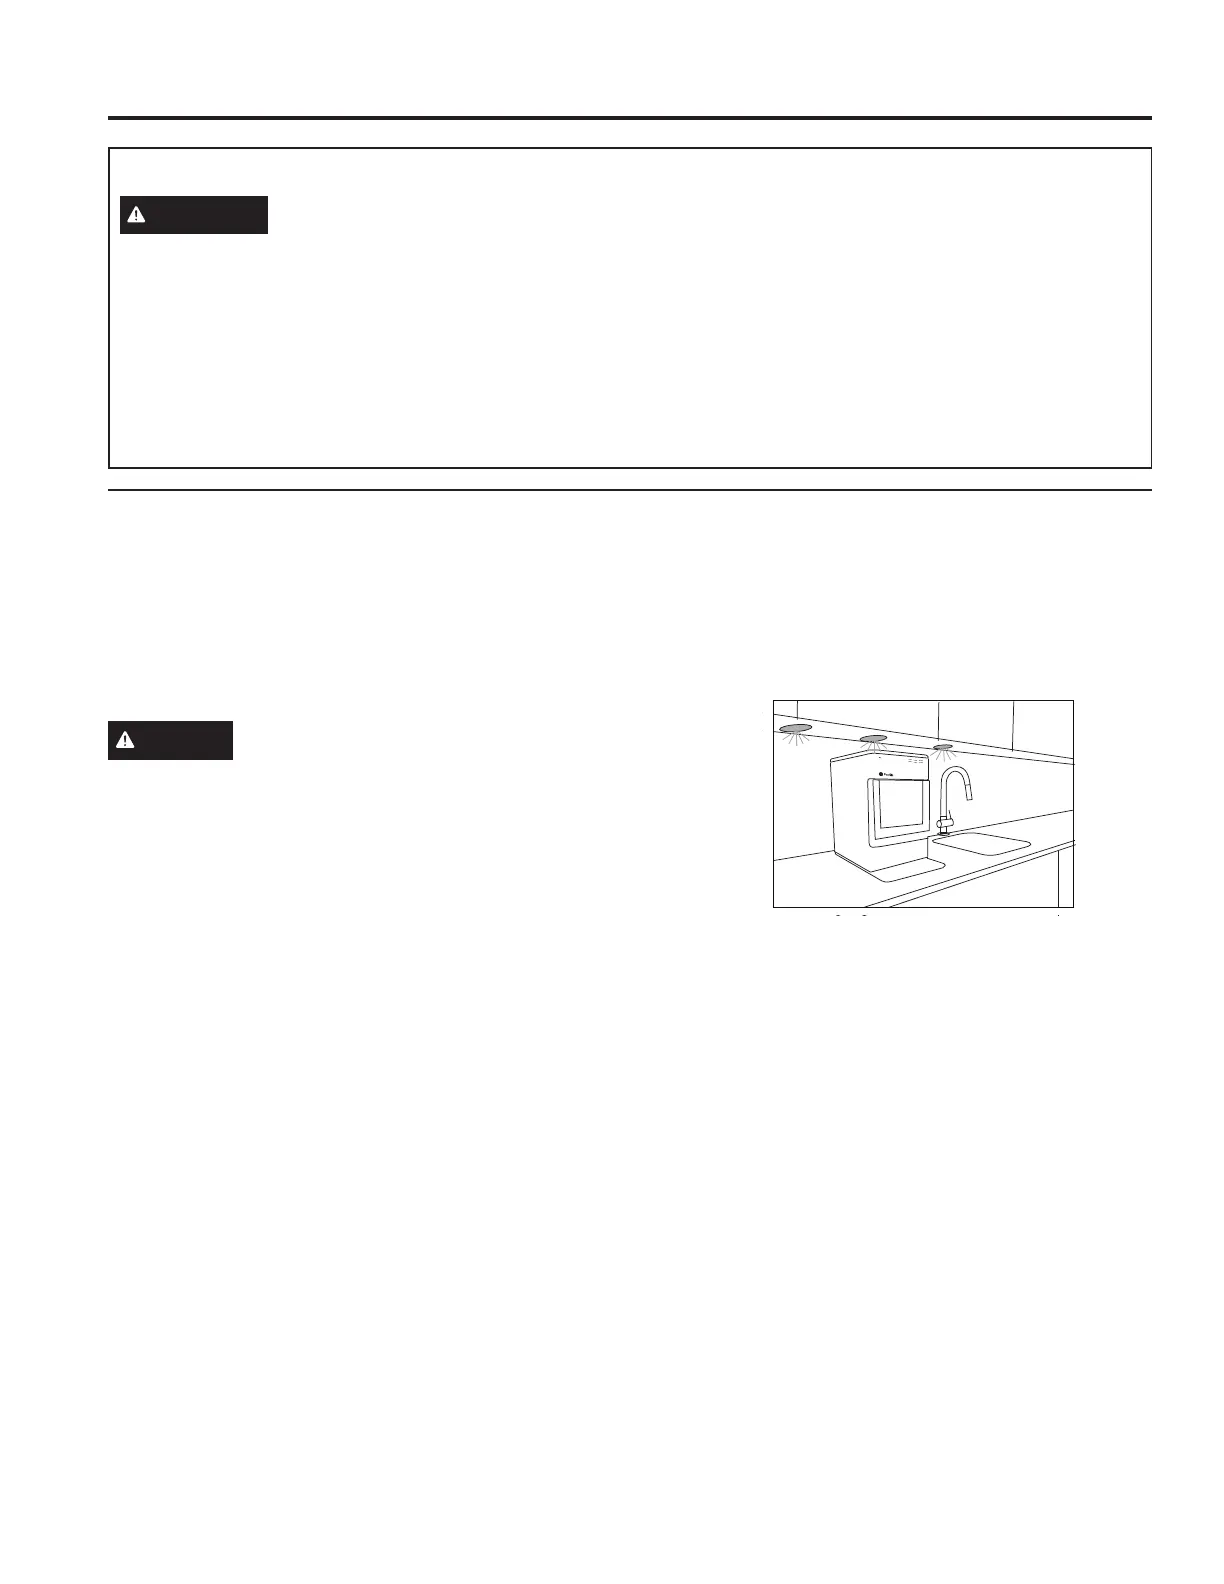
NOTICE
6RPHW\SHVRIXQGHUFDELQHWODPSVFDQEHKRWHQRXJK
WRFDXVHGDPDJHWR\RXU2SDOWRSVDSSHDUDQFH
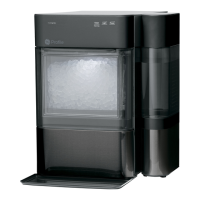
Getting Started
GETTING STARTED
Making Ice
Defrosting Cleaning
Hold 3 Sec
Add Water
Clean
Light
Power
 Loading...