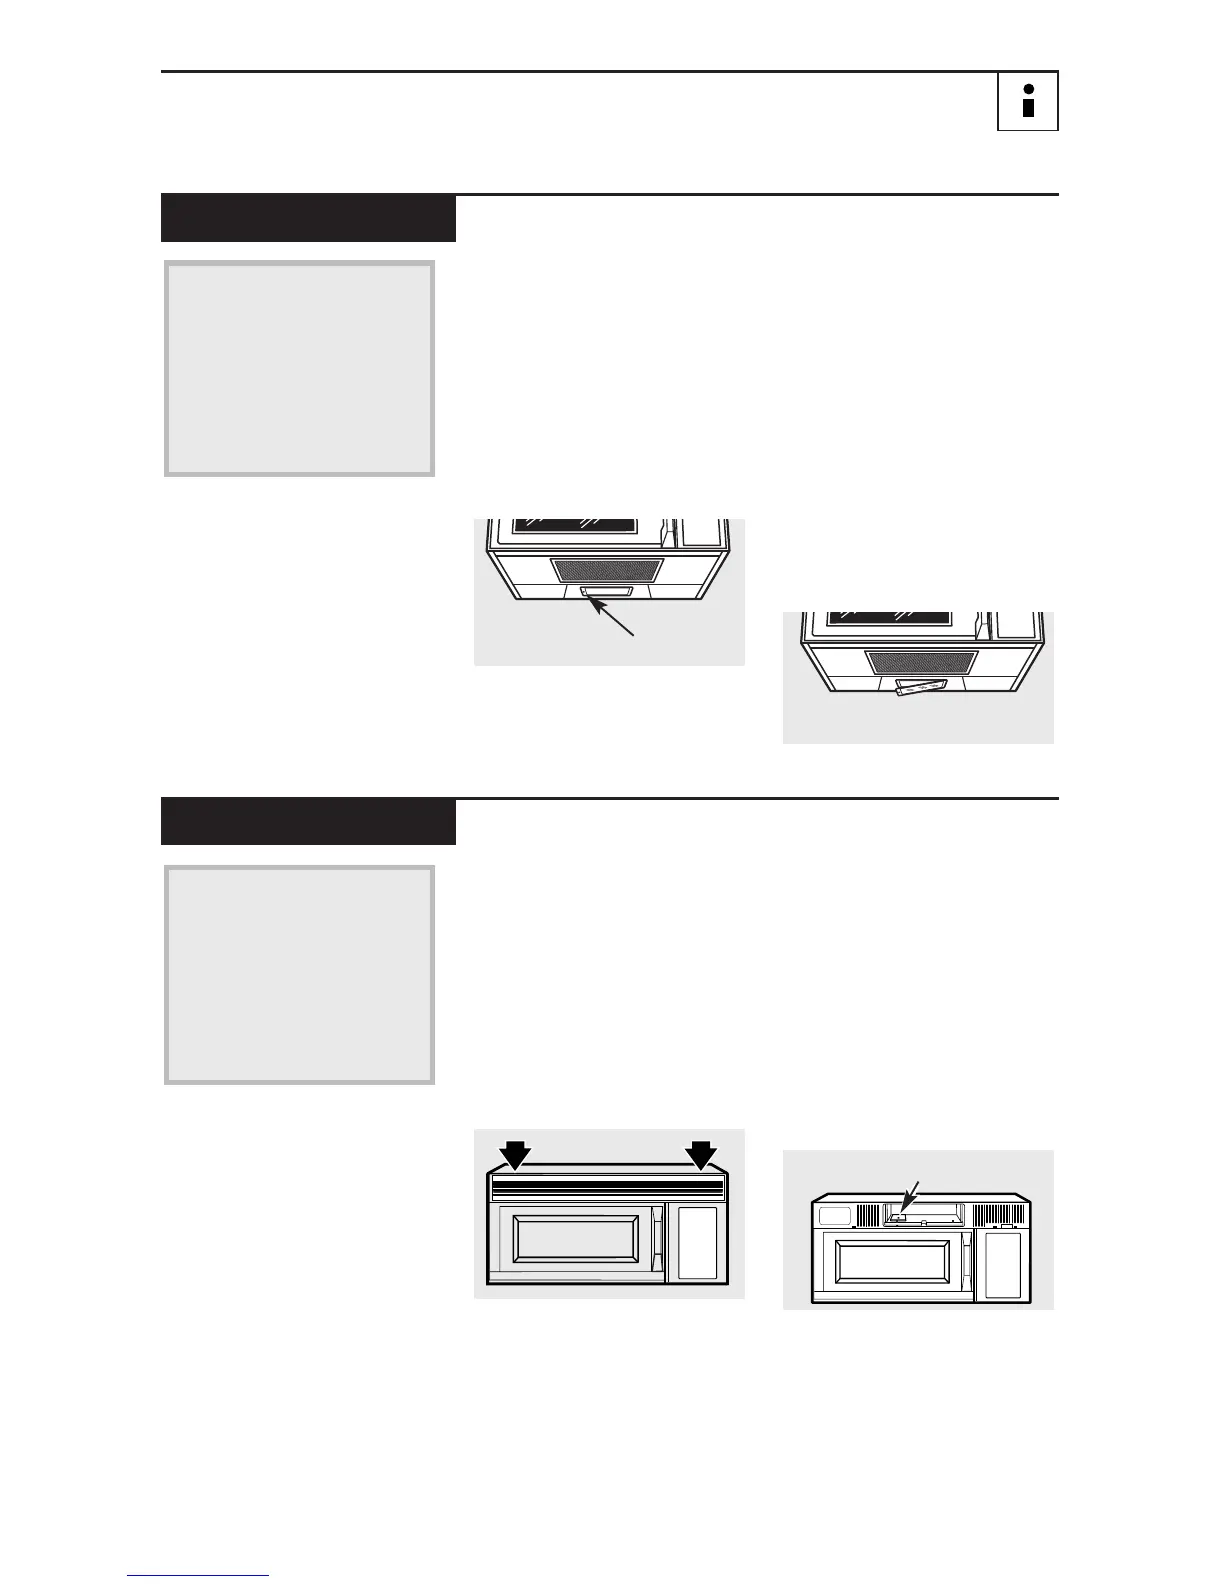
Light Bulb Replacement
1
To replace the bulb(s),
first disconnect the power
at the main fuse or circuit
breaker panel or pull
the plug.
2
Remove the screw at the
front of the light cover
and lower the cover.
3
Be sure the bulb(s) to be
replaced are cool before
removing. After breaking
the adhesive seal, remove
the bulb by gently turning.
Replace with the same size
and type bulb.
4
Raise the light shield
and replace the screw.
Connect electrical power
to the oven.
Replace the burned-out
bulb with a 120 volt,
40-watt incandescent
bulb (WB36X10003),
available from your
GE supplier.
Cooktop Light
1
To replace the oven light,
first disconnect the power
at the main fuse or circuit
breaker panel or pull
the plug.
2
Remove the top grille by
taking out the 2 screws
that hold it in place.
3
Remove the charcoal
filter (if present) to
access the light cover
(see Remove Charcoal
Filter section).
4
Remove the light cover
located near the center
of the oven that holds
the bulb. After breaking
the adhesive seal,
remove the bulb by
gently turning. Replace
with the same size and
type bulb.
5
Replace the light cover
and charcoal filter
(if present).
6
Replace the grille and
screws. Connect electrical
power to the oven.
Replace the burned-out
bulb with a 120 volt,
40-watt incandescent
bulb (WB36X10003),
available from your
GE supplier.
Oven Light
Remove screw
Screws
Light cover
33
 Loading...