www.gemu-group.com14 / 19GEMÜ Q30
10 Inspection and maintenance
9.3 Mounting without mounting flange
1. Before mounting the valve body, machine the housing in
accordance with the borehole pattern in the chapter "Di-
mensions" so that the valve body can be secured to the
housing.
2. Secure the valve body to the housing using four screws.
3. Re-attach or reactivate all safety and protective devices.
9.4 Mounting with mounting flange
1. Before mounting the actuator, machine the housing in ac-
cordance with the borehole pattern in the chapter "Dimen-
sions" so that the valve body can be guided through the re-
cess.
2. Guide the valve body through the recess in the housing.
The actuator's mounting flange must be flush with the
housing.
3. Connect the mounting flange and housing using appropri-
ate screws and washers (not included in the scope of de-
livery).
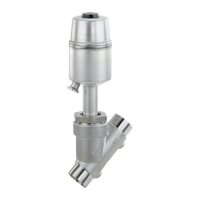
9.5 Pneumatic connection
The following types are available:
Normally closed (NC):
Actuator resting position: closed by spring force. Activation of
the actuator (connector 2) opens the actuator. When the actu-
ator is vented, the actuator is closed by spring force.
Normally open (NO):
Actuator resting position: opened by spring force. Activation
of the actuator (connector 4) closes the actuator. When the
actuator is vented, the actuator is opened by spring force.
Control function Control medium
connector 2 (open)
Control medium
connector 4 (close)
1 (NC) + -
2 (NO) – +
+ = available
– = not available
9.5.1 Connecting the control medium
1. Use suitable connectors.
2. Connect the control medium lines tension-free and
without any bends or knots.
Thread size of the control medium connectors: G1/4
Control function Connections
1 Normally closed (NC) 2: Control medium
(open)
2 Normally open (NO) 4: Control medium
(close)
3. If necessary, remove blanking plugs from the control me-
dium connectors.
4. Control function 1: Screw the control medium line into
control medium connector 2 of the actuator.
5. Control function 2: Screw the control medium line into
control medium connector 4 of the actuator.
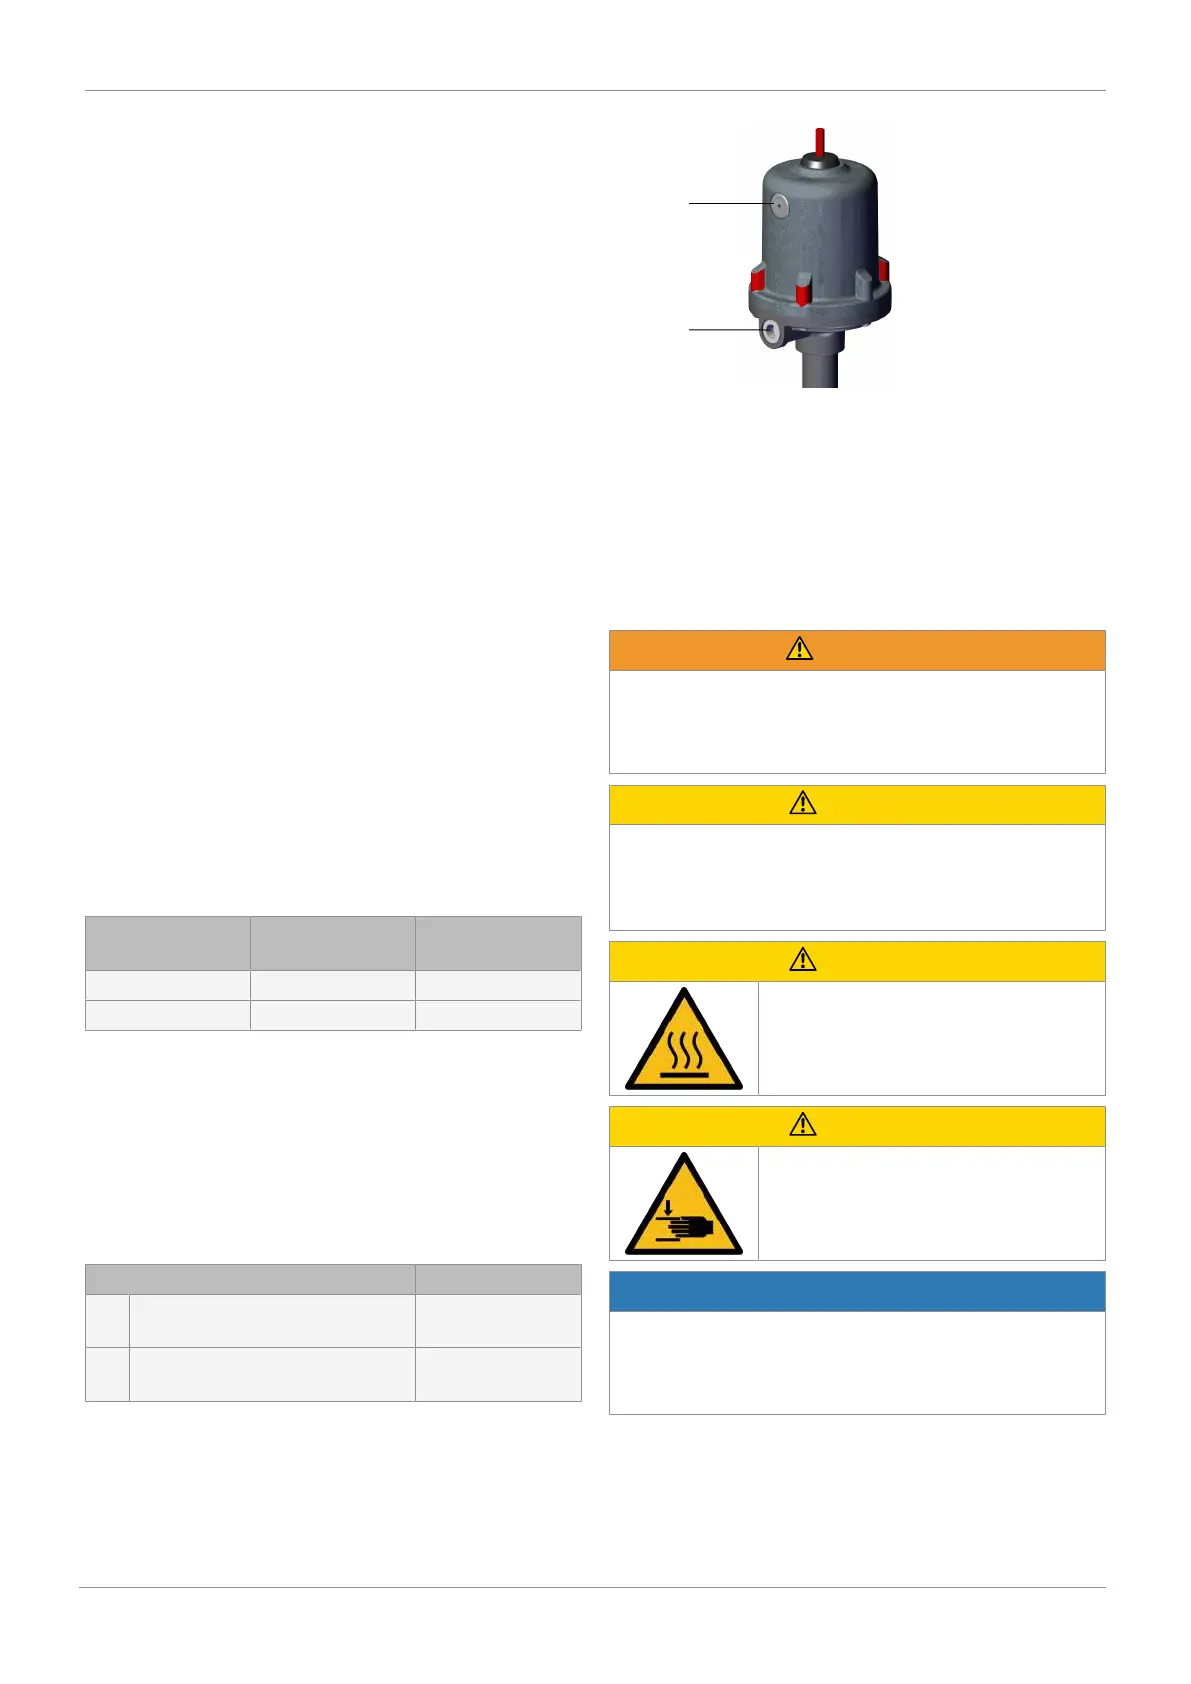
10 Inspection and maintenance
WARNING
The equipment is subject to pressure!
▶ Risk of severe injury or death.
● Depressurize the plant.
● Completely drain the plant.
CAUTION
Use of incorrect spare parts!
▶ Damage to the GEMÜ product.
▶ Manufacturer liability and guarantee will be void.
● Use only genuine parts from GEMÜ.
CAUTION
Hot plant components!
▶ Risk of burns.
● Only work on plant that has cooled
down.
CAUTION
Risk of crushing!
▶ Risk of severe injury!
● Before performing any work on the
GEMÜ product, depressurize the plant.
NOTICE
Requirements for tube lines used!
▶ Use tube lines suitable for the application, see manufac-
turer's information.
● Only use undamaged tube lines.

 Loading...