9
CONNECTIONS AND SYSTEM CONTROL
CONEXIONES Y CONTROL DE SISTEMA • CONNEXIONS & UTILISATION • ANSCHLÜSSE UND SYSTEMEINSTELLUNGEN
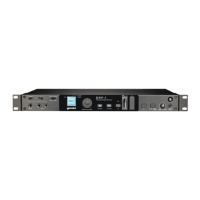
The MIC-LINE switch represents what type of signal is
coming in to be recorded, and it corresponds to where
it is connected on the unit. If the signal is connected to a
Line input then the switch should be set to LINE, and if it
is connected to a Mic signal the switch should be set to
MIC. (MIC-LINE Switch (20))
With the DRP-1, several different types of recordings can be made. The
FORMAT/STEREO-MONO (18) button is used to set what bit rate
format to record as, and whether to record in Stereo or Mono.
*Note: These settings can only be selected when you first enter record
mode, and cannot be changed once a recording has begun.
To enter record mode, press the RECORD (14) button. Before record-
ing, push the FORMAT/STEREO-MONO button down to alternate
between bit rate formats.
To switch between Stereo & Mono settings, press and hold the
FORMAT/STEREO-MONO button down in record mode.
*Note: When using a mono signal source, such as a guitar, be sure to
set the unit to MONO mode, otherwise only the left channel will be
recorded and heard upon playback.
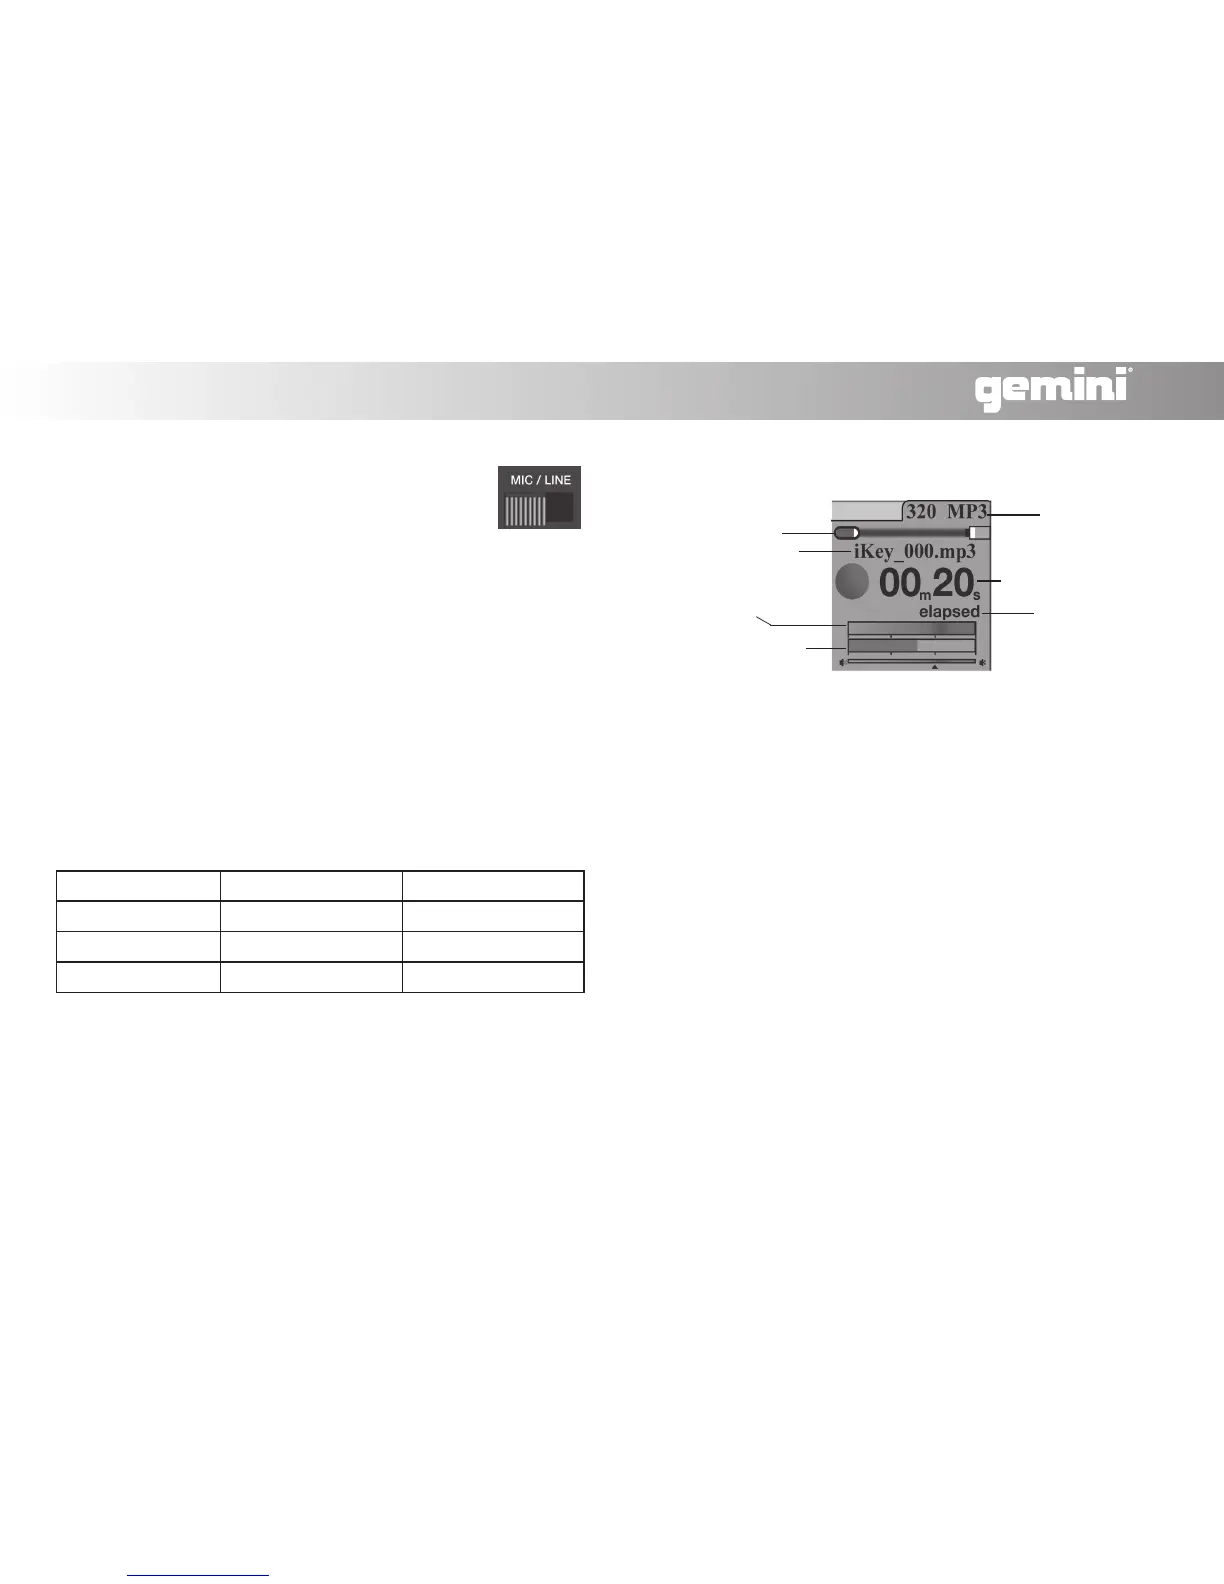
(Screen shows unit in record mode)
If a recording is set as stereo (pictured), there will be two bars present
in the STEREO-MONO Signal gauge section. If it is set as mono, there
will be one bar present.
When a signal is too loud, distortion and clipping can occur. However, a
signal that is too low may sound muffled or not be audible at all.
To get the best recordings, you must apply the maximum possible
signal that the unit can accept without overloading. When a signal
becomes too loud for the unit, the Stereo-Mono Signal gauge (shown
in record mode) appears Red.
To find the max possible recording level follow these steps:
1) Raise the level to where it just begins to overload/ distort/ clip
(appear red).
2) From there slightly lower the level with the Rec Level Jog wheel un-
til it does not overload (*Note: turning the jog wheel clockwise raises
the signal & counterclockwise lowers the signal level).
Recording Options
Setting Recording Levels
SD card usage
File name
STEREO-MONO
SIGNAL GAUGE
Recording level/
Jog wheel marker
File format
Track time
Time mode
(Included bit rate formats are listed as follows)
Bit Rate Format Quality Memory Usage
128kbps (MP3) Lowest Quality
~55 megs/ hour
256kbps (MP3) Medium Quality
~110 megs/ hour
320kbps (MP3) Good Quality
~138 megs/ hour
44.1kHZ (WAV) Highest Quality
~600 megs/ hour
 Loading...