Ø
-23-
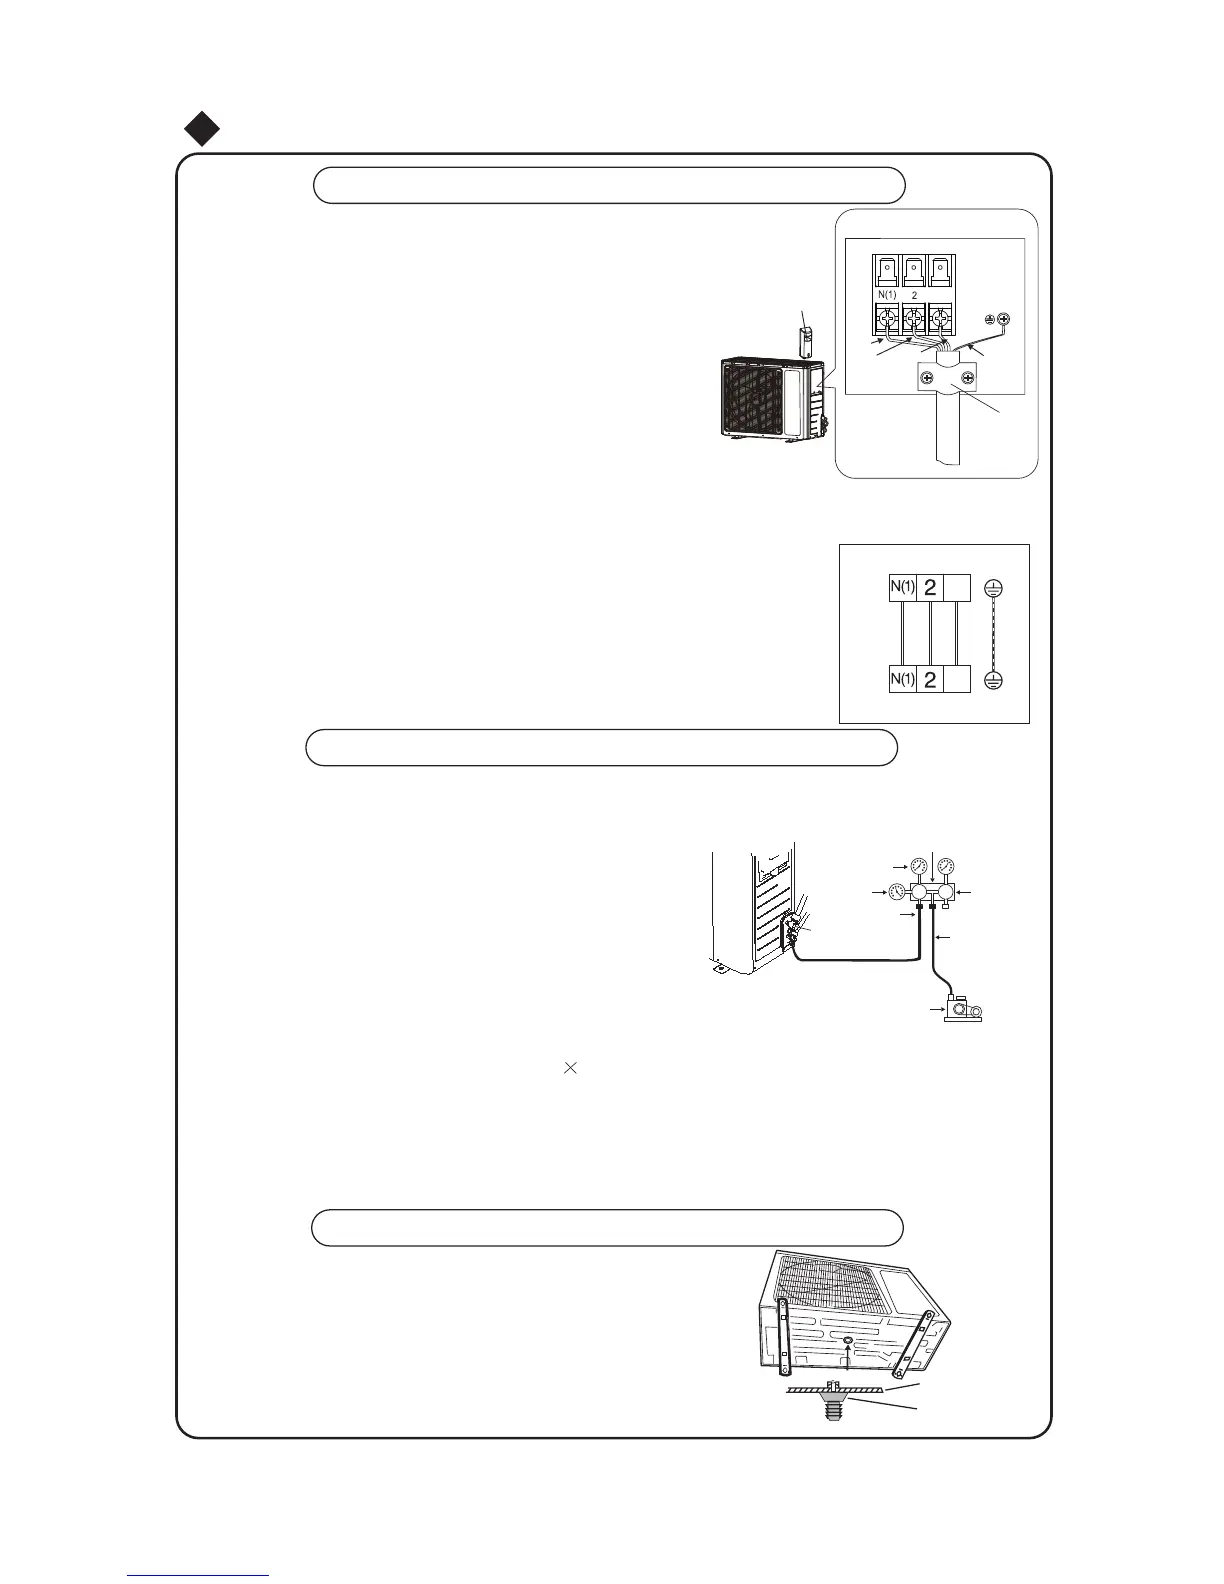
Air purging and leakage test
Condensate drainage of outdoor unit (no for cooling only)
The condensate and defrosting water formd during heating
in the outdoor unit can be properly discharged by drainage
pipe .
Installation method:set the drain connection in 25 hole of the
chassis has been installed and then connect drainage pipe
with drain nozzle, so that condensate and defrosting waer can
be properly discharged
Chassis
Drain
connection
●
●
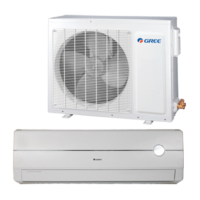
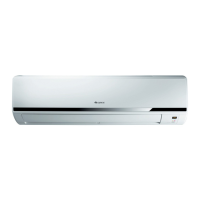
Install outdoor unit
Electric wiring
NOTE:
Wrong wiring may cause spare parts malfunction.
After the cable fixed, make sure there should be
a free space between the connection and
connection and fixing place on the lead wire.
3.
4.
5.
1.
2.
Disassemble the handle on the outdoor unit right side plate.
Take off cord anchorage. Connect and fix power connect
cord (for cooling and heating unit,connect and fix power
connect cord)to terminal block.
Fix the power connection cable with cord anchorage,
(for cooling and heating unit, use the cord anchorage
to fix the power connection cable control wire).
Ensure wire has been fixed well.
Install the handle.
5
-1.0 10 pa
(-76cmHg)..
1. Connect charging hose of manifold valve to charge end of low pressure
valve (both high/low pressure valves must be tightly shut).
2. Connect joint of charging hose to vacuum pump.
3. Fully open handle handle of Lo manifold valve.
4. Open the vacuum pump to evacuate. At the beginning, slightly
loosen joint nut of low pressure valve to check if there
is air coming inside. (If noise of vacuum pump has
been changed, the reading of multimeter is 0) Then
tighten the nut.
5. Keep evacuating for more than 15mins and make
sure the reading of multi-meter is
6. Fully open high/low pressure valves.
7. Remove charging hose from charging end of low pressure valve.
8. Tighten bonnet of low-pressure valve. (As shown in Fig.9)
Fig.9
3
yellow-
green
yellow-
green
blue
black
brown
blue
black
brown
Handle
3
power connect wire
wire clamp
3
INDOOR/OUTDOOR
CONNECT FIG
INDOOR
OUTDOOR
power
connect
wire
Multimeter
-76cmHg
Lo Handle
Charging hose
Hi handle
Charging hose
Low pressure valve
Manifold
Valve
Vacuum pump
 Loading...