-4- -5-
If you have lost the Owner's Manual, please contact the local agent or visit www.greeproducts.es or
send an email to info@greeproducts.es for the electronic version.
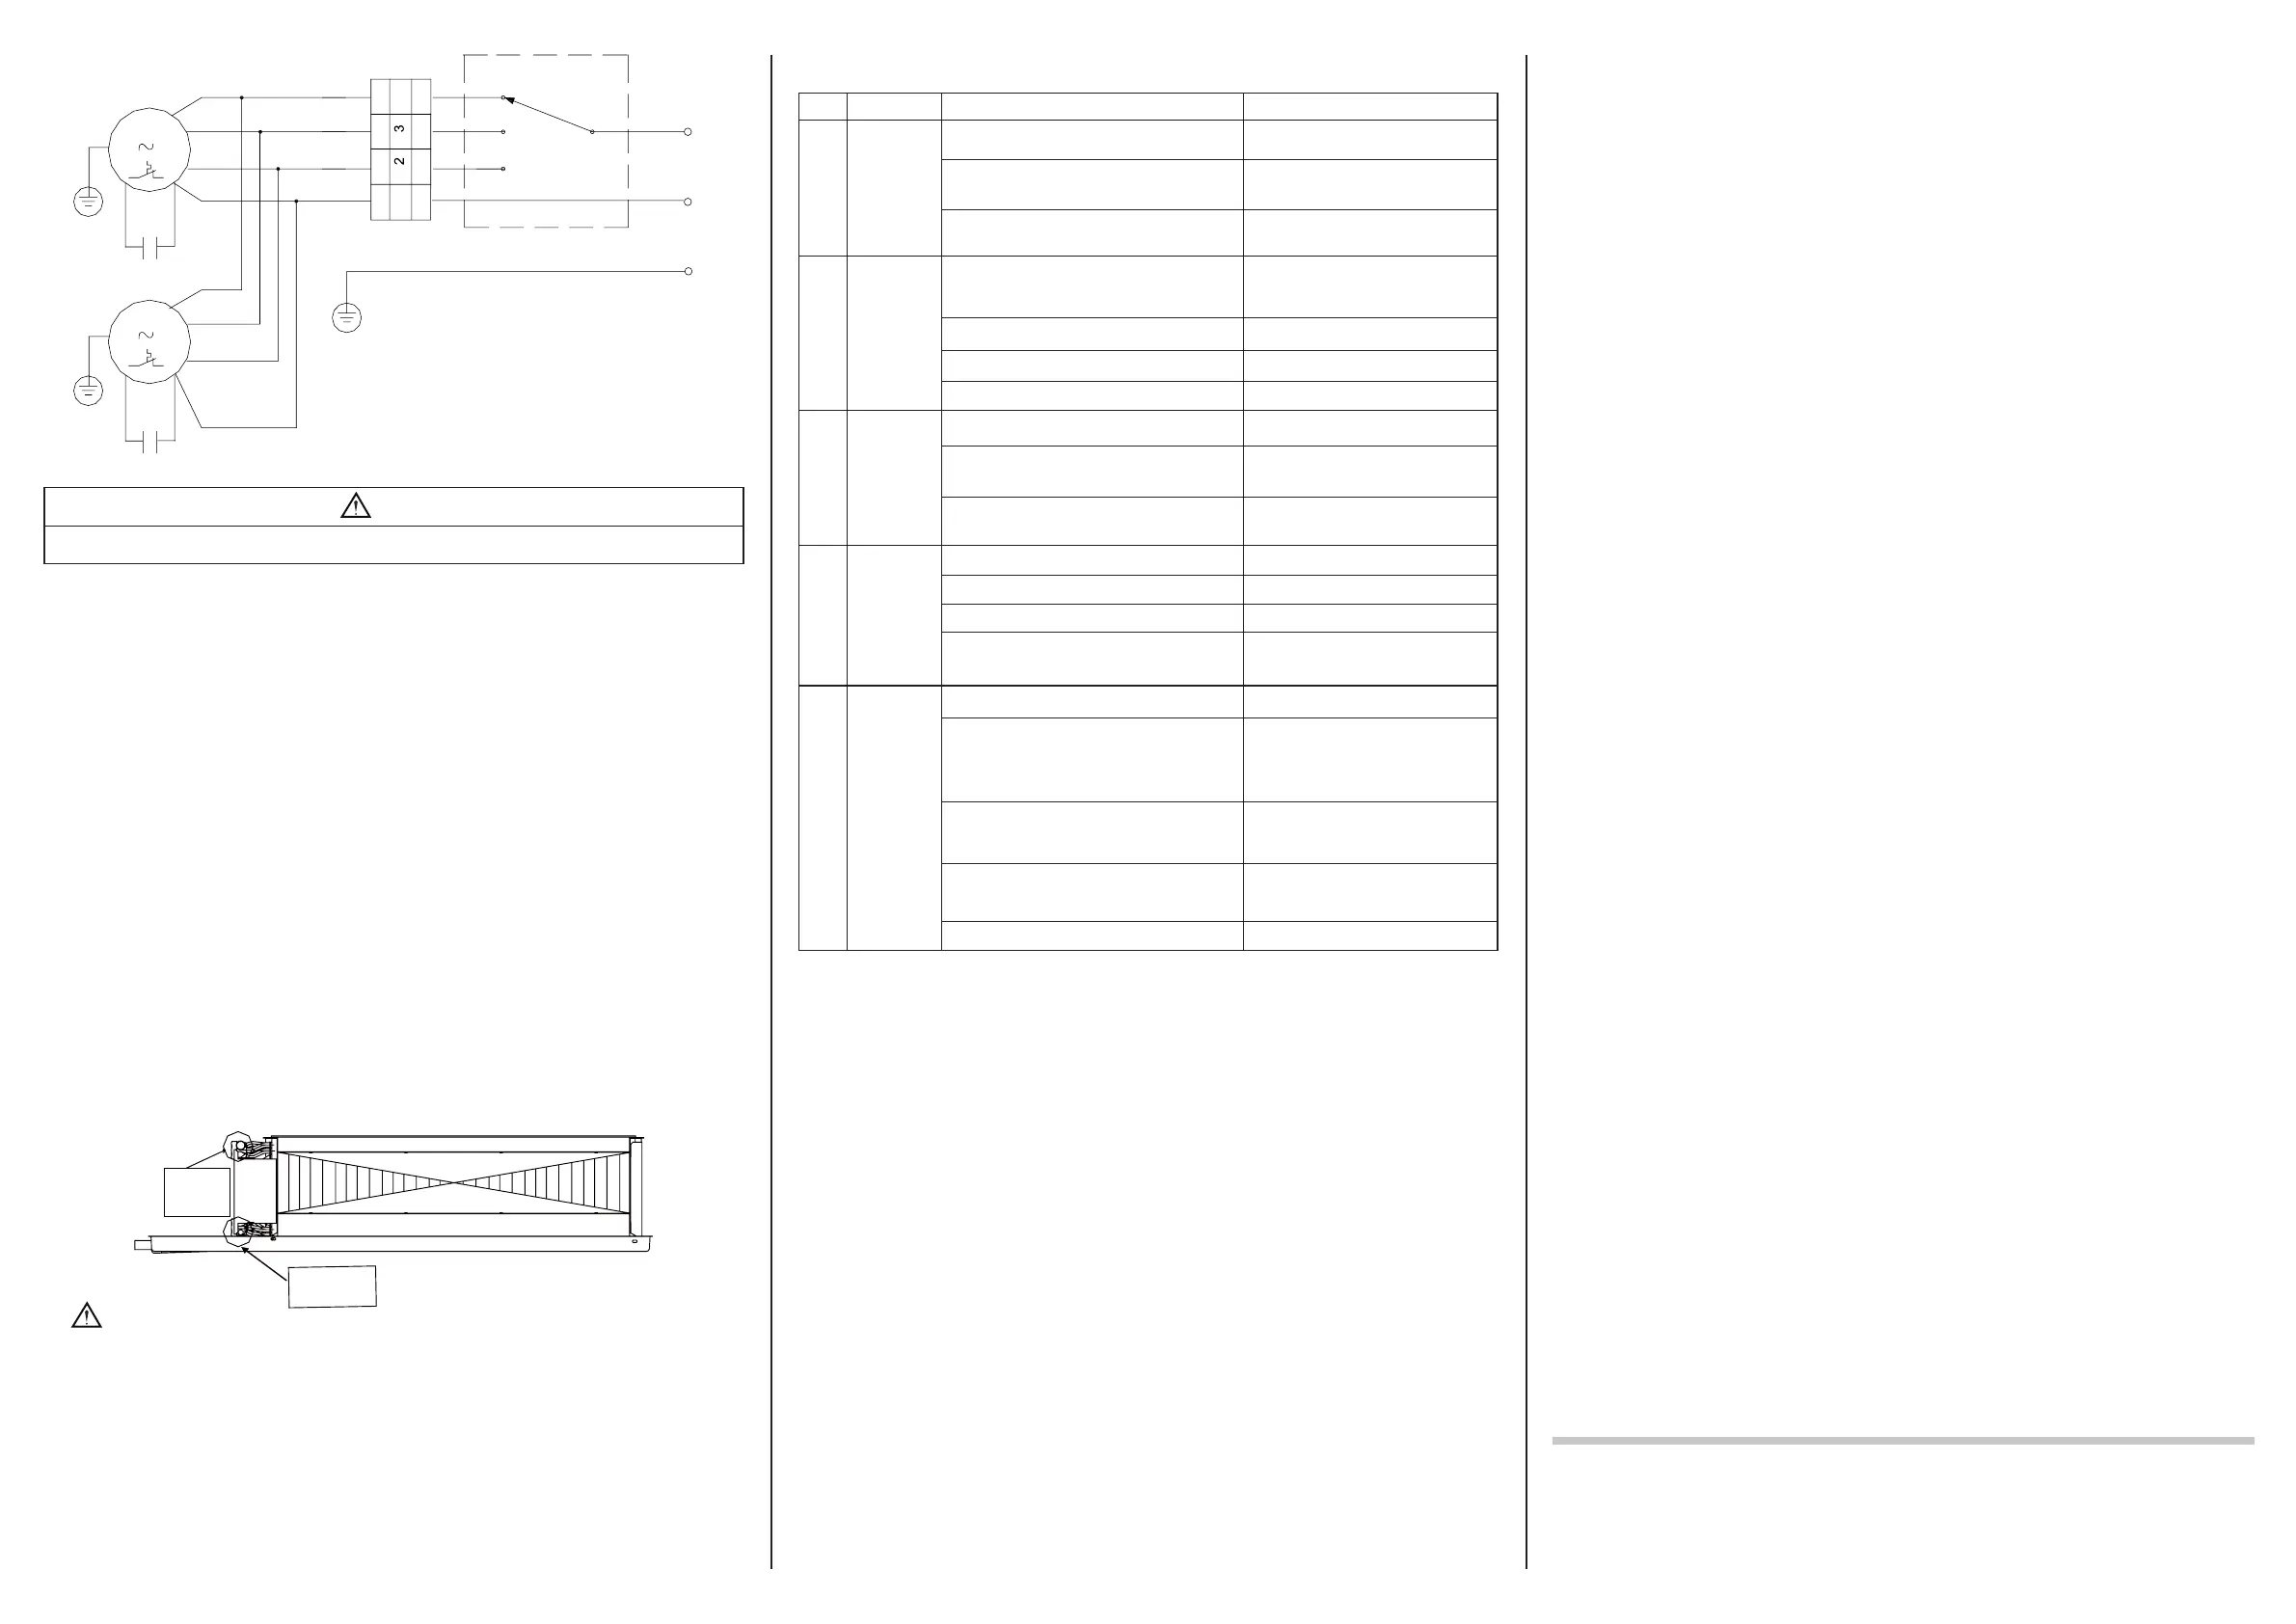
Power
XT
1
E
M1
M2
BN
C1
C2
RD
BN
RD
BK
YE
BU
WH
BK
YE
BU
WH
L
N
PE
H
M
L
4
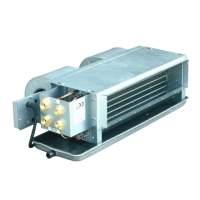
Note: Some units are equipped with only one motor.
WARNING !
All wiring and piping shall be performed by the skilled servicemen.
3 OPERATION INSTRUCTIONS
(1) For the initial operation, open the release valve of the return water pipe to expel air inside the
coil until water ows out, and then close the release valve.
(2) Before startup, clean away foreign matters in the coil, volute casing of the fan and around the
unit.
(3) Before the initial operation, rotate fan blades by hand to see if there is friction between fan
blades and the volute casing.
(4) Be sure the power supply is wired properly before startup.
(5) All hot and cold water shall be softened.
4 MAINTENANCE
(1) The lter shall be cleaned in accordance with the actual working environment. It is strongly
recommend to clean the lter once every two month and clean pipes once every two years.
(2) Overall maintenance shall be performed every 2~3 year, including cleaning away the scale
on the inner surface of the coil with chemical agent to guarantee expected heat exchange
efciency.
(3) When the unit is not to be used for a long period in winter, in order to prevent the pipeline from
being frozen up, it is required to drain the water system by opening the drainage plug which is
located at the same side with the outlet of the drain pan.. Detailed steps are:
Step 1: Open the release valve.
Step 2: Loosen anticlockwise the drainage plug to drain the water system.
Step 3: After that, tighten the drainage plug and close the release valve.
Drainage
plug
Release
valve
Warning
:Disconnect the power supply before cleaning and maintenance.
(4) Routine maintenance shall be performed, including cleaning foreign matters in the drain pan,
cleaning the main unit, and checking if the motor and the main unit are attached securely.
5 TROUBLESHOOTING
No. Faults Possible Causes Solutions
1
The unit
failed to
run
There was no power supply or the power
supply was switched off.
Provide a power supply or switch
on the power supply.
The plug of the power supply was not
placed properly.
Place the plug properly.
The motor was burnt out.
Replace the motor and check the
wiring.
2
The unit
generated
unusual
sound.
The volute casing or the fan blades
deformed or there was friction between
them.
Replace the volute casing or the
fan blades.
The lter was clogged or tipped over Clean the lter
The motor ran with unusual sound. Replace the motor
Setscrews of the motor were loosened. Tighten setscrews.
3
The air
ow was
insufcient
The lter was clogged. Clean the lter
The return air inlet or air outlet was
clogged.
Clean way foreign matters.
The resistance of the duct was beyond the
designed value.
Lower the resistance of the duct or
reselect the unit model.
4
The unit
failed to
perform
cooling or
heating
The lter was clogged. Clean the lter.
Valves were not opened. Open valves.
Fins were clogged. Clean or repair ns.
Entering water temperature for cooling
was too high or was too low for heating.
Regulate the entering water
temperature.
5
Water
leaked
The drain pipe was clogged. Clean the drain pipe.
The unit was not installed as required.
Adjust the location of the unit to let
the drain pan tilt toward the drain
outlet with a desired downward
slope.
The relative humidity was too high.
Lower the relative humidity and
prevent hi-temperature moist air
from entering.
The fan stopped but the water inlet valve
was not closed.
Close the water valve or start the
unit.
The release valve was not closed tightly. Close the release valve.
 Loading...