English (GB)
9
7.8 Replacing the power module
If the power module is replaced, the entire bottom of the terminal
box must be replaced.
1. Disconnect the power supply.
2. Remove the terminal box cover. See section 7.1 Replacing
the terminal box cover.
3. Remove the control panel (290) from the isolating cover (277).
See section 7.4 Replacing the control panel.
4. Remove the CIM module (502) from the isolation cover. See
section 7.5 Replacing the CIM module.
5. Remove the isolation cover. See section 7.6 Replacing the
isolation cover.
6. Remove the functional module. See section 7.7 Replacing the
functional module.
7. Pull out the plug connection (266).
8. Remove the screws (178) from the terminal box (251a) and
gently lift the terminal box off the motor (150).
9. Fit the new terminal box on the motor. Make sure that the plug
connections are aligned.
10. Cross-tighten the screws of the terminal box.
11. Fit the plug connection for power supply.
12. Fit the functional module. See section 7.7 Replacing the
functional module.
13. Fit the isolation cover. See section 7.6 Replacing the isolation
cover.
14. Fit the CIM module. See section 7.5 Replacing the CIM
module.
15. Fit the control panel. See section 7.4 Replacing the control
panel.
16. Fit the terminal box cover. See section 7.1 Replacing the
terminal box cover.
17. Calibrate the functional module with the power module. See
section 7.15 Configuring the controller.
7.9 Replacing the terminal box
1. Disconnect the power supply.
2. Remove the terminal box cover. See section 7.1 Replacing
the terminal box cover.
3. Disconnect all relevant wires.
4. Remove the screws (178) from the terminal box (251a) and
gently lift the terminal box off the motor (150).
5. Fit the new terminal box on the motor. Make sure that the plug
connections are aligned.
6. Cross-tighten the screws of the terminal box.
7. Move relevant modules to the new terminal box according to
the section above.
8. Connect all relevant wires.
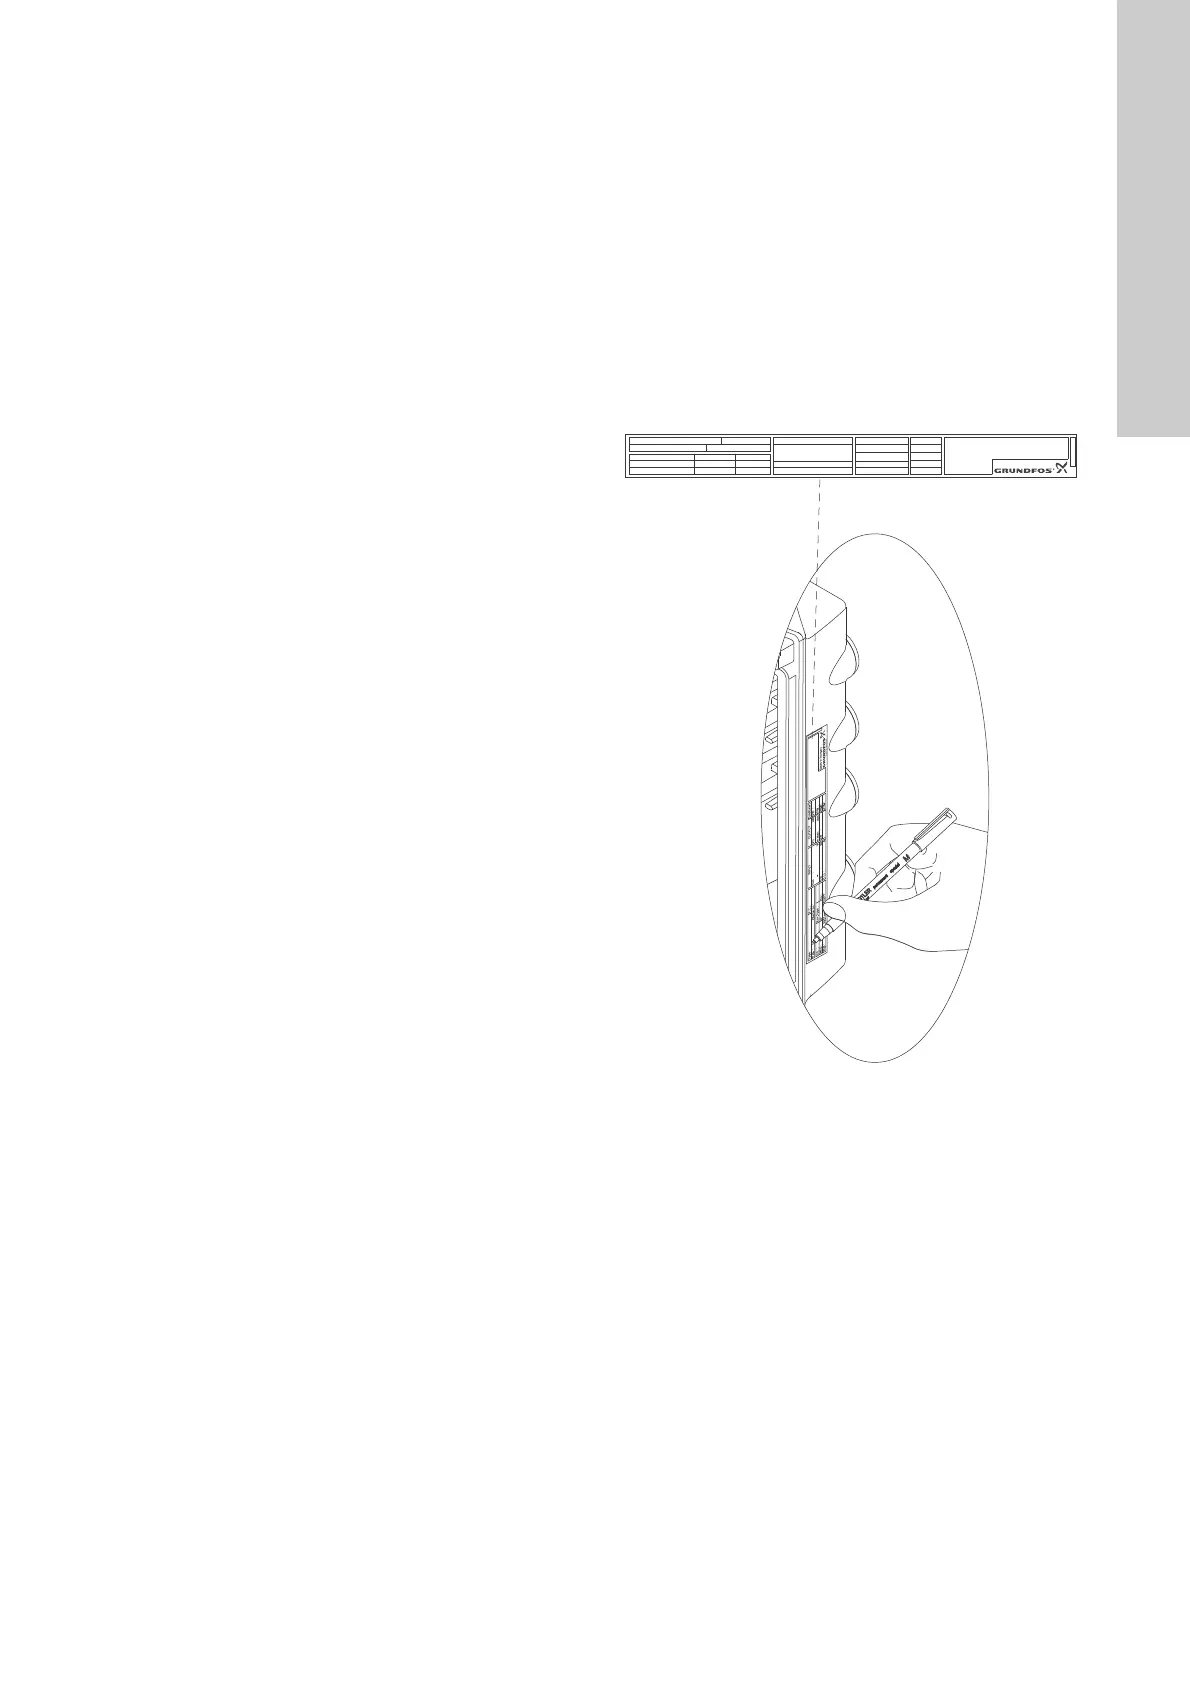
9. Transfer data from the nameplate of the old terminal box to
the nameplate of the new one.
Fig. 11 Transferring data to new nameplate
10. Fit the terminal box cover. See section 7.1 Replacing the
terminal box cover.
TM05 6954 0313
Env.Type :
Serial no :
IP CL:
PF:
PB
FM
HMIEff
n max:
CIM
Wgt
:
DE
:
kg
NDE
:
T
amb
:
:
CA
V
~
P.C.
:
Made in Hungary
OUTPUT
VARIANT
INPUT
Type
:
P.N.
:
U
in
:
I
1/1 :
f
in
kW
Hz
P2
rpm
:::
:
:
:
:
o
DK - 8850 Bjerringbro, Denmark
 Loading...